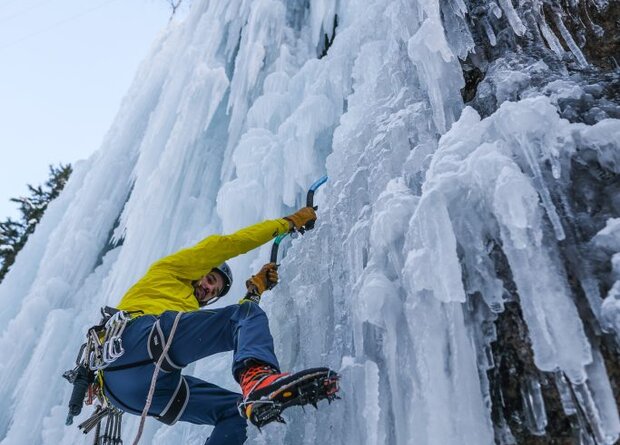
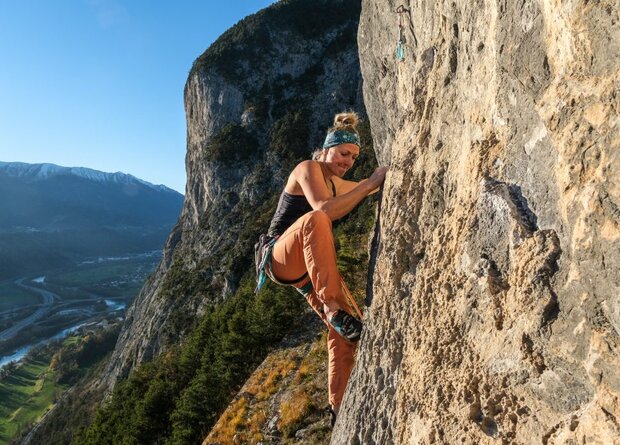
Temperatures are dropping, the physical state of water is changing from liquid to solid, it's that time of year again: ice season is here! But what do you actually need for ice climbing? How does the game with frozen matter work? Our editor Benjamin Zörer accompanied the winner of the competition in cooperation with Austrialpin along with a mountain guide for a day in the Kaunertal ice. He took a close look at how ice climbing works and picked up a few special tips.
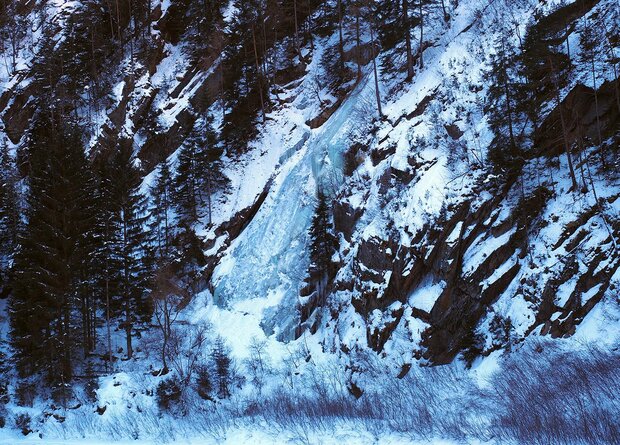
Today we went to the beautiful Kaunertal. As soon as you drive in, you realize why the Kaunertal is no stranger to ice climbers - icefalls to the left and right of the road, one more beautiful than the next!
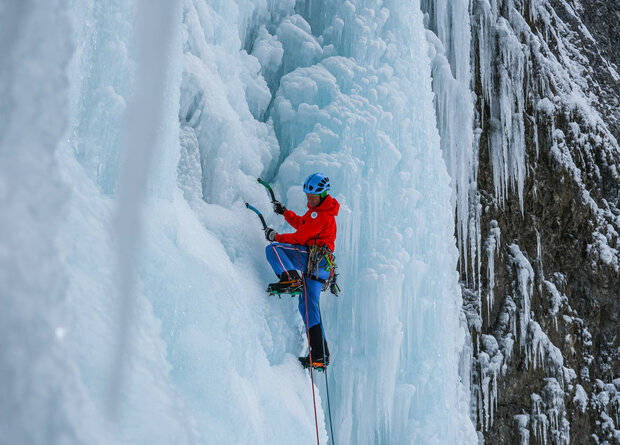
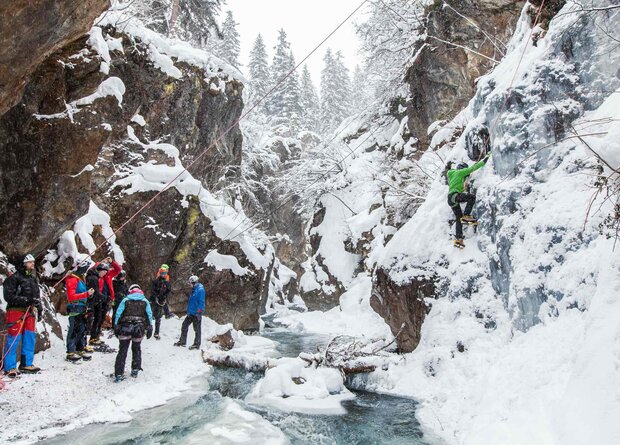
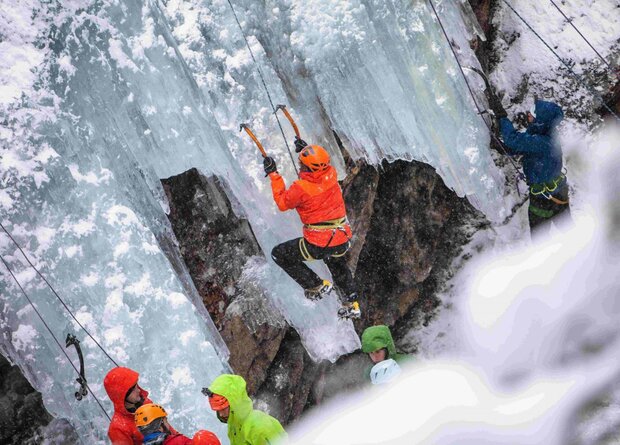
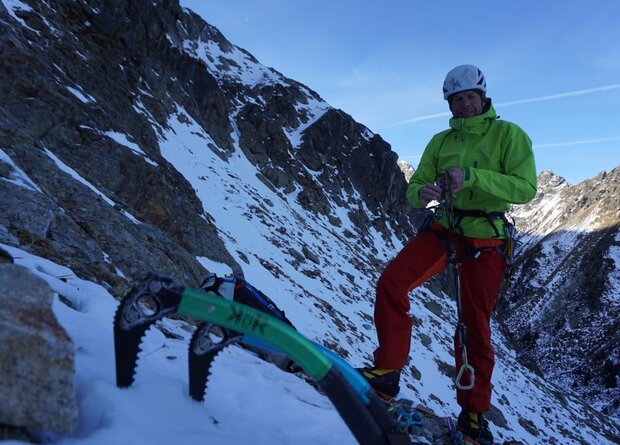
Today's destination is the Fernergrieß, at the end of the Gepatsch dam. After a good 15-minute ascent on snowshoes, our mountain guide Michael Veit says: "Look, this is our playground for today."
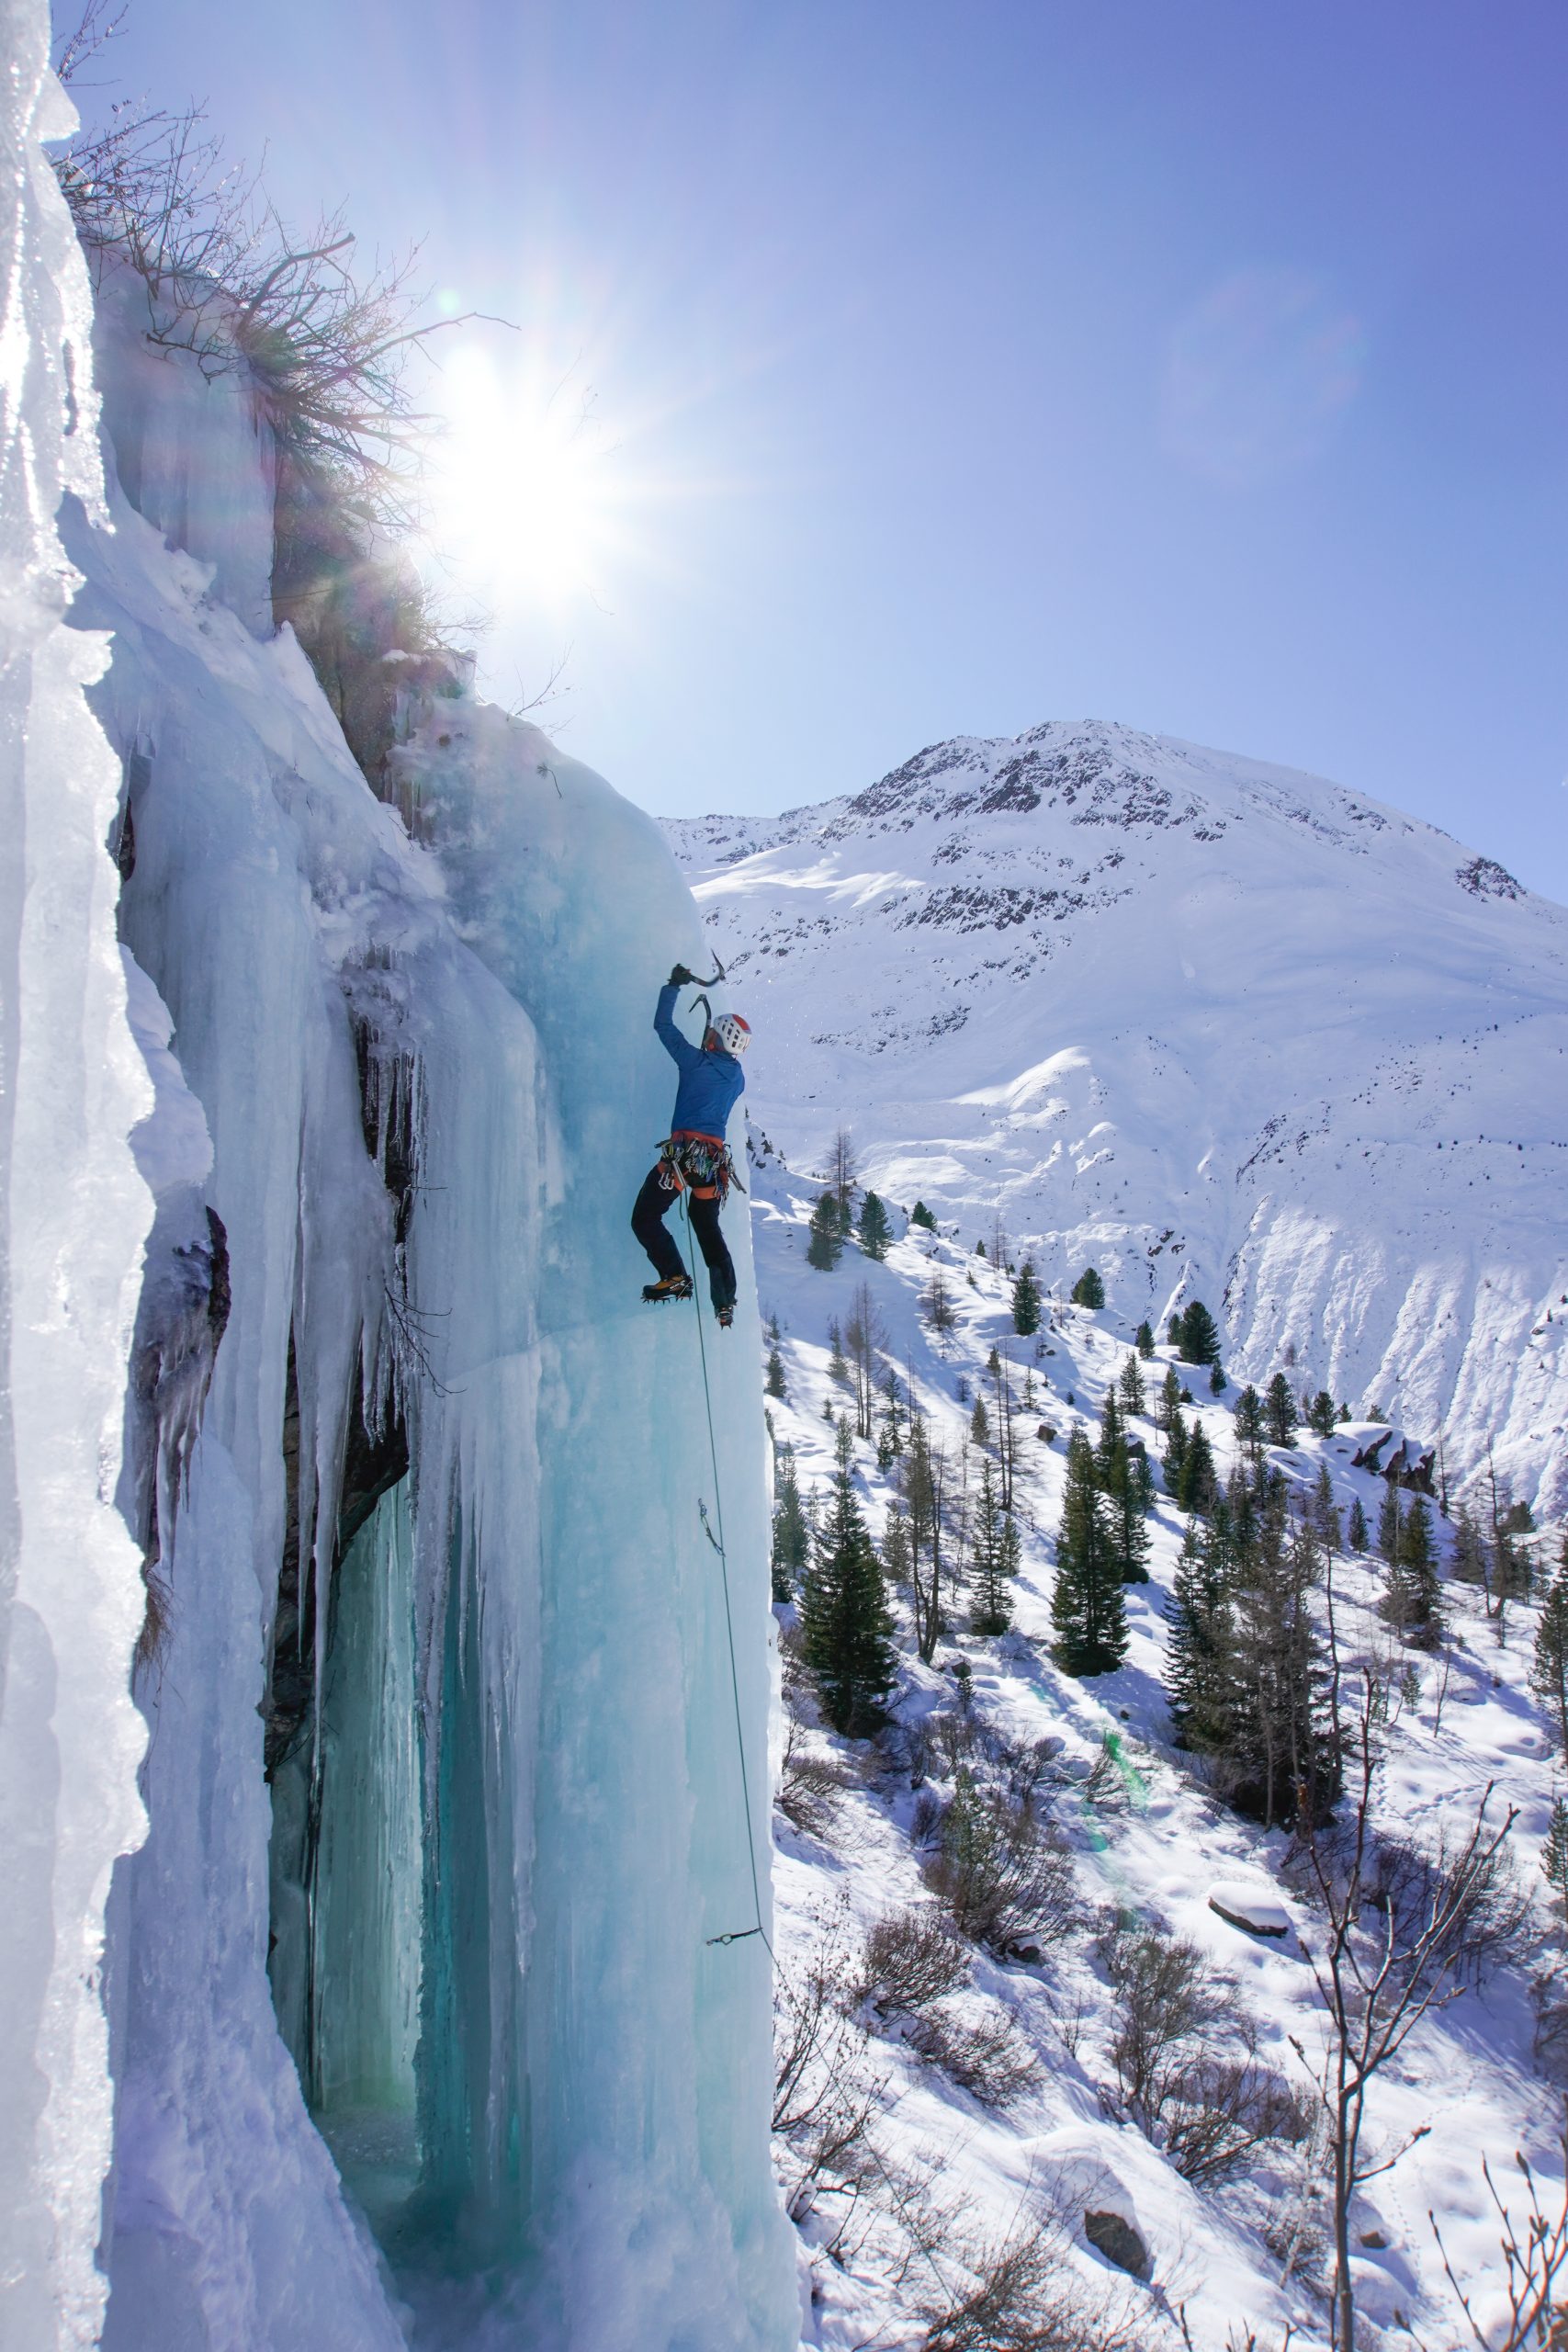
Serdar, the winner of our competition in cooperation with Austrialpin, has a good look - the ice around us is quite steep. There's even a 10-meter-high pillar!
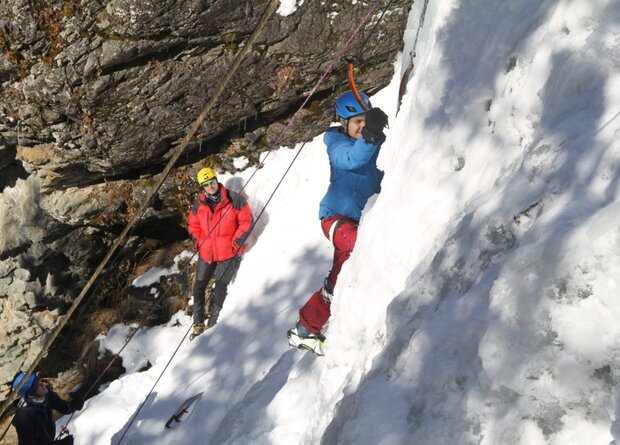
After an introduction to the equipment and how to put on crampons, it was time to get down to business. Although it was Serdar's first time ice climbing (and second time climbing at all), he did incredibly well! Despite his fear of heights, he climbed more than half the length of the rope the first time. On his second attempt, after getting used to and trusting the equipment, he made it to the top. The fun he was having was hard to miss. He couldn't stop smiling.
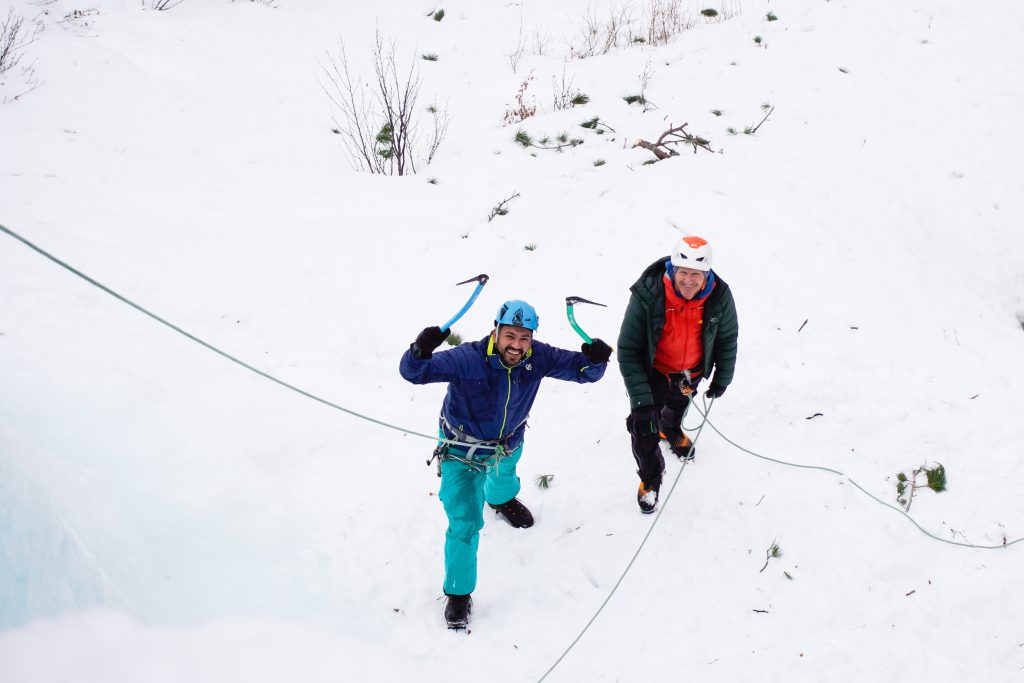
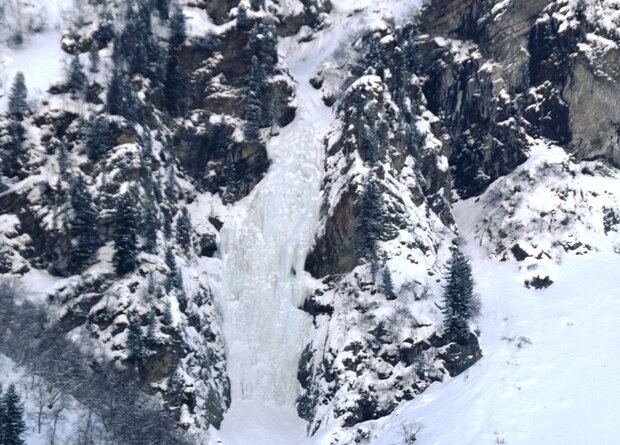
Now our winner had finally tasted blood (or ice cream) and was unstoppable! Thank goodness he was too hungry at some point and it was time for a snack. But our snack spot was anything but ordinary: our mountain guide Michael had a very special place for us. However, we first had to climb to the top of the icefall. There, a wonderful snack spot in the sun awaited us, with a fantastic panorama included.
"With a bit of luck," Michael told us, "you might even see bearded vultures nesting here again."
After a long break and exciting stories from the mountain guide, we took a leisurely walk back to the start. True to the motto "Stop when it's at its best", we ended this instructive and eventful day with a short snowshoe hike back to the car. Serdar's summary? "An experience in a class of its own!"
How-to: Basic ice climbing techniques
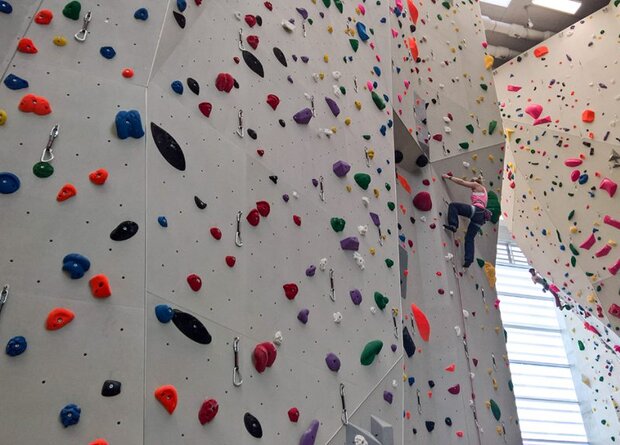
If you want to start ice climbing, you should already be familiar with climbing on rock or in the gym and know how to belay correctly and master the standard knots.
Climbing
As with rock climbing, climbing is the be-all and end-all of ice climbing. In contrast to rock climbing, we ideally always have our feet at the same height when ice climbing. As we also climb with sharp objects on our hands and feet when ice climbing, it is all the more important to climb safely to avoid injury.
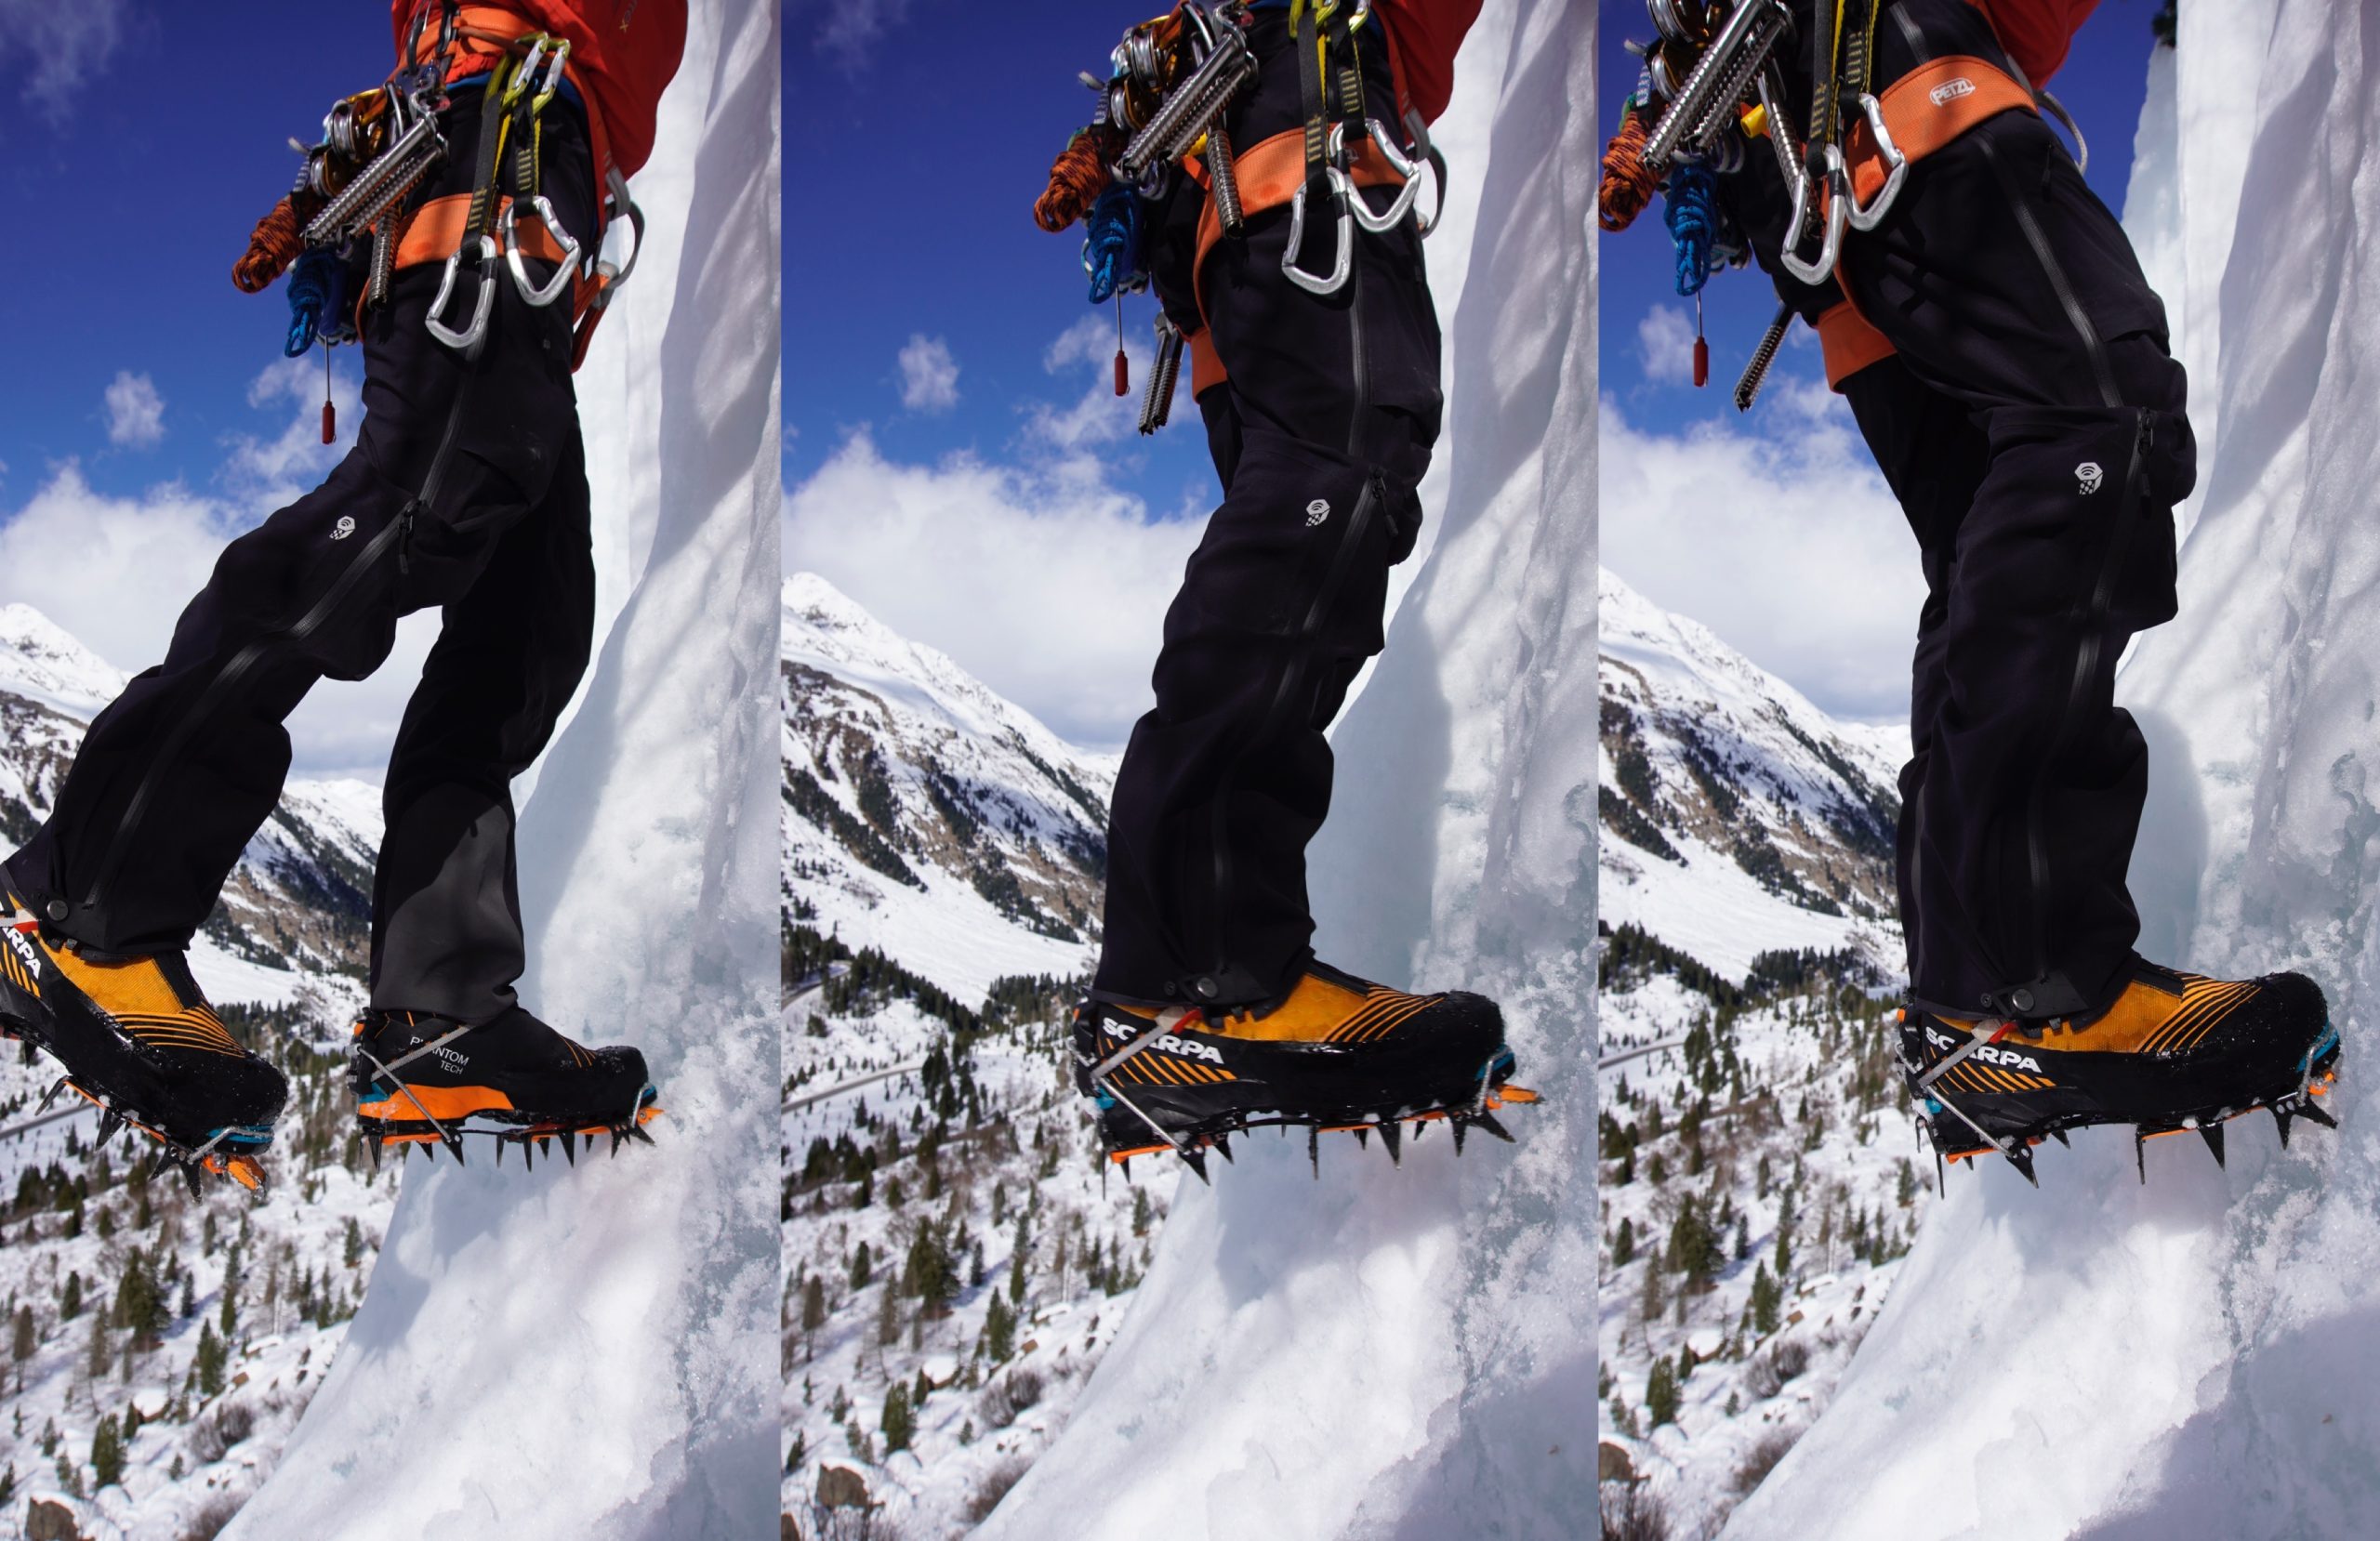
The right technique is essential for safe placement of the crampons. You kick into the ice in such a way that the crampon penetrates 90° to the surface at best. In this way, not only the frontal points but also the secondary points grip, which provide a great deal of extra stability. This is often referred to as "hanging your heels".
Special tip: If you find it difficult to strike the crampon at exactly this angle, it may help to remember to lift your toes slightly when placing it so that you feel a pull on your shin. Just give it a try. As with many things in climbing, it's all about feeling! Even if it's fun to hammer your crampons into the ice, it's not always necessary. In structured terrain, you can also simply climb up small platforms or hollows. The crampons are held in place by the pressure of our body weight.
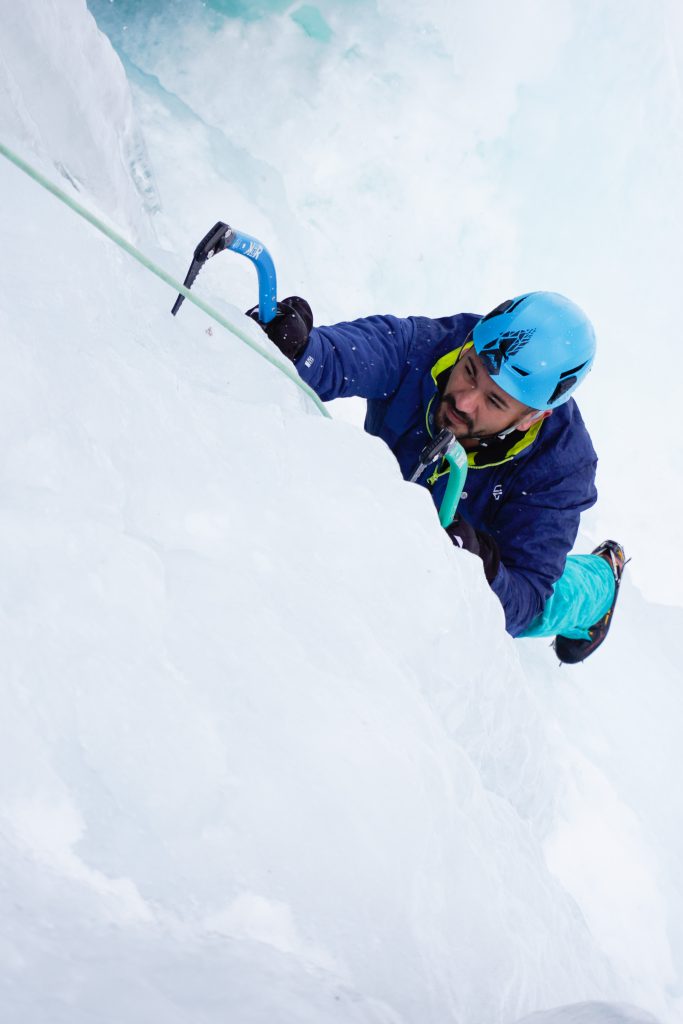
Hitting
So how do we strike correctly with our "weapons"?
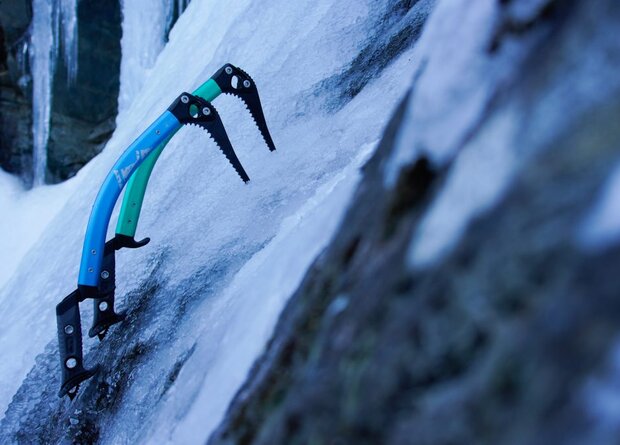
The more efficiently we use our ice tools, the less force and the more fun we have. Basically, we make the ice axe work for US with a flinging motion. Modern ice tools are now perfectly balanced and have most of their weight on the head to enable optimum penetration of the ice surface.
It is best to start with dry training to get a feel for your equipment and its swing.
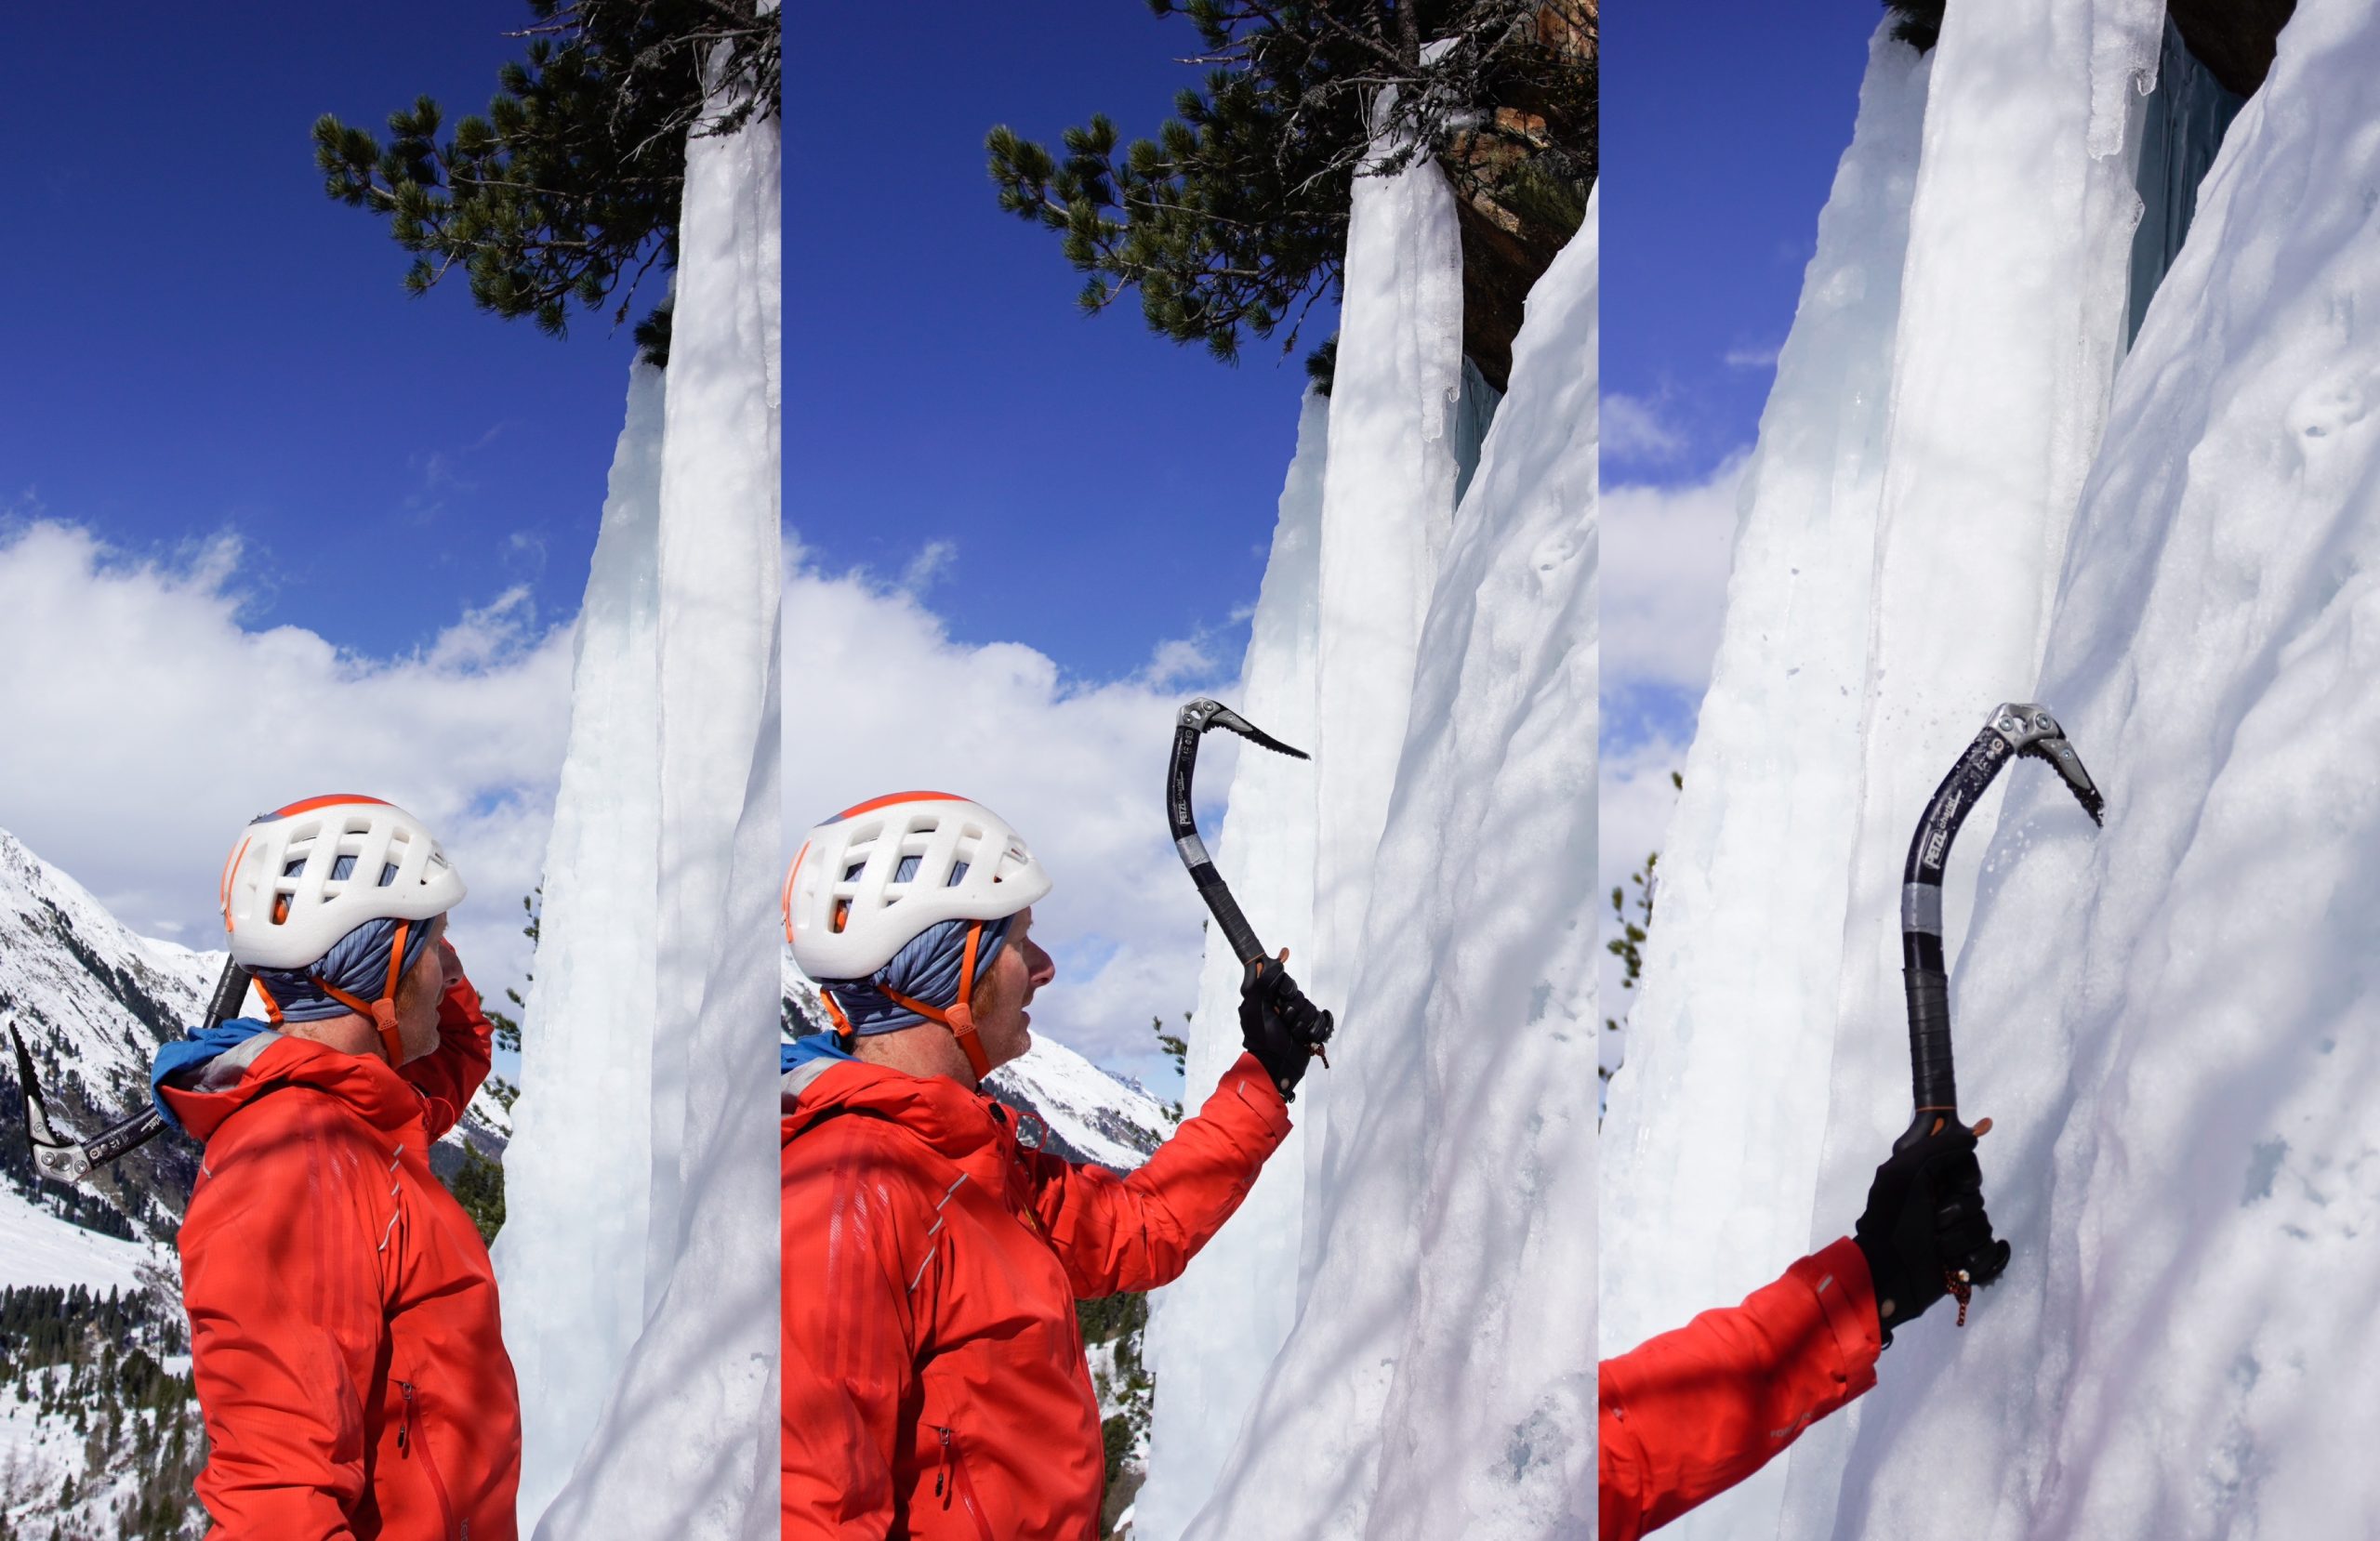
An ideal exercise would be the following: Take the ice tools in your hands and raise your arms bent over your head so that the back of the ice tools touch your back. Shoulder, elbow and hand are aligned. Now fling the tools forward. Finally, the trick here is to give the ice tool a little downward pull from the wrist. After a few swings, it should feel familiar until it's time to use it on the ice.
Special tip: If you find the last kick from the wrist difficult, take the ice tool in your hand and hold your hand very close to the surface of the ice. Now you hit the ice with the ice tool using only the movement in your wrist. After a short time you should get the hang of it!
Before that, however, it is important to recognize where the best places in the ice are to place our ice tools. In principle, concave structures are preferable to convex ones. Convex structures are traction zones and therefore have a lot of tension, which leads to a lot of cracking of the ice when you hit it. Therefore, preferably aim for concave structures. As with crampons, you don't always have to hit with ice tools. You can also "hook", i.e. simply place the ice tool in holes that have already been punched. However, this technique requires some experience to be able to assess whether the hook will hold.
When loading the ice tool, it is important to always keep the pull downwards and not to hold the tool too high up, otherwise it will quickly come towards you. To release the ice tool, lever it upwards. Never move from left to right, otherwise the pick will break off!
Movement sequence
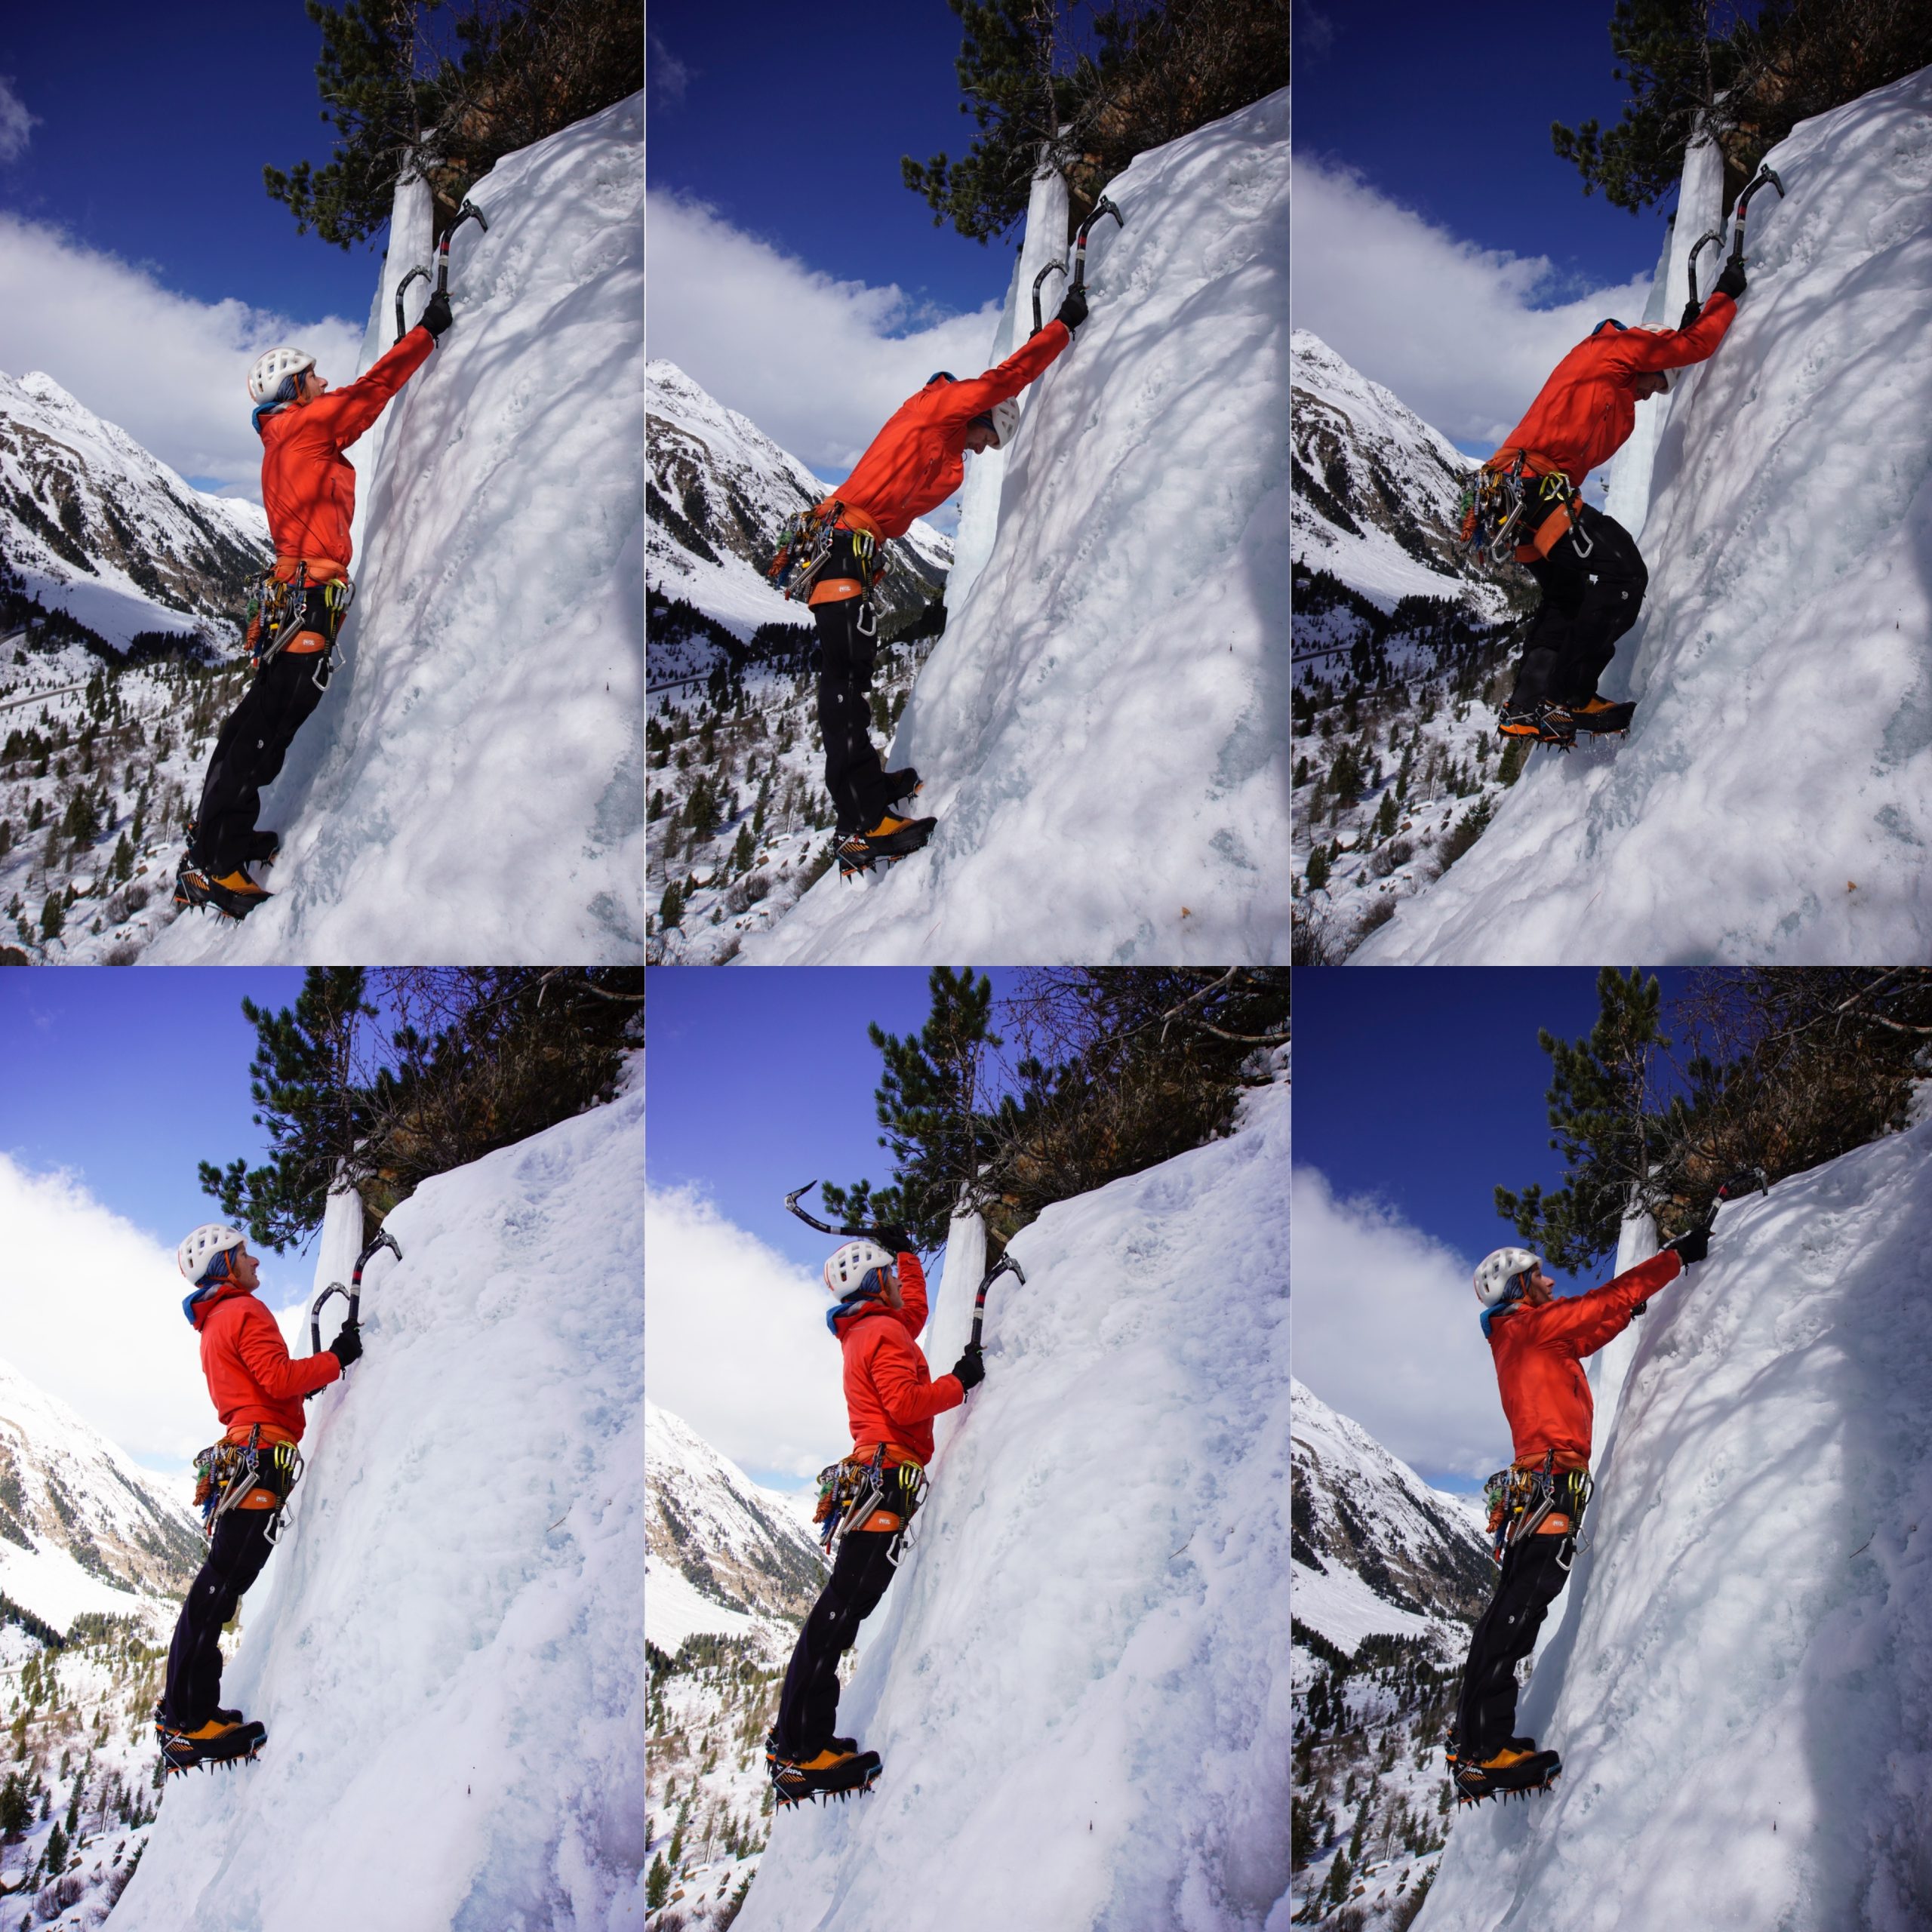
Once you have practiced placing the crampons and ice tools, you can concentrate on climbing. However, it is still important to know the correct sequence of movements for ice climbing. The "caterpillar technique" is best suited for beginners.
As with rock climbing, the starting position is a stable position. In ice climbing, this means well-placed ice tools, shoulder-width apart, at about the same height, arms long, good crampon placements at the same height and some arch tension. Now stretch your buttocks outwards, legs straight and look down to your feet. Then climb with small steps to the left and right until your knees are bent at about 90 degrees. Push your legs through and build up the arch tension again. Then release one ice tool and place it higher, release the second tool and also place it at approximately the same height. Finally, assume a stable position again. Now start again from the front, hips outwards, climb up ...
Special tip: If you put your belay gloves under your jacket while climbing, you will have nice warm gloves again when you come down. Conversely, you should also put your climbing gloves under your jacket while you are belaying or standing around so that you can start climbing with warm gloves.
Now it's time to apply what you've learned and make meters. Reel, reel, reel and you'll see how quickly you get the hang of it! To put it in the words of the winner "It certainly wasn't the last time ice climbing!"
We hope that these tips have made it easier and more appealing to start ice climbing and wish you a good and accident-free ice climbing season.
What equipment do we need for ice climbing? Clothing
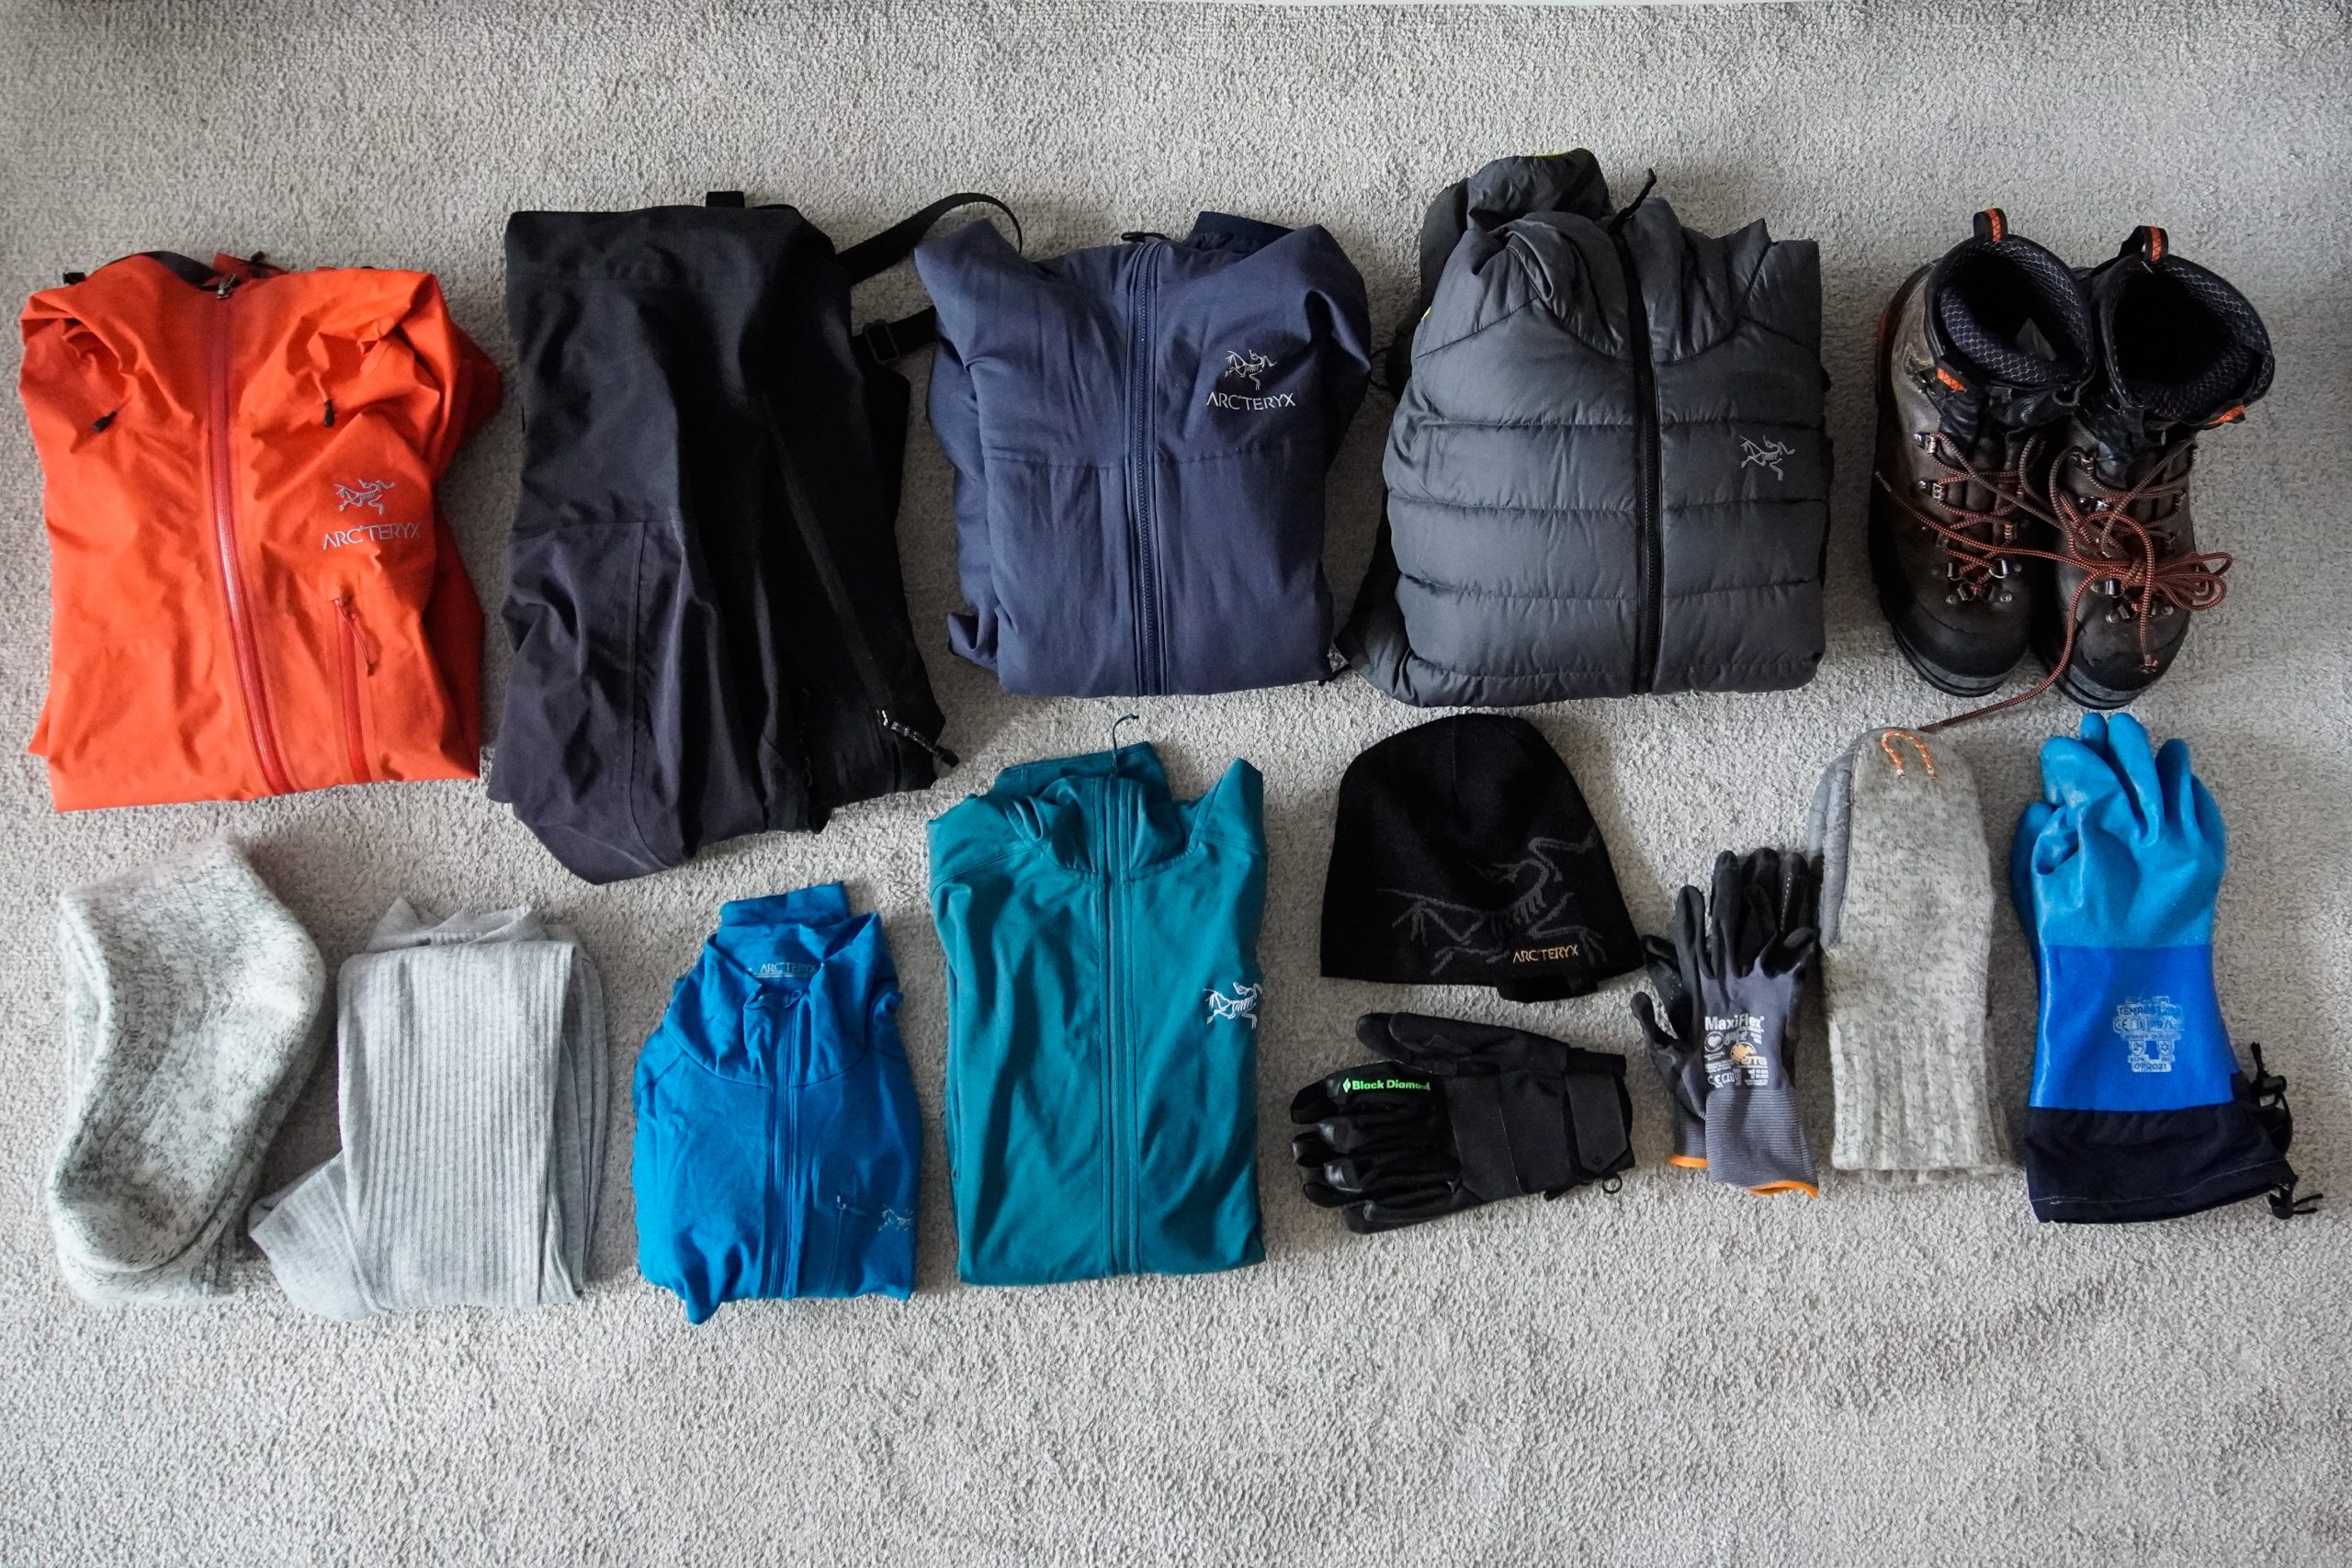
Similar to ski touring, the onion layer principle is also recommended for ice climbing. The bottom layer is functional underwear and warm socks. It is best to put a thin fleece pullover/jacket over these. Then, depending on the temperature and sensitivity to cold, choose a thin insulating jacket (e.g. thin Primaloft or down). The outermost layer should be a water-repellent jacket and trousers. The climbing harness then goes over these. Our "climbing outfit" is ready!
However, as you can quickly get cold when belaying and standing around, we recommend a nice warm down jacket to put on over it. If you want to be really cozy and warm, invest in a pair of down trousers. Of course, a thin hat, ideally a "helmet hat", should not be missing under your helmet to keep your ears nice and warm.
Footwear
For ice climbing, a fully crampon-compatible boot in category D is highly recommended. Whether you choose a synthetic or traditional leather mountaineering boot is a matter of taste. The synthetic ones are usually lighter, but not as durable as the leather ones.
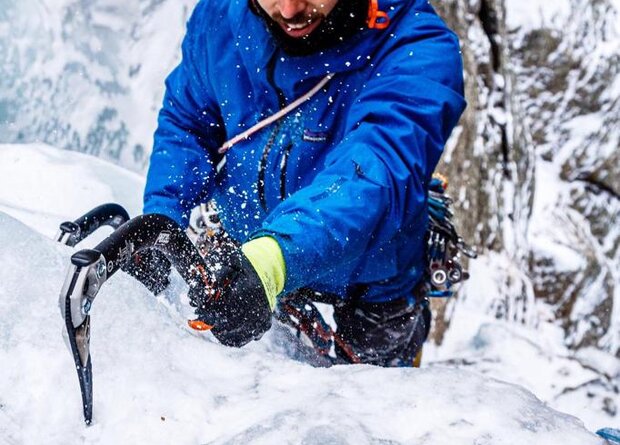
Gloves
Nowhere are opinions more divided than when it comes to gloves. Some people swear by gloves specially designed for ice climbing, others use gloves from the DIY store and others use golf gloves. But which are the right ones for me as a beginner? First of all, you should differentiate between gloves for belaying and standing around and those for climbing. When you're just standing around, you quickly get cold and experience has shown that your toes and hands are usually the first to freeze. That's why warm gloves, such as mittens or thick finger gloves, are worth their weight in gold. They don't have to be particularly dexterous, but only have the task of keeping your hands warm. For belaying, however, you should have enough feeling in your hands and gloves to ensure safe rope handling. Thick gloves with leather inserts are ideal for this.
When climbing, you want to have as much feeling as possible in your hands, otherwise you will grip unnecessarily tightly and need unnecessary strength. Nevertheless, they should have a certain amount of insulation. This is where ice climbing-specific gloves, which are now available from a number of manufacturers, are perfect. Unfortunately, however, these are usually quite expensive and break quickly.
As an alternative, cross-country skiing gloves or winter work gloves from the DIY store, for example, also work well. Many an ice climber swears by them. If it gets really extreme and you need as much feeling and grip as possible, many a professional will reach for golf gloves.
Hardware

The pro's packing list: Ice tools, Crampons Ice screws (8-10 pcs.), Express slings, Half ropes/single rope, Prepared belay sling, screw carabiner, belay device/abseiling device, Rope material, Pieces of half rope (approx. 1.8m) for ice hourglasses, Hourglass threader, knife, harness, helmet, First aid kit 40L backpack