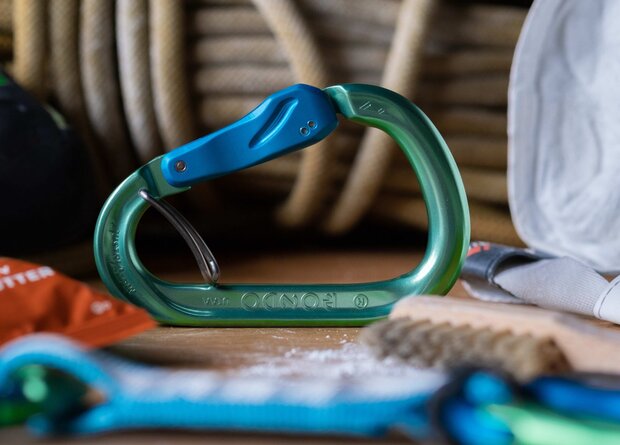
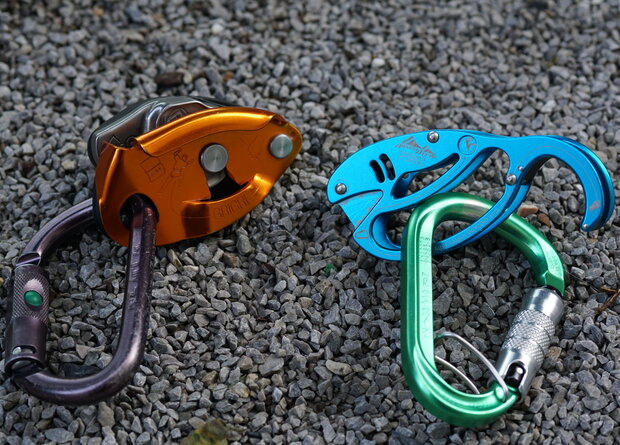
It is almost as important as a rope and belay device: a reliable guide is simply part of the climbing equipment. Climbing guides provide information on routes, difficulty levels, access and other details that are important for a successful day on the rock.
However, you often don't realize how much work goes into these practical books. Working on a reliable climbing guide has absolutely nothing to do with the romantic idea of going climbing, taking a few photos and then putting all the information on paper.
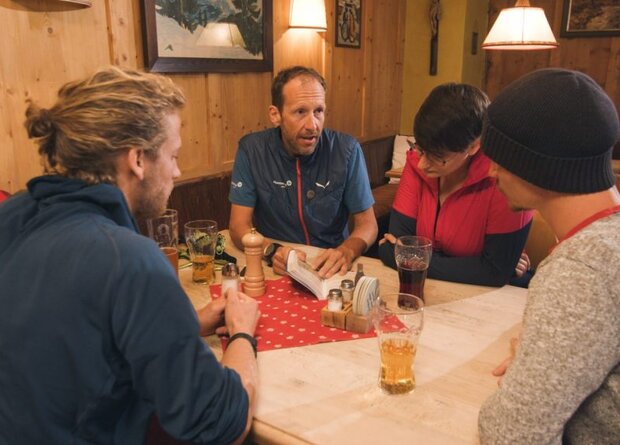
Günter Durner from Am-Berg Verlag in Garmisch-Partenkirchen, which is known for its tour guides and textbooks, has summarized for us what is important when creating a climbing guide.
Climbing guidebook project: basic considerations
Producing a successful climbing guide requires a lot of know-how, many tools and numerous individual steps. At the beginning, you should always think about what you actually want to achieve with the climbing guide and what is needed to do so before implementing the individual steps.
A good concept is essential
Apart from the climbing area that you want to describe, you should think about a concept right at the beginning, from which all the individual parts that you need can be derived.
This includes the following:
Wall photos (high-resolution, detailed, razor-sharp images)Route information (route list, length, difficulty levels)Texts (area, route and access descriptions)Maps (overview maps, directions)Climbing photos (special pictures with an appealing visual language)
You should be able to contribute the following points for the implementation or have someone who can help:
CreativityKnow-how (image editing, illustration, layout)Technical equipment (full-format camera, high-end PC, professional software)Countless hours of workTremendous stamina
A climbing guidebook contains a lot of information, which also needs to be clearly presented in an appealing layout. Hardly anyone realizes how time-consuming and complex it is to turn a blank sheet of paper into a finished product for the book trade.
If you want to write a climbing guidebook, you should know in advance exactly what you need. Good pictures are a must.
Nothing works on the side
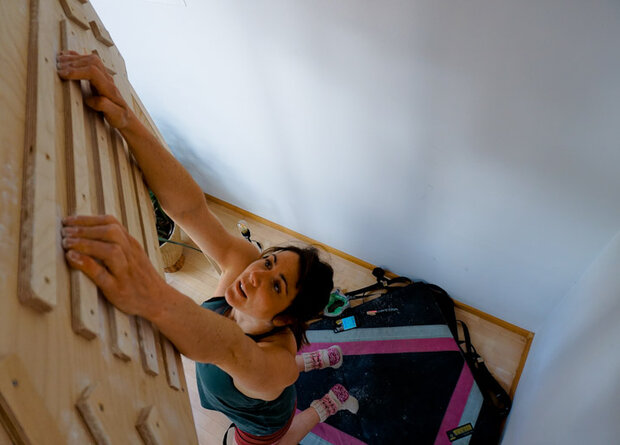
In any case, the work of writing a climbing guidebook is miles away from the romantic idea of going climbing and recording one or two pieces of information and then squeezing the whole thing between two book covers and publishing it as a climbing guidebook. To produce a climbing guidebook, you need a completely different way of climbing. One in which the focus is not on the fun of climbing, but on collecting information and data.
PC mouse instead of climbing holds
Unfortunately, most of the time is not spent on the rock, but at the computer, sifting through, verifying, processing and shaping the huge amount of data. The unavoidable need to process data on the computer is often more of a challenge for me than climbing a difficult route. My very high standards of quality and striving for perfection mean that the climbing guidebook project is only finished when I am really one hundred percent satisfied. Unfortunately, no matter how conscientiously and well you work, you can't please everyone. There are always people who have something to criticize, but that is usually an incentive for me to make the whole thing better in a new edition.
8 steps to the finished climbing guidebook Step 1: Climbing guidebook concept
The first and most important step is to create a climbing guidebook concept. This lists all aspects in detail and describes exactly what needs to be done when and how. The more precise the concept, the easier it is to implement. In fact, the whole thing is nothing more than project management.
Step 2: The "on-site research"
In the course of the "on-site research", all relevant information and data such as access time, route length, difficulty levels, GPS coordinates and much more is collected. Wall and climbing pictures are also taken.
Step 3: Layout
Once all the information and data from the "on-site research" is in the box, the real task begins - sorting the data. First, an appropriate layout is created in a layout program so that it can then be filled with the prepared data.
Step 4: Creating the photo topos
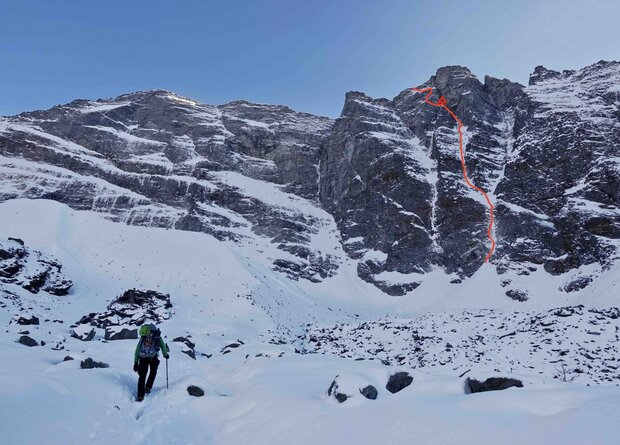
The heart of every tour is the photo topos. To create a photo topos, the corresponding wall image must first be selected. It is then edited using the appropriate programs and the routes, deviations, belays and numbering are added to the mural.
The core of a photo topos
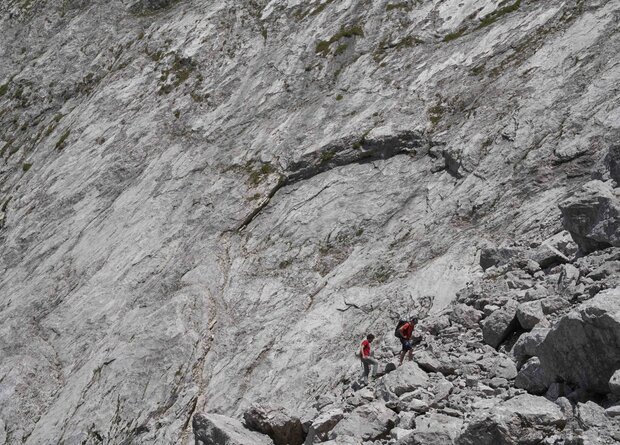
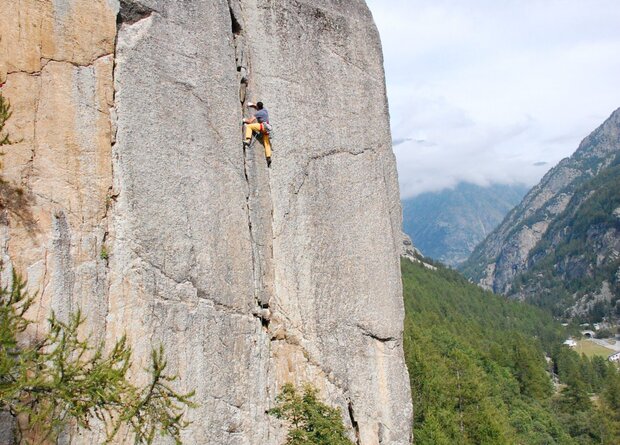
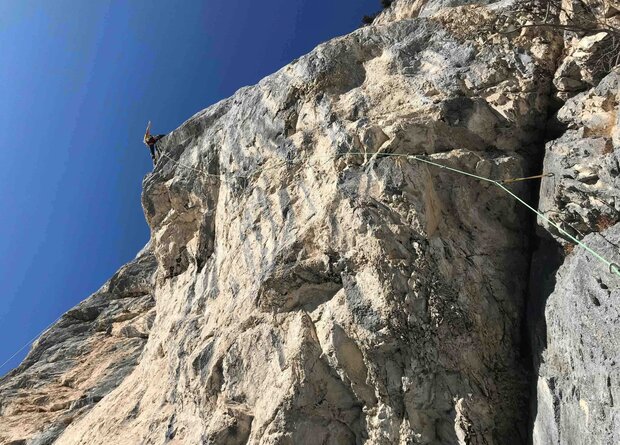
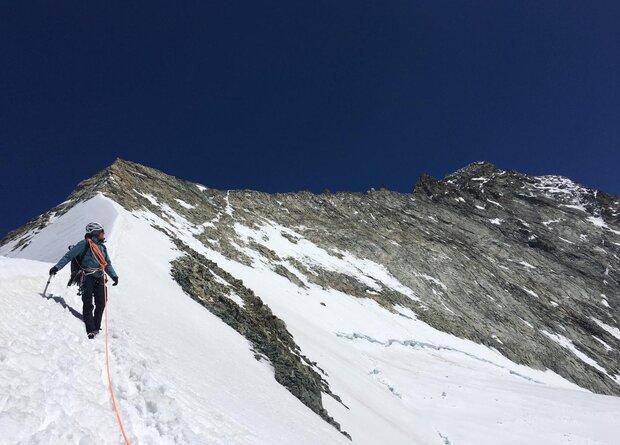
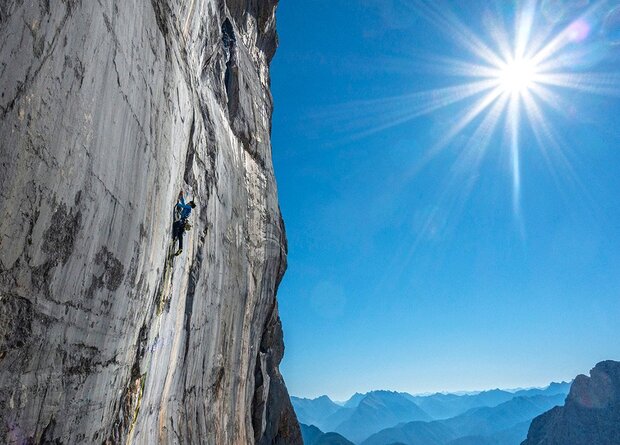
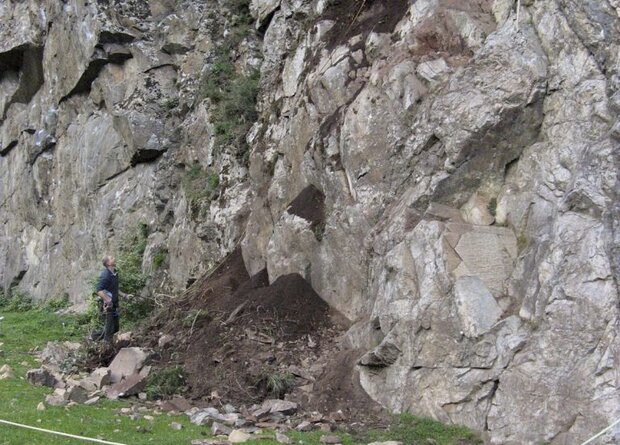
Taking a photo of the wall is a major challenge, as this is the basis for a photo topos. The quality of a photo topos depends on how good the mural is. Photographing a wall in such a way that you can create photo topos from it is much more difficult than you might think. It depends very much on the perspective from which the wall is photographed, as the user wants the most realistic representation possible on site. The lighting conditions must also be taken into account. Beautiful, sunny weather is unfavorable because the light and shadow conditions are then too great. Vegetation in front of a wall, a steep, sloping wall base, etc. also make it difficult to depict the wall. I usually take several hundred pictures of a wall. Only a few of these pictures are suitable as wall pictures.
Only a good wall photo is suitable as a photo topo, source: Am-Berg Verlag
Step 5: Creating the route maps
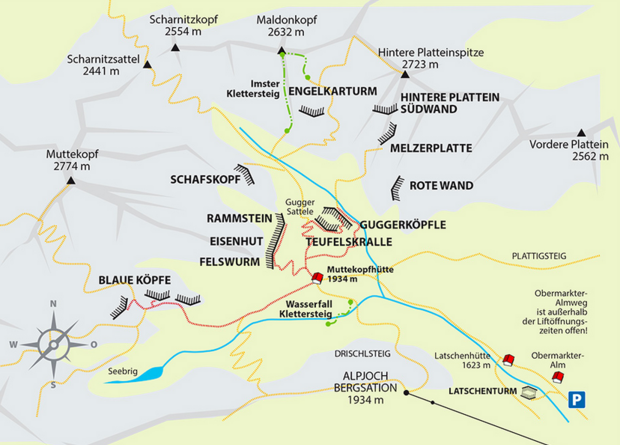
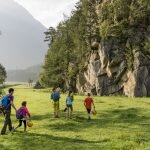
A good climbing guide also includes an approach map so that the crag can be found. The approach maps are created in a graphics program and prepared accordingly.
Good directions maps and a coherent symbol language are also part of an appealing climbing guide, Source: Am-Berg Verlag
Step 6: Merging all the data
As soon as the photo topos and access maps are ready, the area, route and access descriptions, GPS data and other information are compiled. Everything flows together into the layout of the book. As each area has its own peculiarities and each climbing garden is different in size, the layout often has to be adapted. In line with the design principle "Form follows function".
Step 7: Control
All information is checked, supplemented or corrected by "locals". This process can take quite a long time and is often very "nerve-wracking", after all, numerous quality features have to be discussed, decided and fulfilled.
Step 8: Pictures
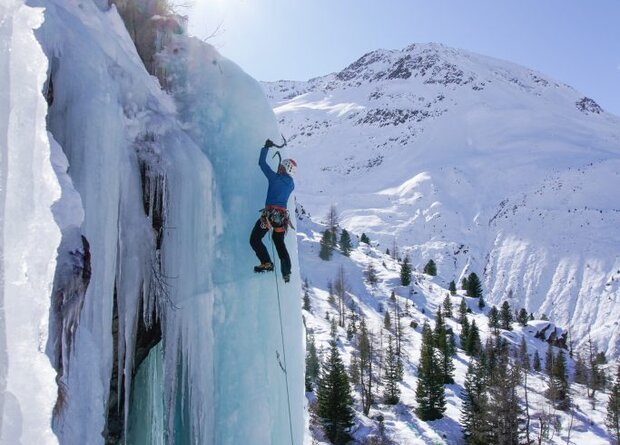
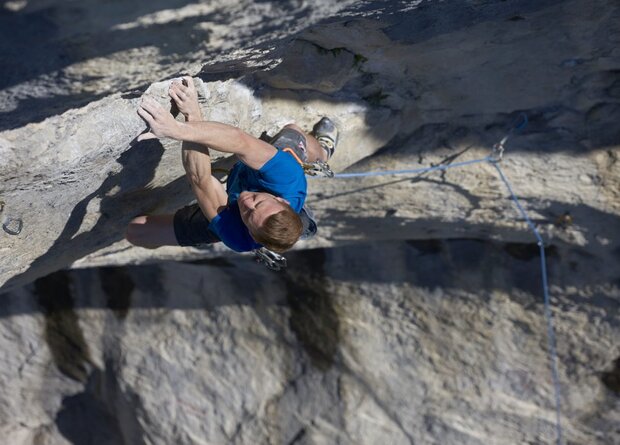
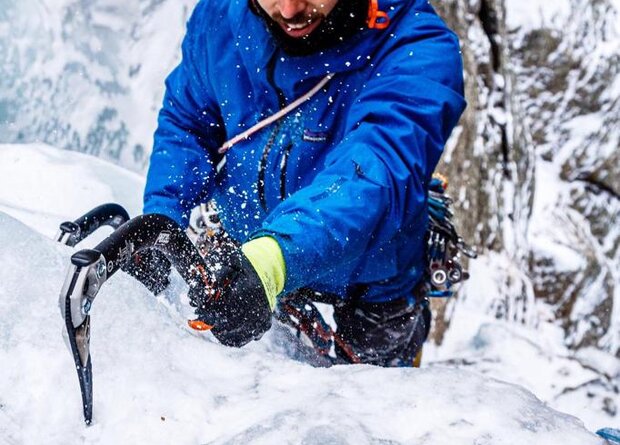
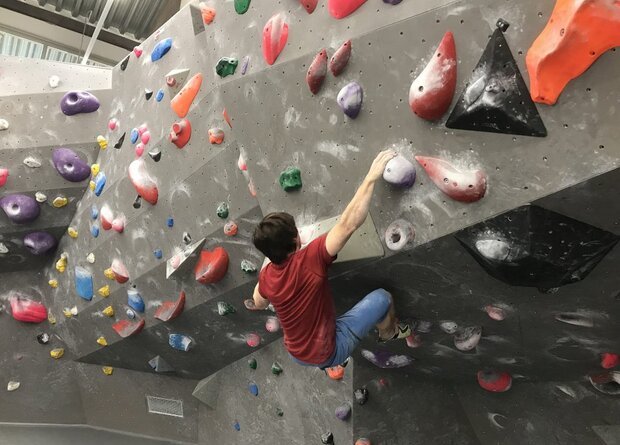
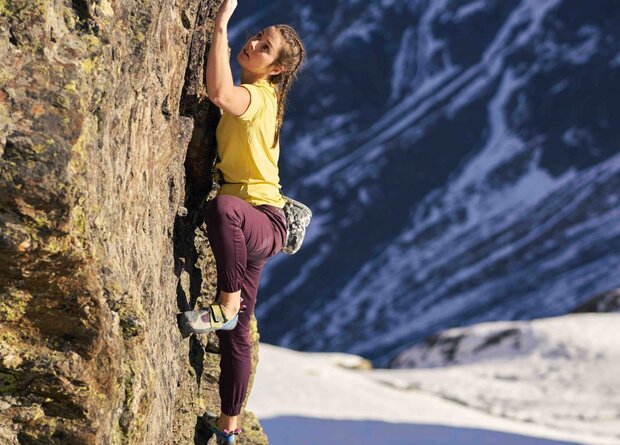
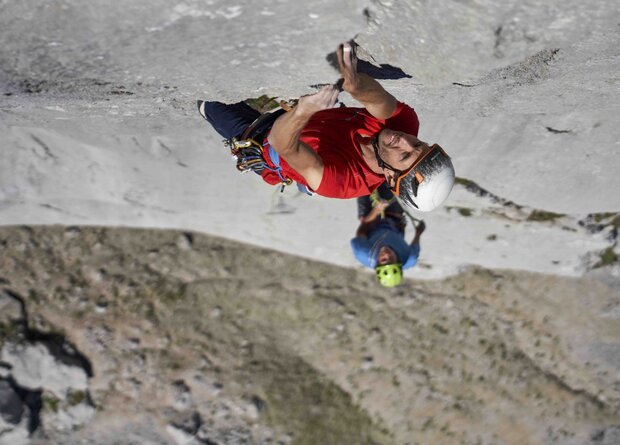
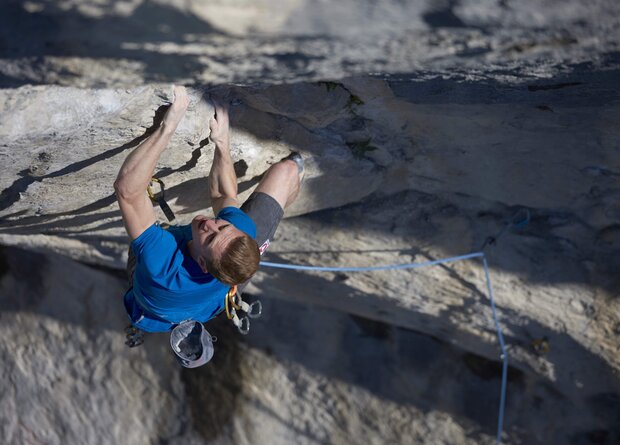
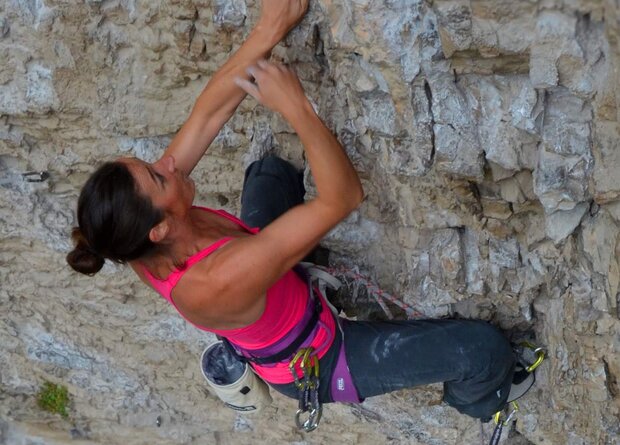
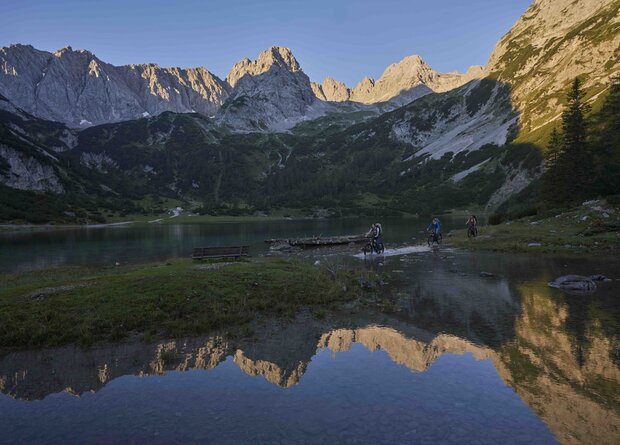
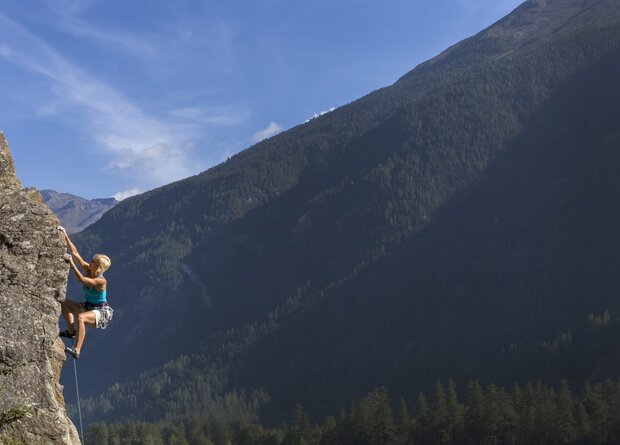
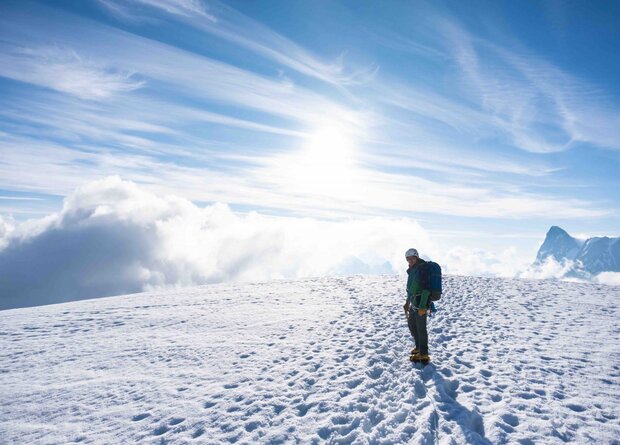
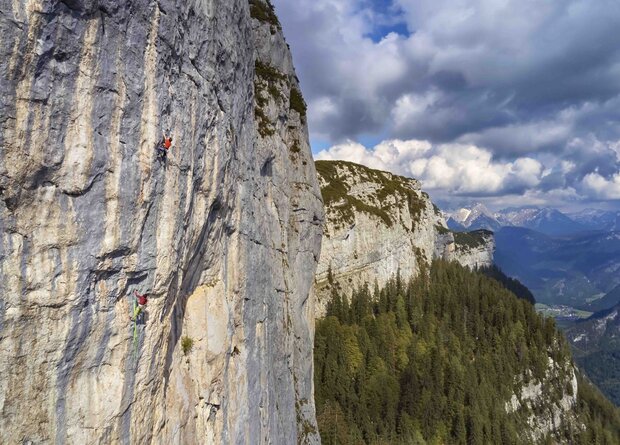
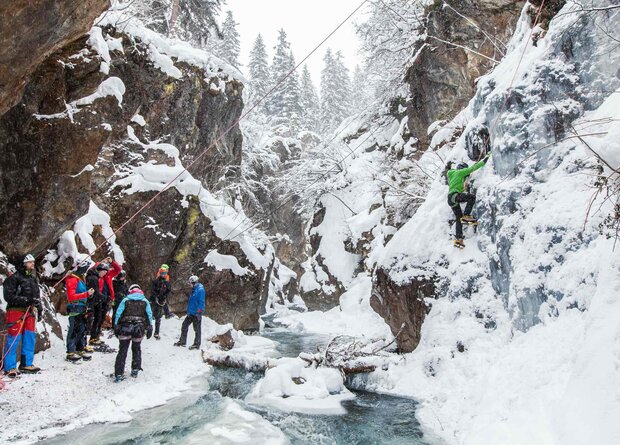
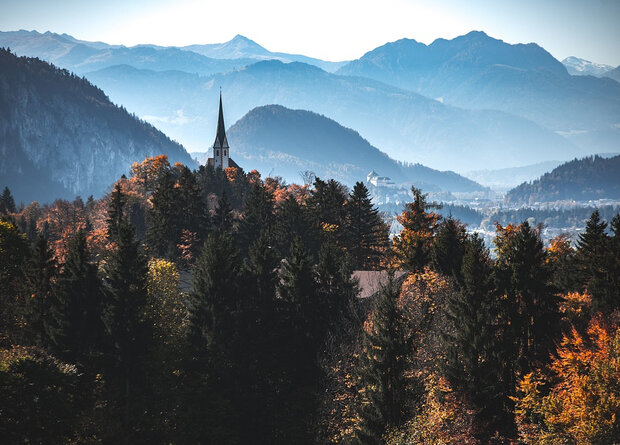
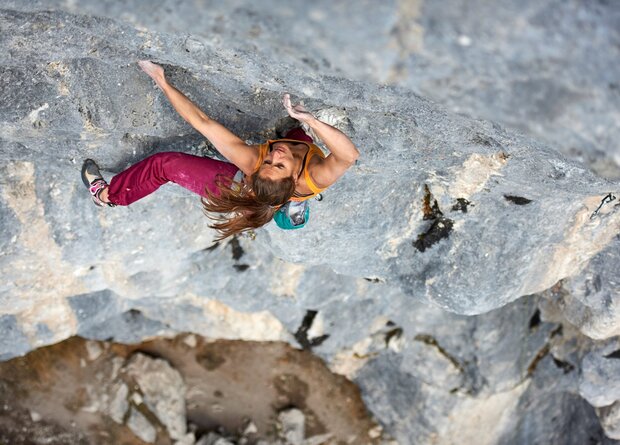
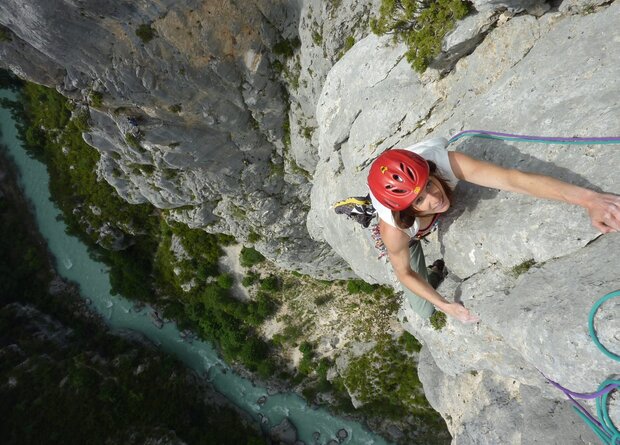
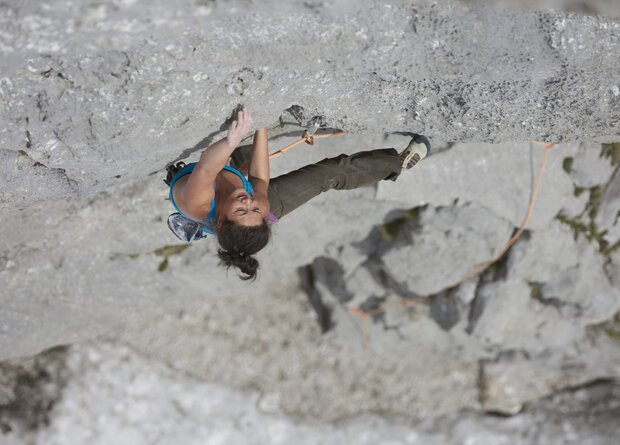
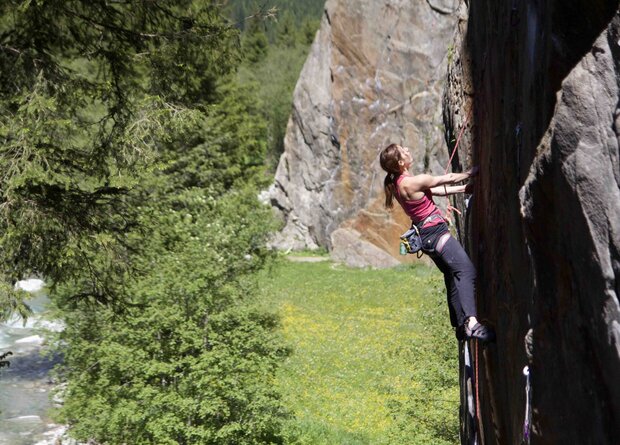
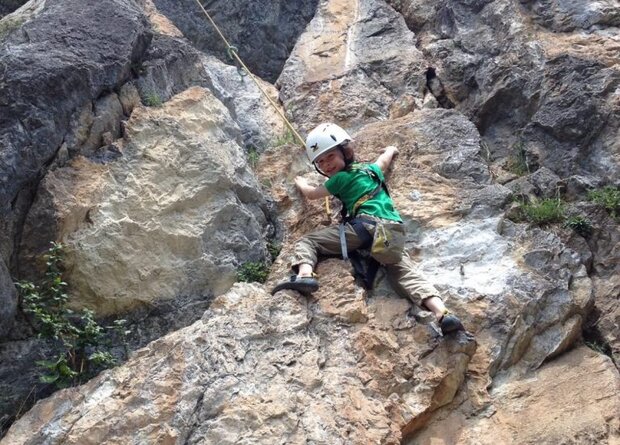
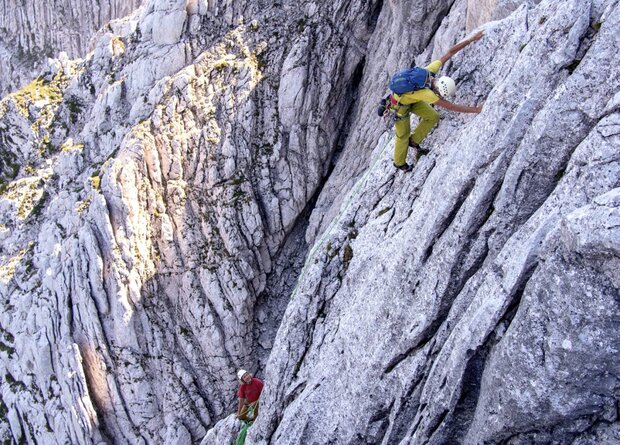
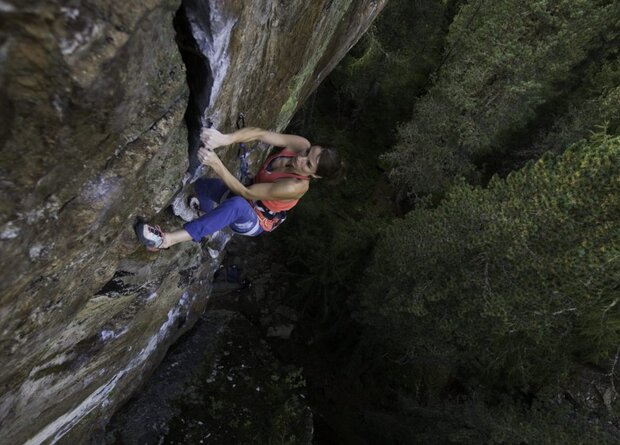
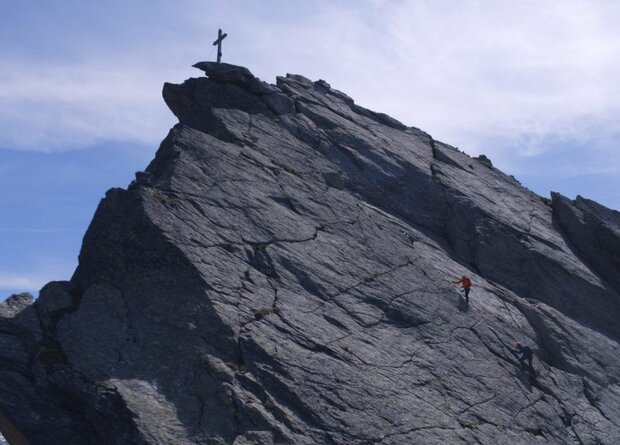
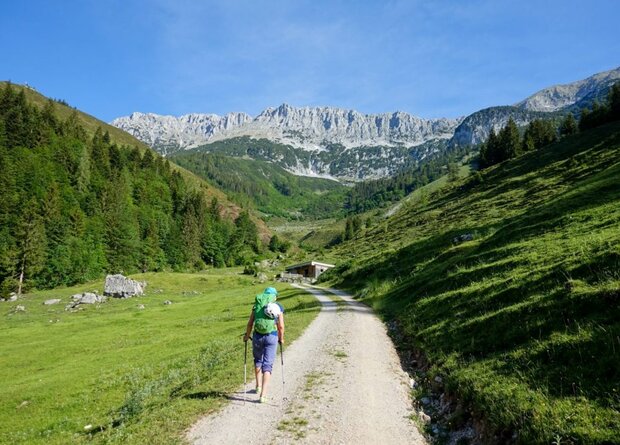
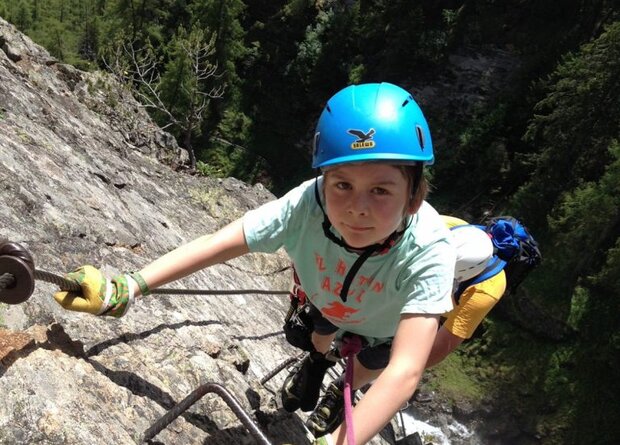
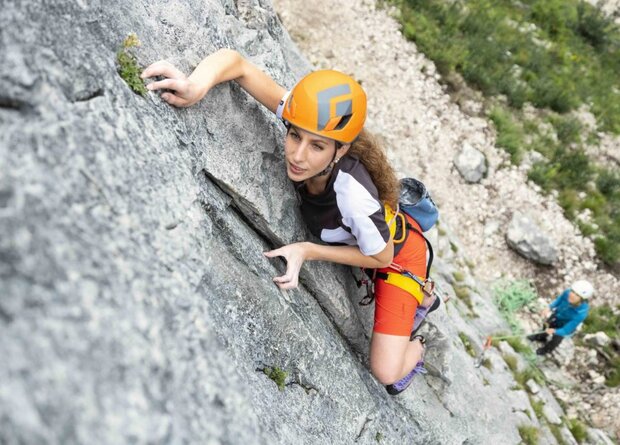
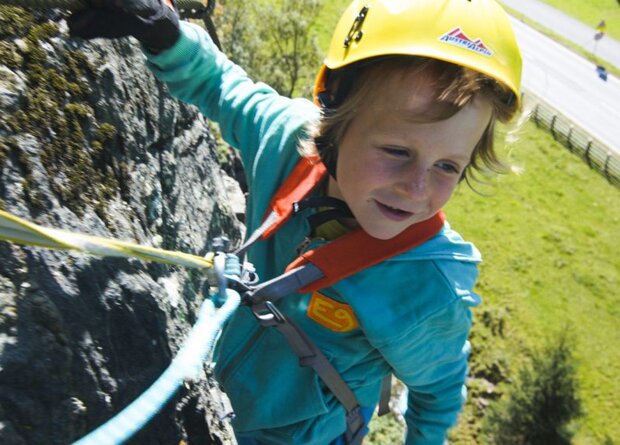
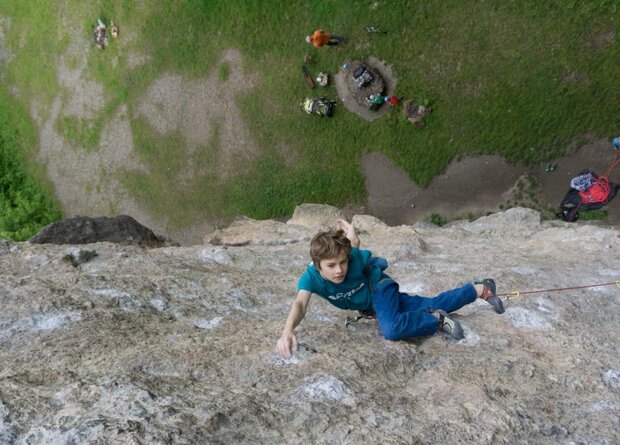
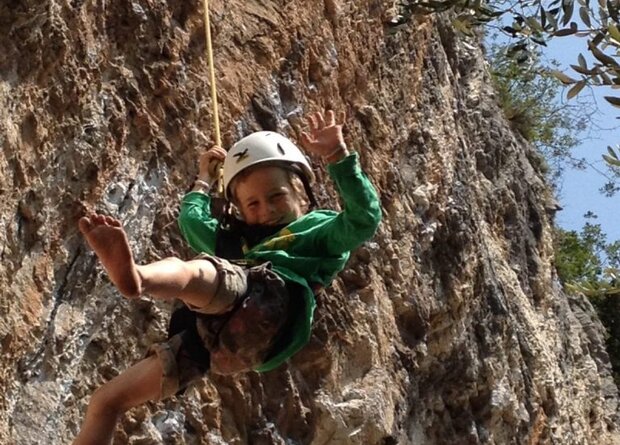
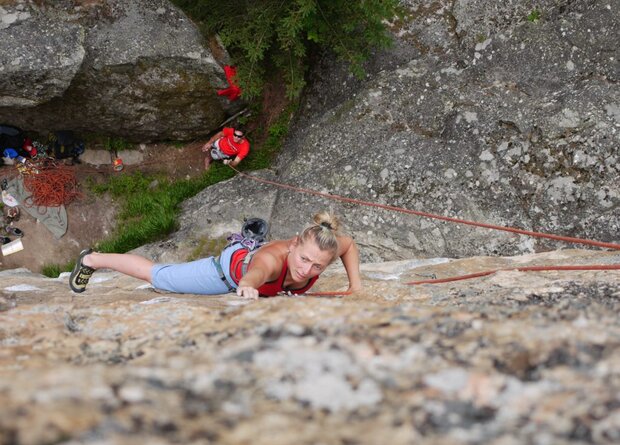
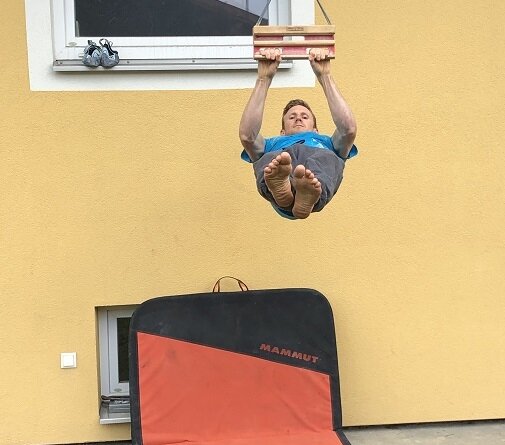
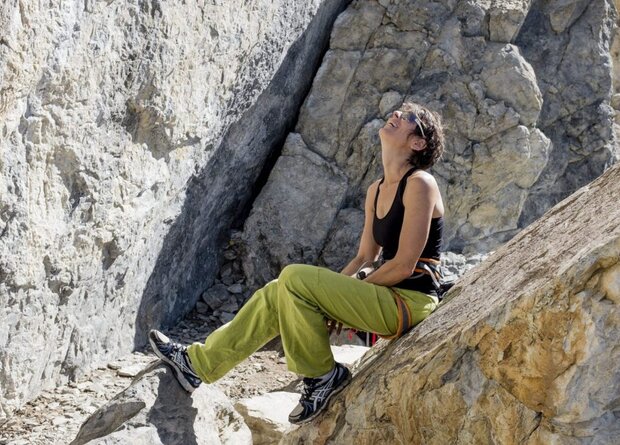
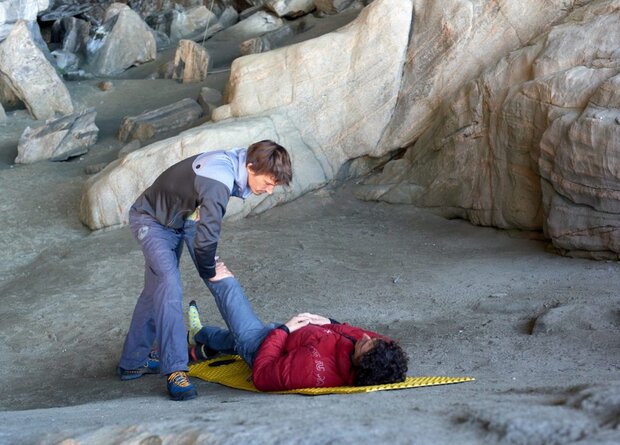
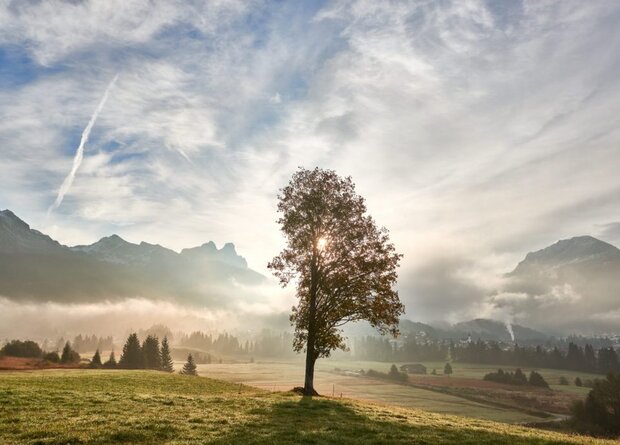
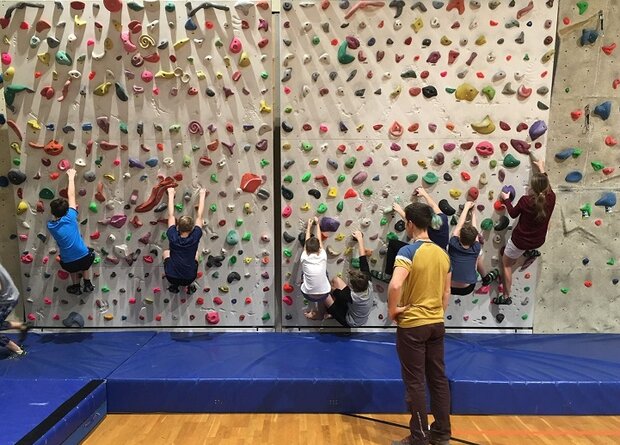
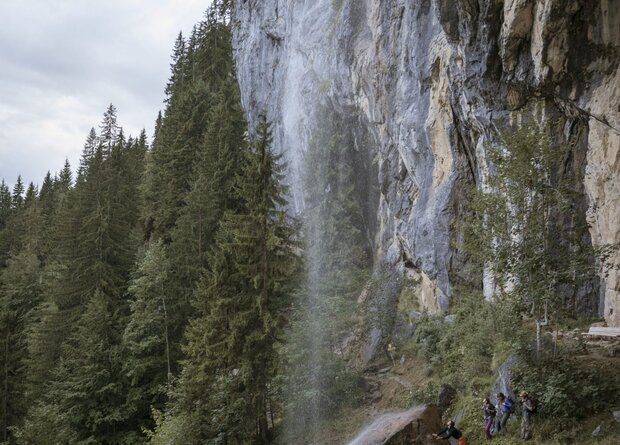
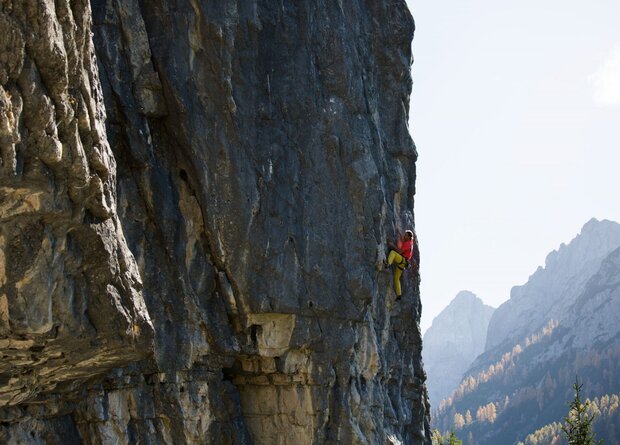
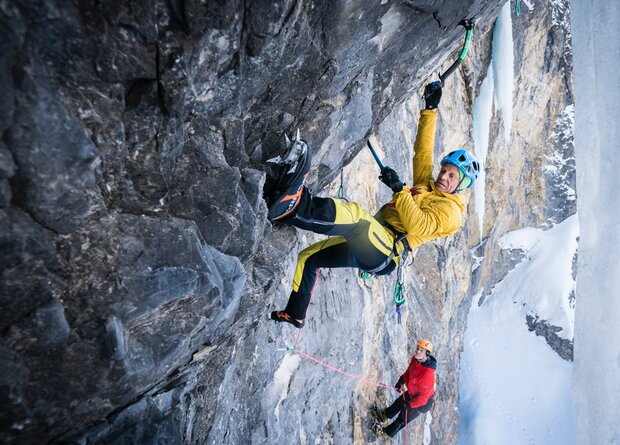
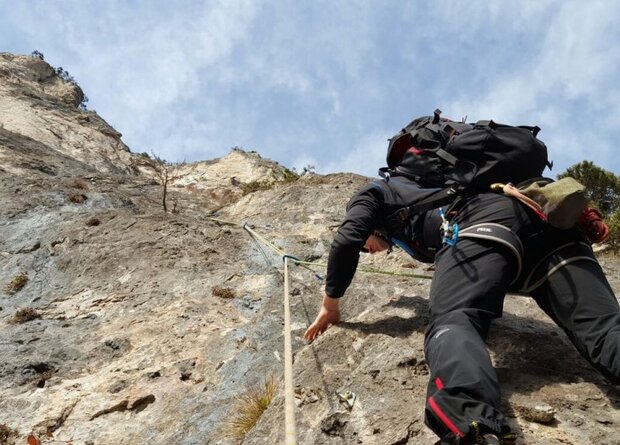
A climbing guide without pictures is like a route without bolts. So climbing pictures are needed. When it comes to the imagery in my climbing guides, I make sure that the pictures "say" as much as possible about the area. The pictures should show what type of route it is, what the landscape looks like, whether it is shady or sunny, whether the rock is in the forest or in open terrain. And last but not least, the climbing pictures should also make you want to climb.
Really good pictures should make you want to climb.
Step 9: Print
Once these hurdles have been overcome, the climbing guide can go to print.
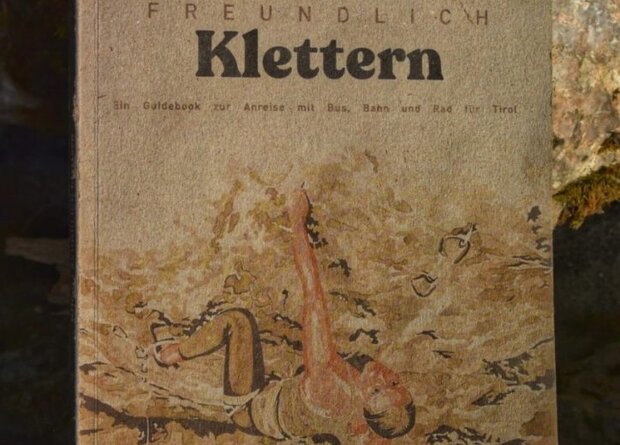
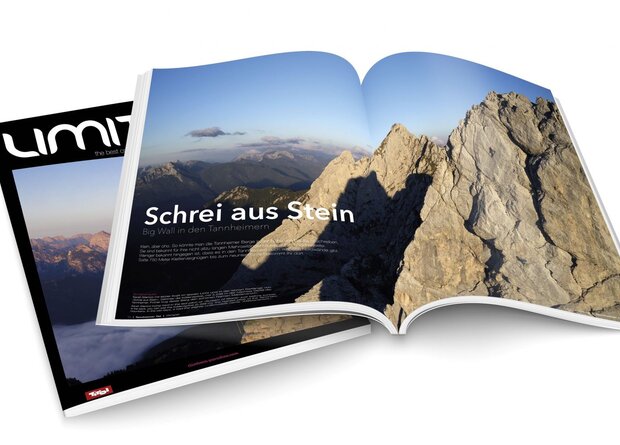
The final product is the finished climbing guide, which is available in bookshops, Source: Am-Berg Verlag