Some days, unfortunately, things get in the way of your motivation to climb. There can be many reasons for this: bad weather, everyday commitments, screaming children or perhaps simply a long day at work.
To make training possible even under adverse circumstances, we have put a little thought into designing a training station for your home. It should be noted that we are only presenting a reasonably well thought-out suggestion here, particularly with regard to the arrangement of the handles. There are no limits to your own ideas.
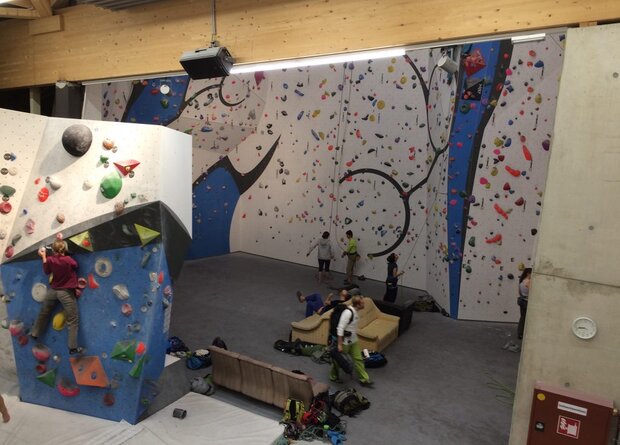
Our initial situation for the climbing gym
It was clear to us from the outset that it would be difficult to bring a complete training area into the living room. Our aim was therefore to find a good compromise in order to be able to carry out static strengthening exercises at home as efficiently as possible, especially for the fingers and core muscles. The most common grip positions (crimps, slopers and pliers) should be available, although the focus was more on crimps and slopers.
There are now also commercial providers such as the home solutions from Dave MacLeod or Rustam Gelmanow, although these are in a fairly high price category. DIY also gives you a good feeling.
With a very manageable amount of money and time, we have managed to create a small but excellent home training station that perhaps one or two of you will want to replicate. Give us your feedback, we'd love to hear it!
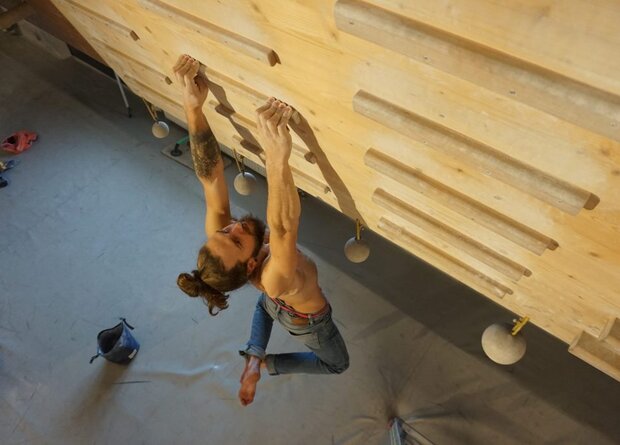
Before we take you through the construction step by step, here is a picture to tease and visualize:
Material and costs Materials For the body: Two multiplex boards measuring 125 cm x 50 cm, a 113 cm solid structural timber (KVH) as a connecting piece for the two boards (bottom), another 113 cm KVH, which is screwed upright onto the connecting KVH behind the Multiplex if you want to mill the plug-in holes. For the T-legs: Two 2 m long and 1 m wide beams each, two 90 cm x 65 cm x 65 cm triangles from the multiplex board (triangle of forces).
Note: In total, you will need approx. 8 m of 100 mm x 60 mm solid construction timber for the beams and connecting parts.
Wood screws
Dimensions of the finished climbing gym:
230 cm x 125 cm x 100 cm.
Costs
approx. EUR 120, but without the hanging board, but including the sloper bars
Beastmaker: approx. EUR 125.-
Captain finger food solution: approx. EUR 150.
The climbing gym - the assembly instructions 1. cutting to size
We had the wooden parts for our climbing gym cut to size by a carpenter. This is probably also possible in any larger DIY store.
In the end, there are six parts for the posts and four parts for the board body. Only the cut-outs for the pegs are a little more complicated. Here we had to screw another wooden beam behind the multiplex to ensure more stability.
2. building the fingerboards
The board body should offer enough space to position many handles. We built it so that the bottom edge hangs at 1.80 m. Depending on your height and the height of the room, you can hang the board lower or higher.
Higher, however, only if you also extend the side panels upwards. We made sure that 30 of the 50 cm protrude into the body (see picture).
Tip: Compared to the Beastmaker, the Captain Fingerfood has the advantage that you can also adjust the tilt by 10 to 20 degrees with the same handle positions. In addition, the fingerboard is portable, so you can simply remove it from the holder and take it with you to the crag and when traveling.
3. ensuring stability - the basic body
We built the triangles (90 cm x 65 cm x 65 cm) for the feet from the rest of the multiplex board. We connected a 100 cm and a 200 cm long KVH at right angles. When fastening, it's better to use one screw more than one too few and make sure that the screws are long enough. You don't want the body, which weighs almost 30 kilograms, to hit you on the head. That would not be efficient training! It's best to ask the carpenter to give you a few tips so that you can be sure that the whole thing will be really stable.
The climbing gym must stand on solid legs, photo: Martina Scheichl
4. equipping the fingerboards
With regard to the "decoration" of our boards, we shopped at target10a.de. Here you can order sloper and campus board strips. We only ordered the sloper strips there and had the campus board strips made from the surplus multiplex. On the one hand, this saved us some resources, and on the other hand, we were able to choose the depth individually.
On the front you can see the Captain Fingerfood in all its beauty at the top and horizontally below it a 90 mm round campus board slat and a 2 sides wood stanchion 30 mm. To the right and left of this we have attached a 2 sides wood stanchion 45 mm and 30 mm. The holes are 70 cm apart and a third hole has been drilled in the middle (e.g. for tight pull-ups or to support single-arm hanging exercises on the back).
Climbing gym: The front fingerboard, photo: Martina Scheichl
For the fingerboards, we screwed a KVH over the KVH that connects the two Multiplex boards to achieve more stability.
We attached horizontal and angled slats to the back of the multiplex board. The horizontal slats are 60 cm long and 4 cm wide. The depth decreases by 2 mm from top to bottom (14 mm, 12 mm, 10 mm, 8 mm and 6 mm). The three rows of angled slats have depths of 14 mm, 12 mm and 10 mm.
Climbing Gym: The slats are attached to the back of the fingerboard, photo: Martina Scheichl
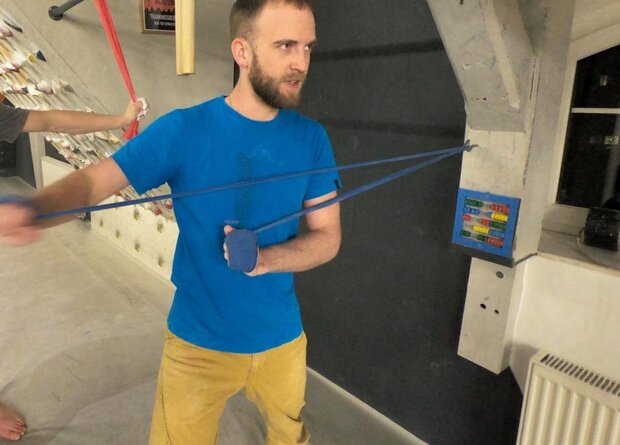
5. rings and carabiners - the extras
We have installed two rings for body tension exercises and chest and shoulder training. If you buy a couple of elastic bands that you can attach to the side bars, you have a real alternative for training on the rocks or in the gym. Add a yoga mat and your home gym is ready.
Summary
If you know roughly what you want, building a climbing gym is child's play and requires very little effort. It's definitely worth it, because you can do many Maxkraft finger exercises, which we have already presented elsewhere, in your living room. Whether on the mini crimps or the bad slopers, you can really step on the gas. If you want to use fewer bars, you should do without the smaller ones and instead work with additional weights hanging from your body. This is just as effective for training.
There is no real excuse now. So go for the bacon. As a great Austrian of our time once said so beautifully:
It's quite simple. If it wobbles, then it's fat!
(A. Schwarzenegger)