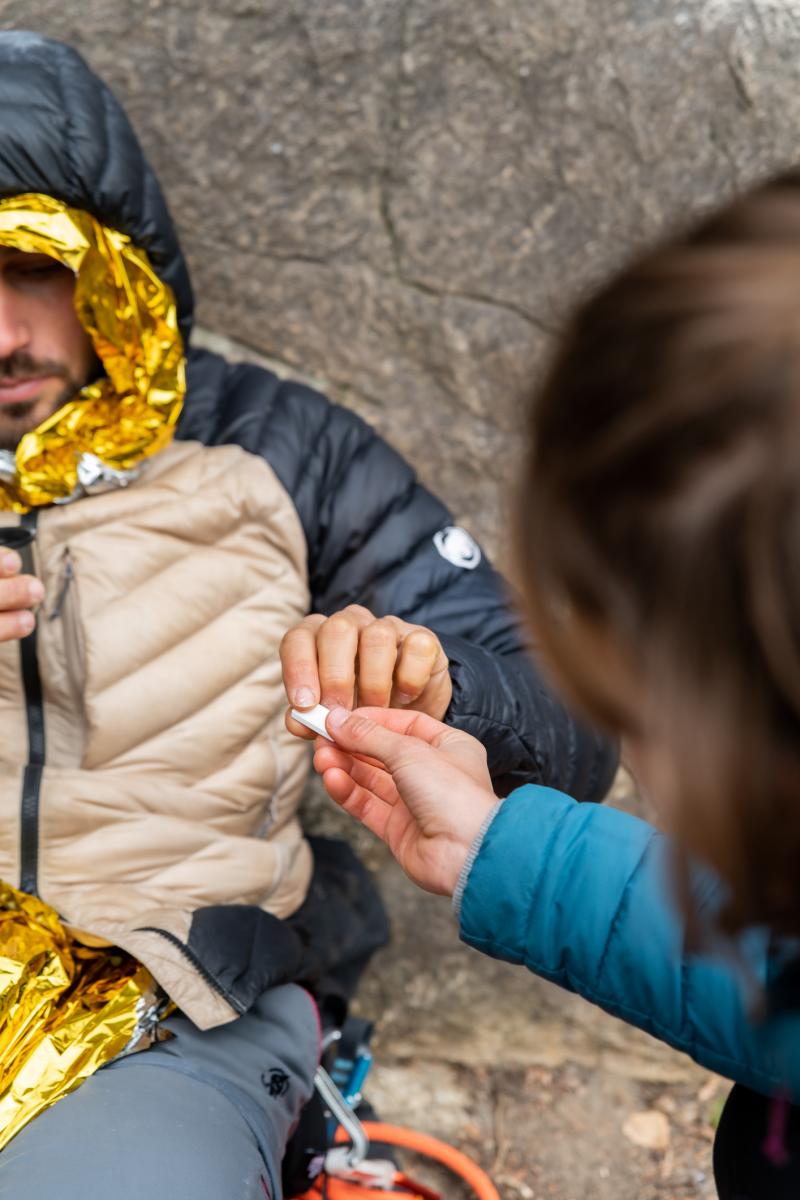
You should always have a well thought-out emergency kit with you. The Austrian Alpine Club has created a first aid kit(SAB First Aid Kid) in collaboration with the rescue service, which is precisely tailored to the needs of mountain sports enthusiasts. The small, lightweight and waterproof bag contains everything you need in an emergency:
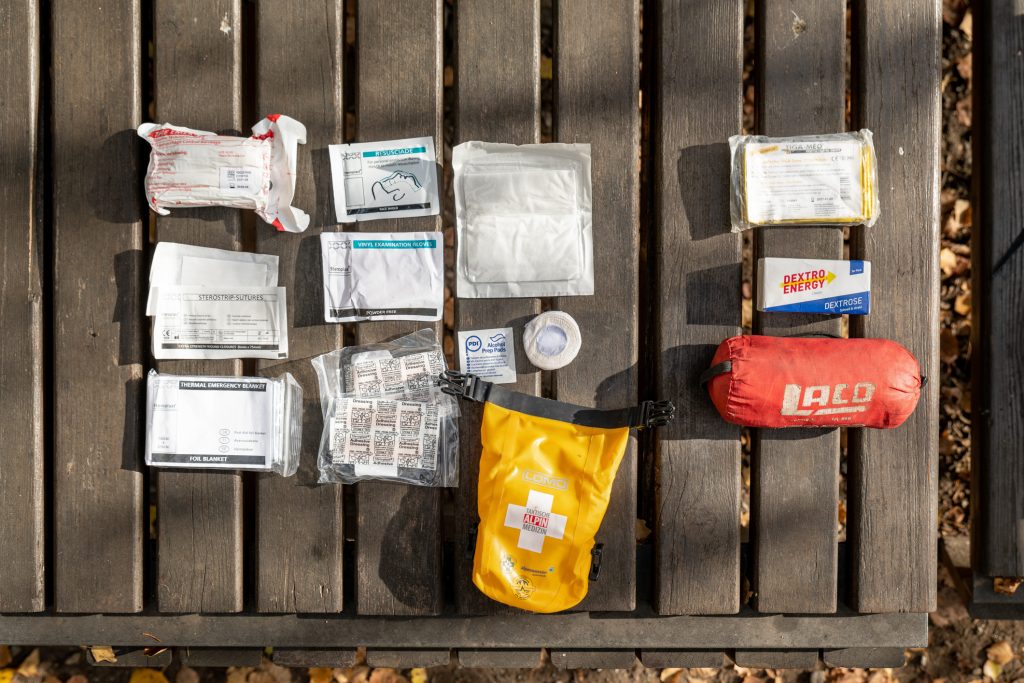
- Emergency bandage
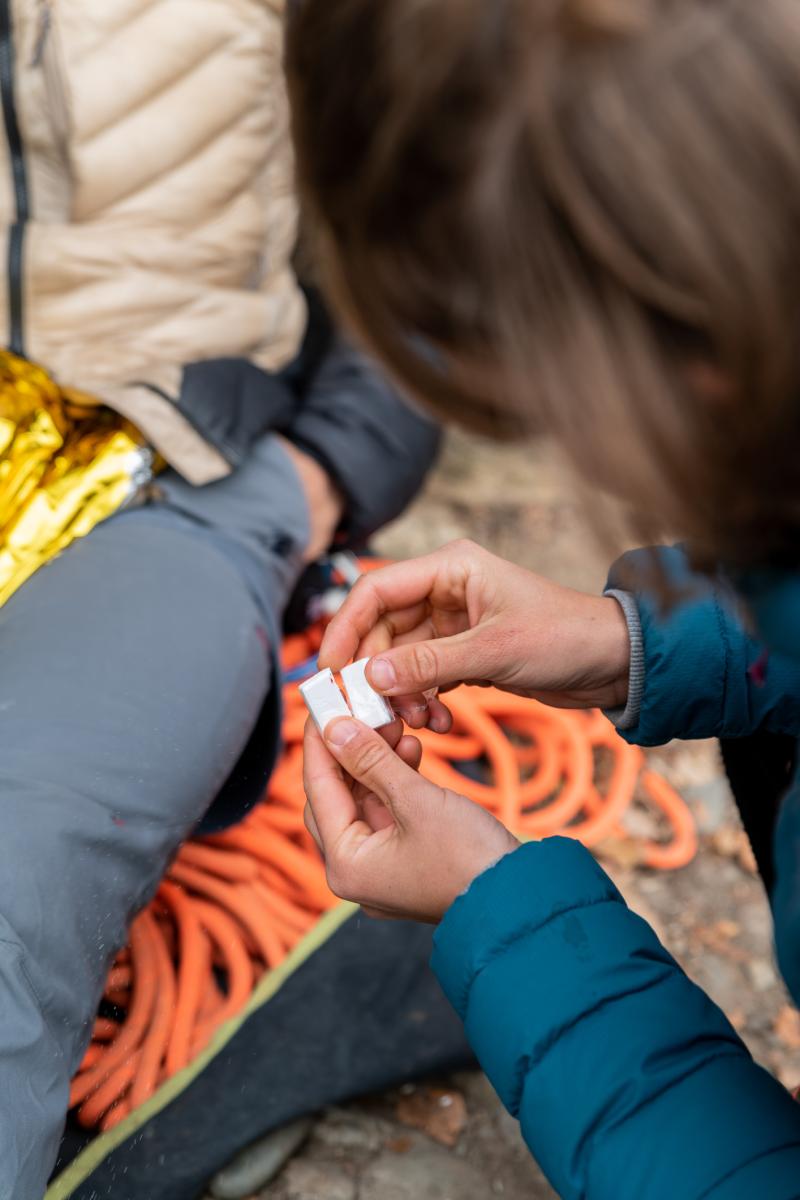
- 2x Steri-Strips for the treatment of gaping wounds
- Rescue blanket
- Resuscitation drape
- Disposable gloves
- Wound plaster
- Sterile wound dressing
- Alcohol swab for disinfection
- Leukotape
- We also recommend a second rescue blanket, glucose and a bivouac sack
1st safety + Alpine emergency call
If an accident has occurred, the first thing to do is to take a deep breath and get a quick overview of the situation:
- What exactly has happened?
- Is the accident site safe enough for me to approach the injured person?
- Do I need professional help?
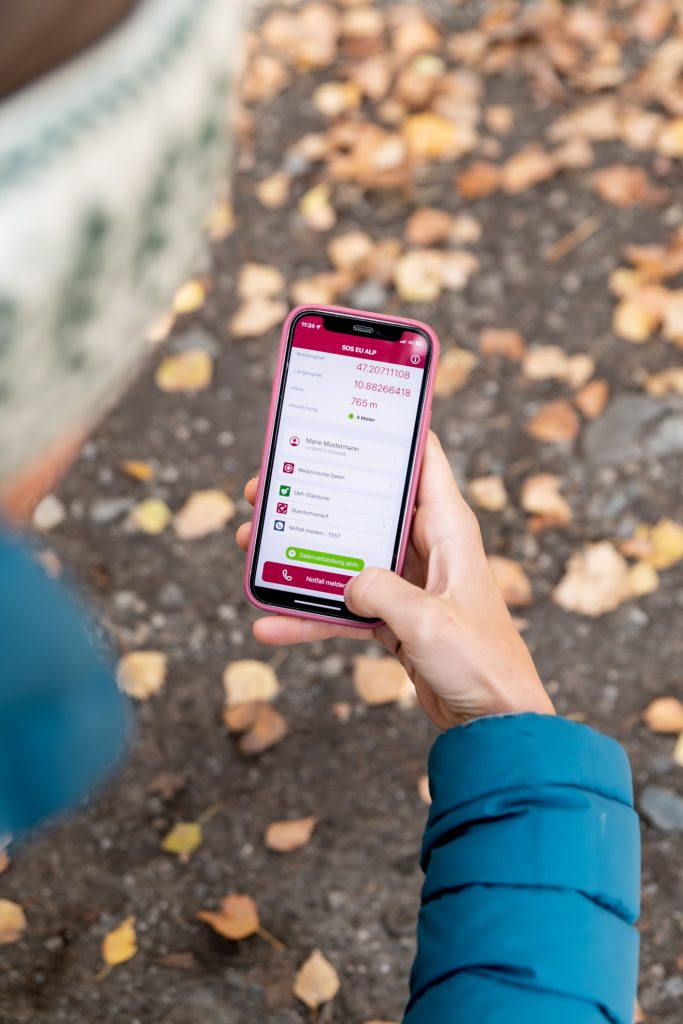
If professional help is really needed, an emergency call should be made as soon as possible. However, this is often not so easy in alpine terrain. If you have good reception with your own network provider, you should dial the number of the mountain rescue service (140) or the ambulance (144). In Tyrol, South Tyrol and Bavaria, the SOS Eu Alp APP is a great tool. You can make an emergency call with just one click - the exact location is automatically transmitted to the rescue coordination center. If you have no reception, you can try the Euro emergency number (112). From iPhone 14, it is possible to make an emergency call via satellite.
| EMERGENCY CALL | ||
| Own network | External network | No reception |
| SOS EU Alp App | 112 EU emergency call | Call loudly for help |
| Mountain rescue 140 | Satellite emergency call from iPhone 14 | |
| Rescue 144 | SOS Morse code
(3x short - 3x long - 3x short | |
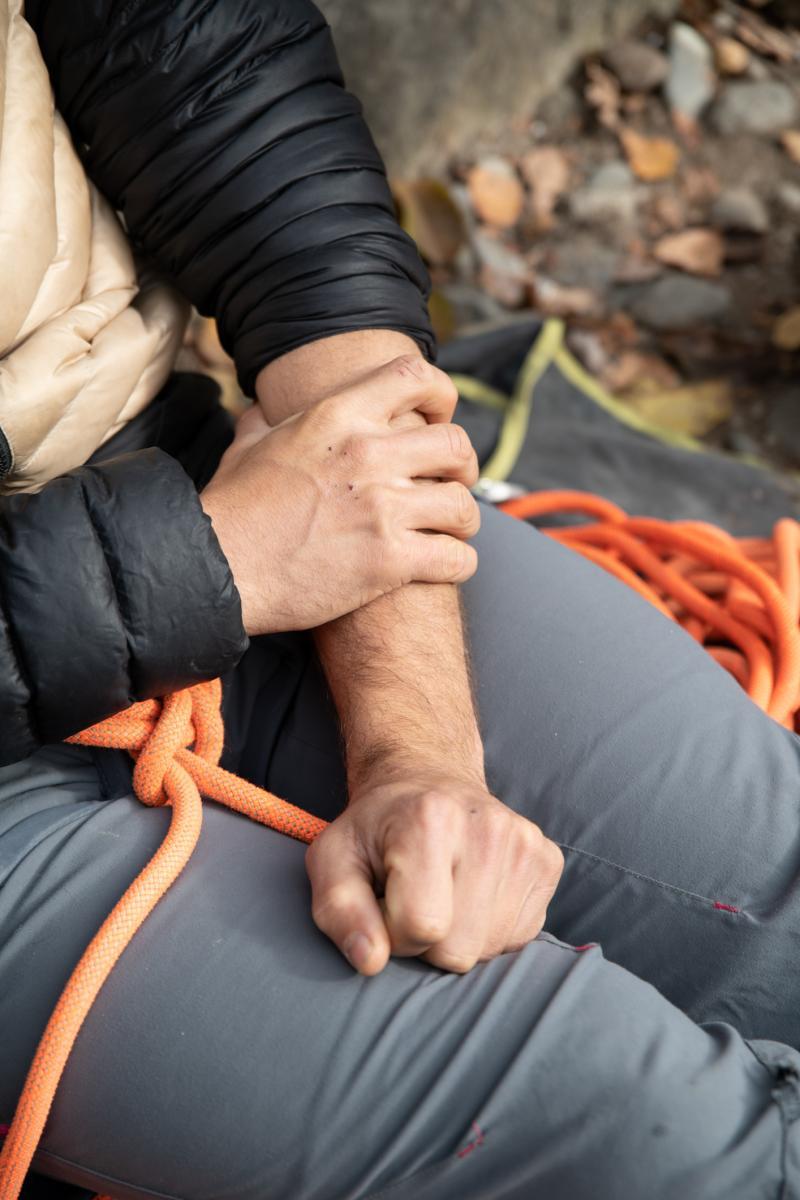
2. heat preservation
Maintaining warmth and preventing hypothermia in injured persons is crucial, especially in an alpine setting. On the one hand, shivering in the cold costs the body valuable energy. On the other hand, hypothermia inhibits the body's own coagulation cascade, the blood becomes "thinner", so to speak - this can play a major role in the further course of an injury!

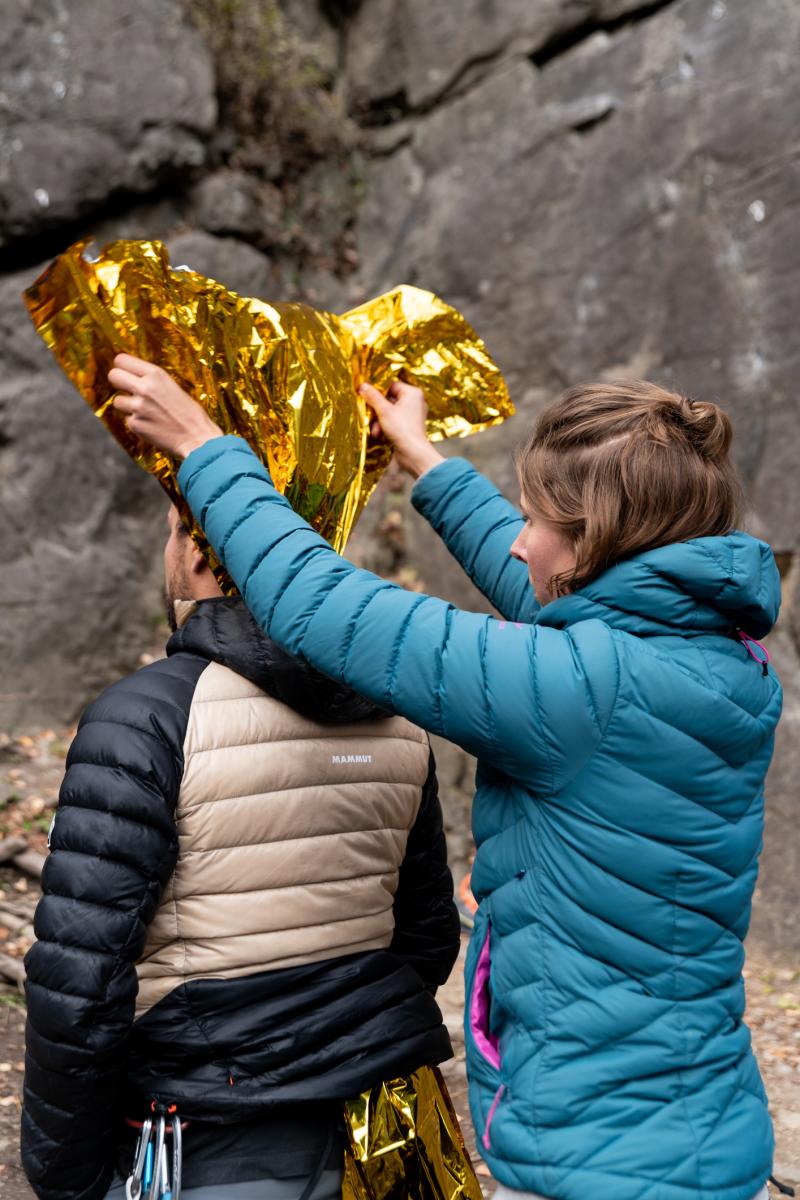


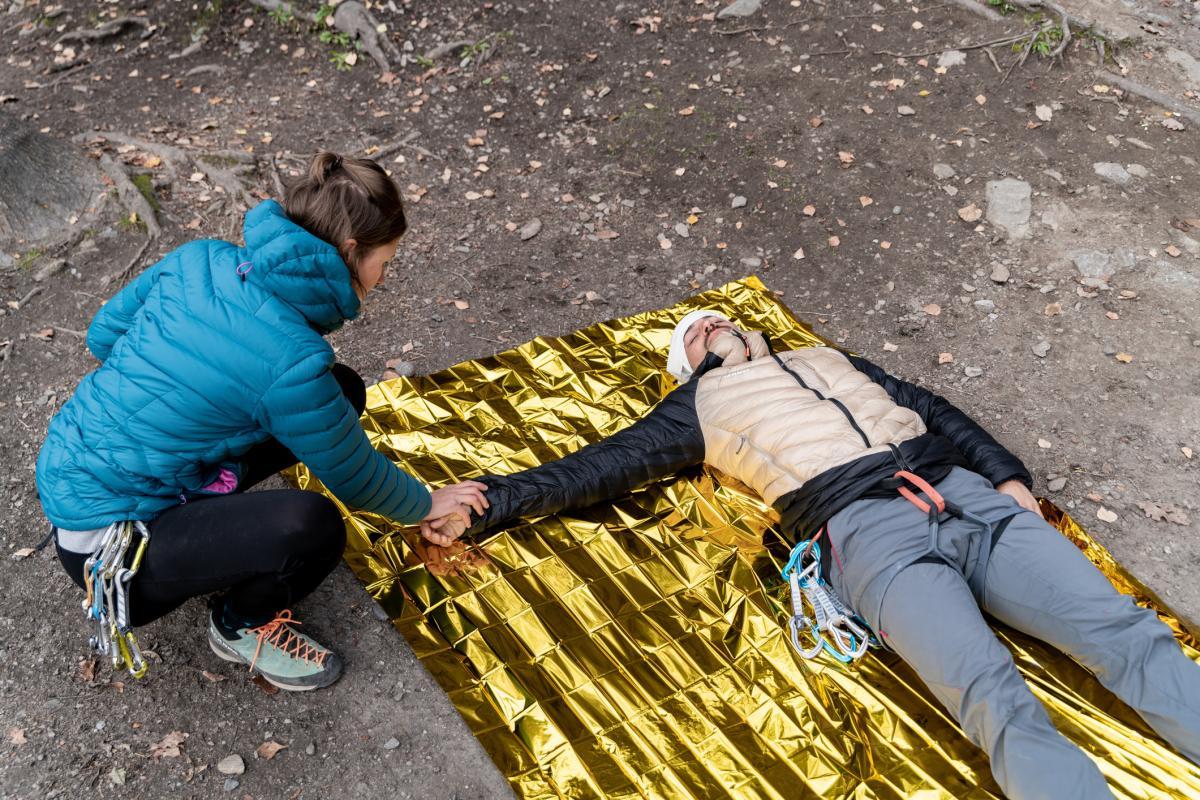
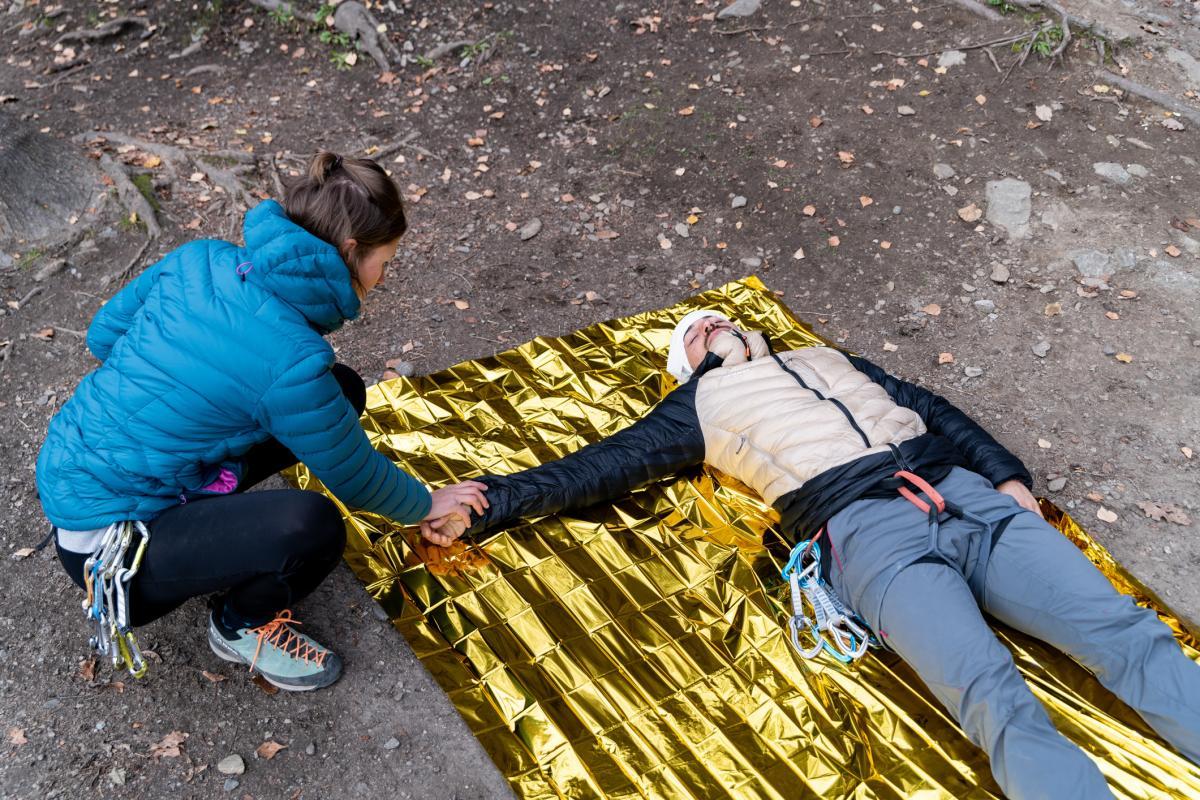
The means of choice is the rescue blanket. It should be placed over the bottom layer of clothing. As a lot of heat can be lost through the head, it should always be packed with the blanket:
- Remove the rescue blanket from the packaging and spread it out along the back over the bottom layer of clothing.
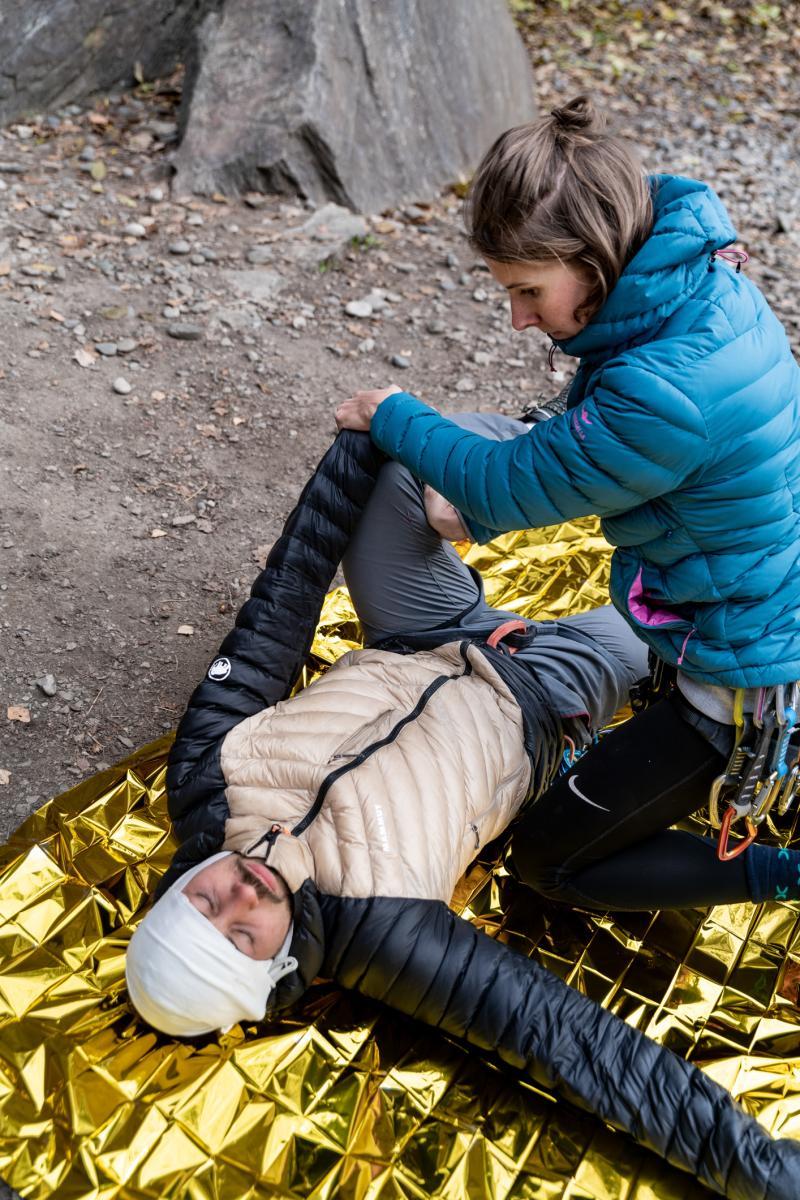
- Pull the rescue blanket over your head and knot it well.
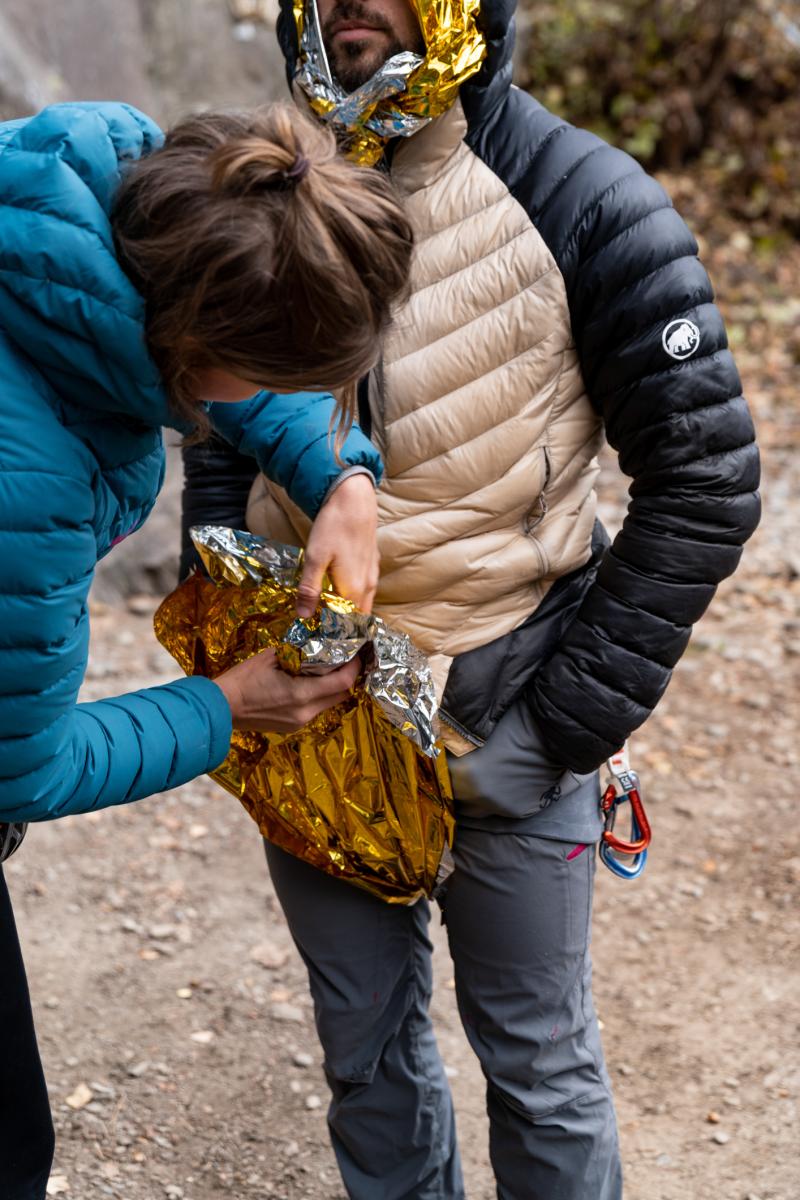
- Spread out as large as possible on the torso
- Pass the end of the rescue blanket between your legs and tuck it into the waistband of your pants from above.
Cold costs energy! Add sugar and warm drinks.
3. pressure bandage
If a person is bleeding heavily from a wound, e.g. after a fall, it must be treated with a pressure bandage to prevent life-threatening blood loss. This requires a wound dressing, a pressure body (e.g. gauze bandage, pack of handkerchiefs...) and a bandage or triangular cloth.
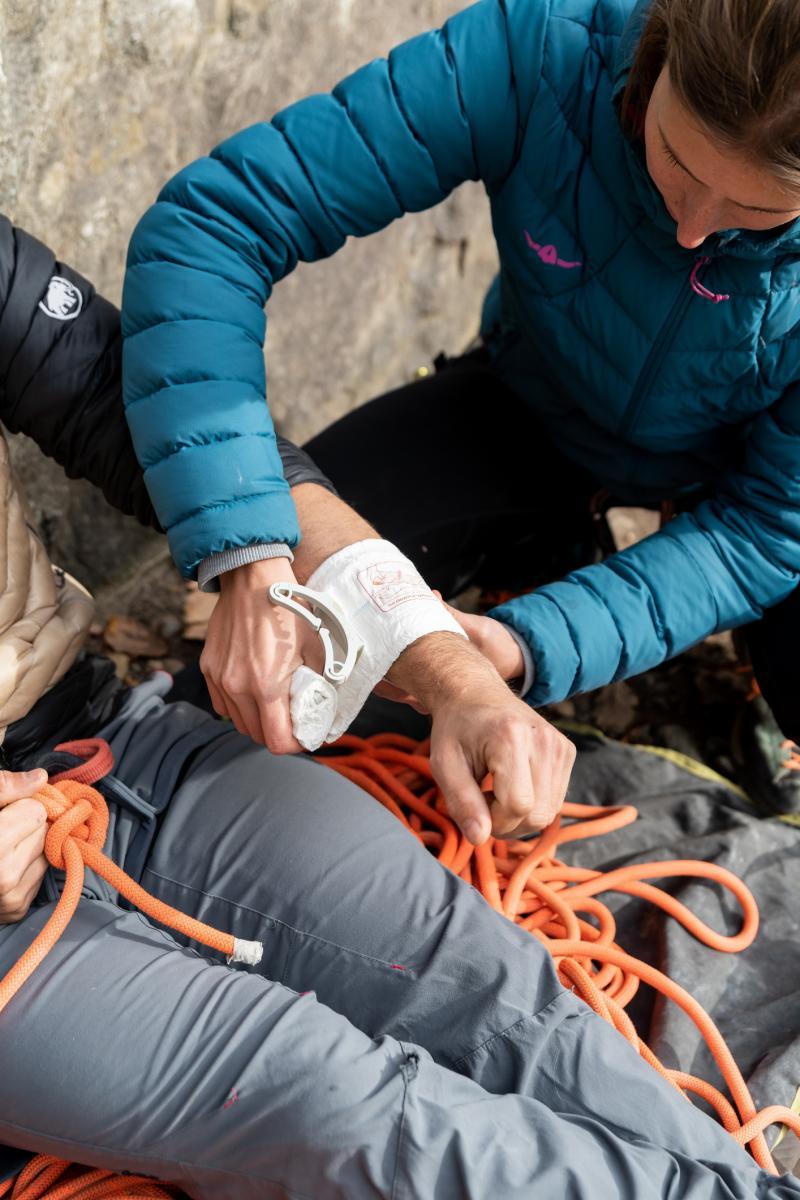

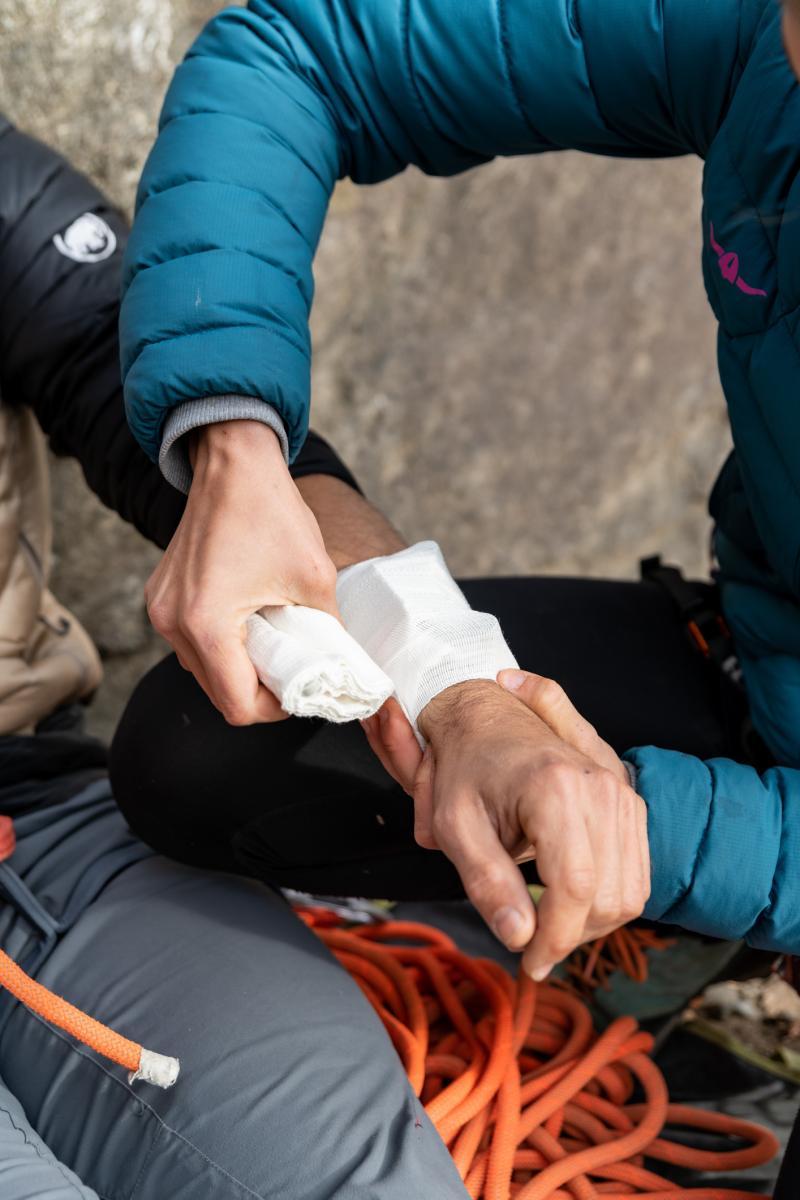
The multi-talented emergency bandage combines all these components in one tool and is therefore perfect for the first aid kit on the mountain.
- The wound dressing is pressed firmly onto the heavily bleeding wound. The pictogram with the instructions should be directly above the wound.
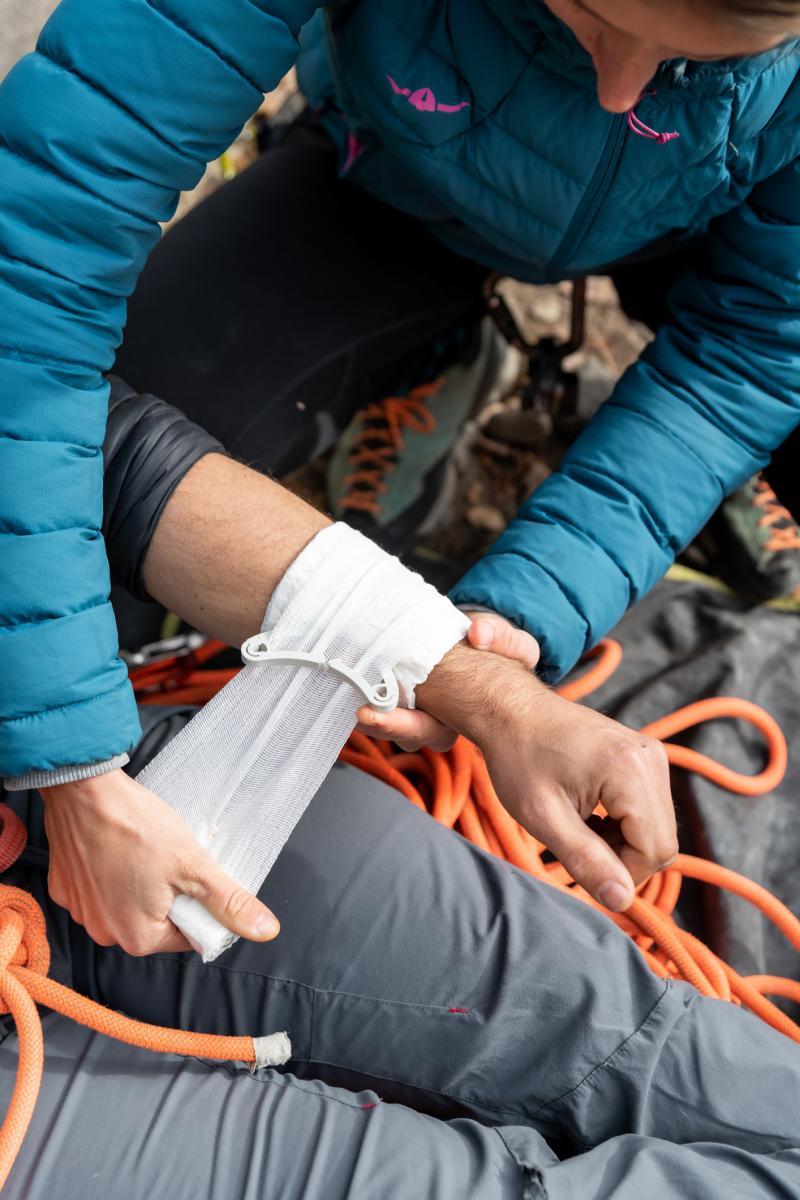
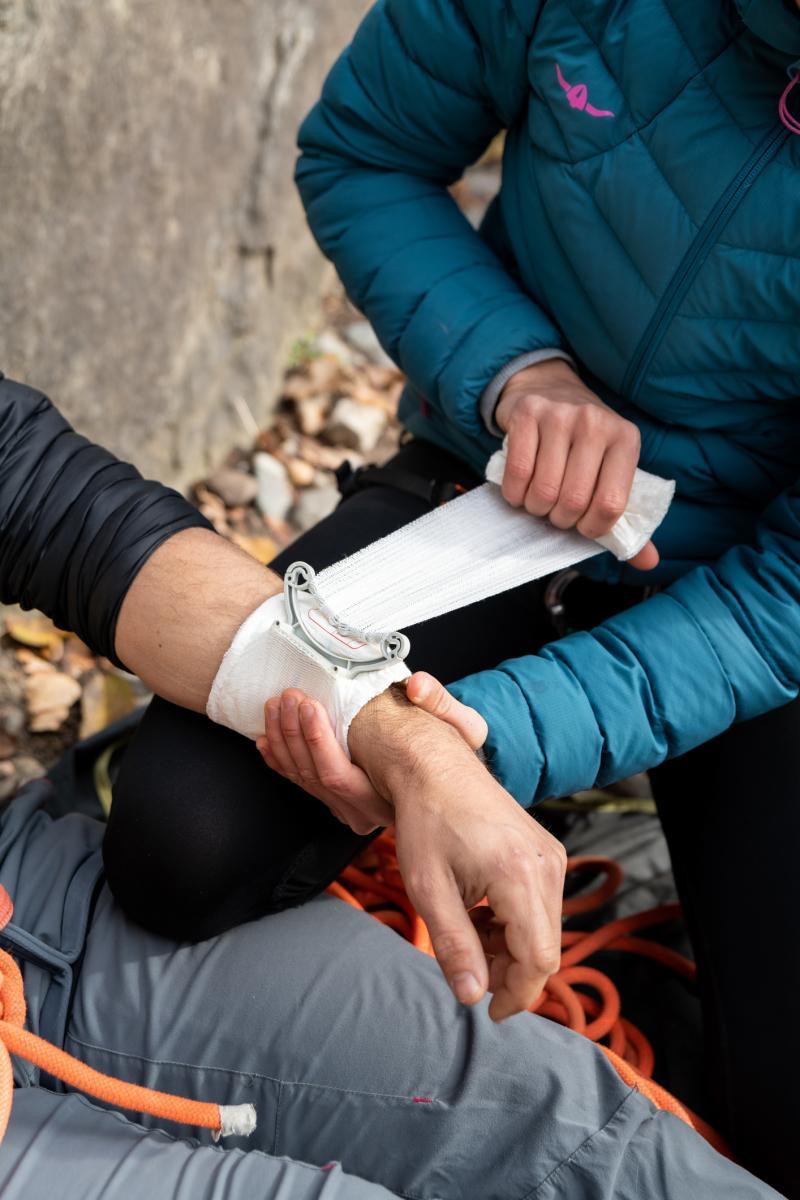
- The bandage is wrapped tightly around the arm and threaded through the plastic pressure pad.
- The winding direction is changed under tension so that the pressure body folds over. This applies pressure to the wound.
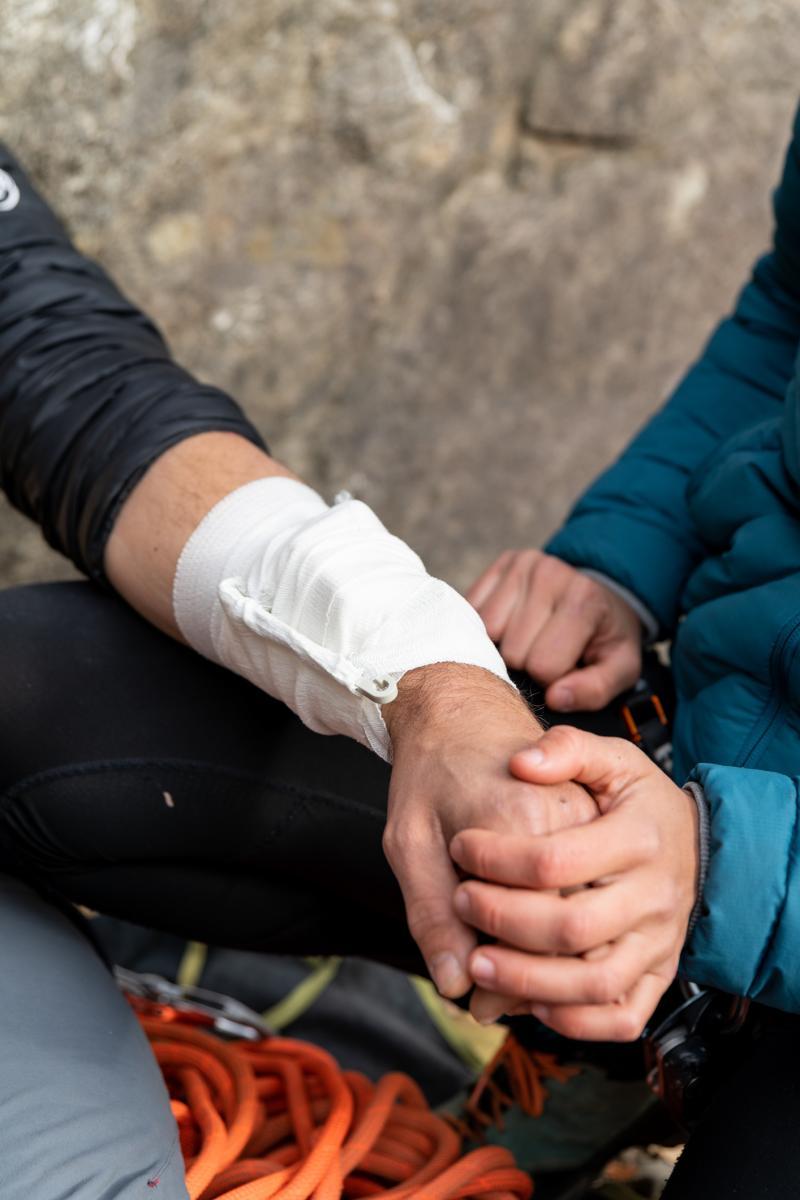
- The bandage is wrapped around the wound and secured at the end with the sewn-in plastic clasp.
If the person is bleeding through the pressure bandage, it must not be opened under any circumstances in order to tighten it. Instead, a second pressure bandage should be applied directly over it. The injured person's legs can be elevated to support circulation after major blood loss. Do not forget to keep warm while waiting for professional help!
4. head injury
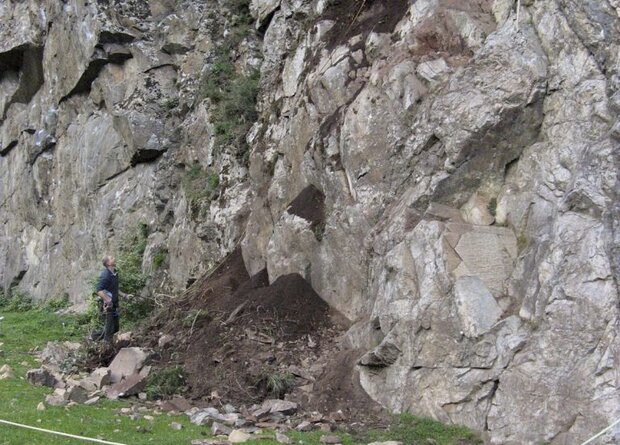
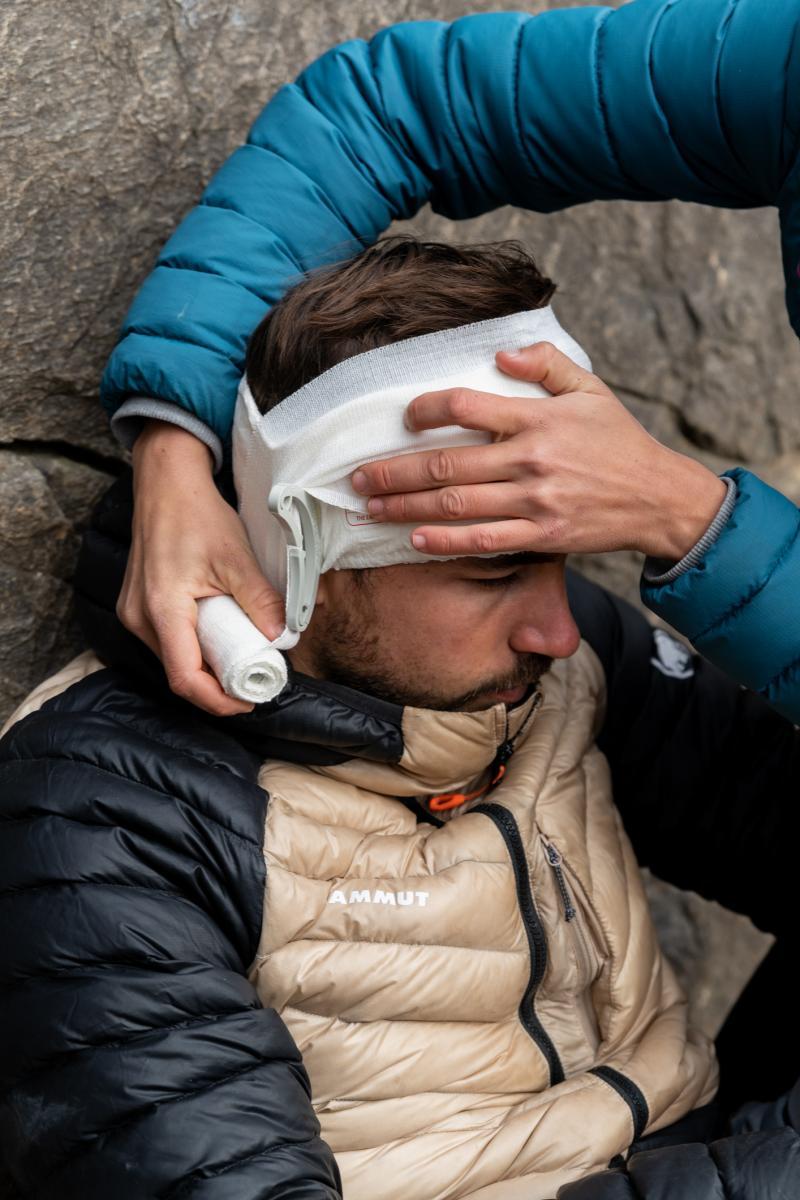
A rockfall or a fall on the head can cause a head laceration. The emergency bandage can be used to easily apply a bandage that does not slip and protects the wound from contamination. If the wound is very dirty, it can be rinsed out beforehand with clean tap water from a bottle.
- Position the person with an upright upper body.
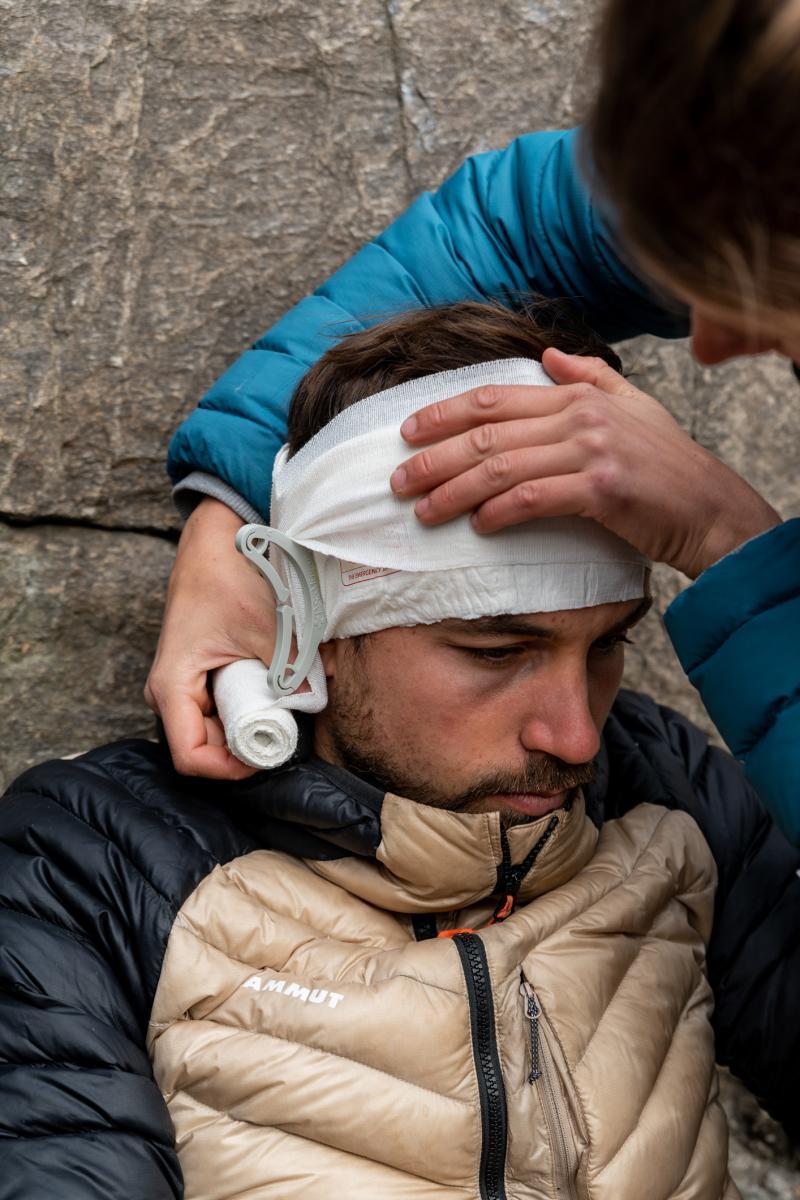
- Place the wound pad of the emergency bandage directly over the wound and wrap the bandage loosely around the head.
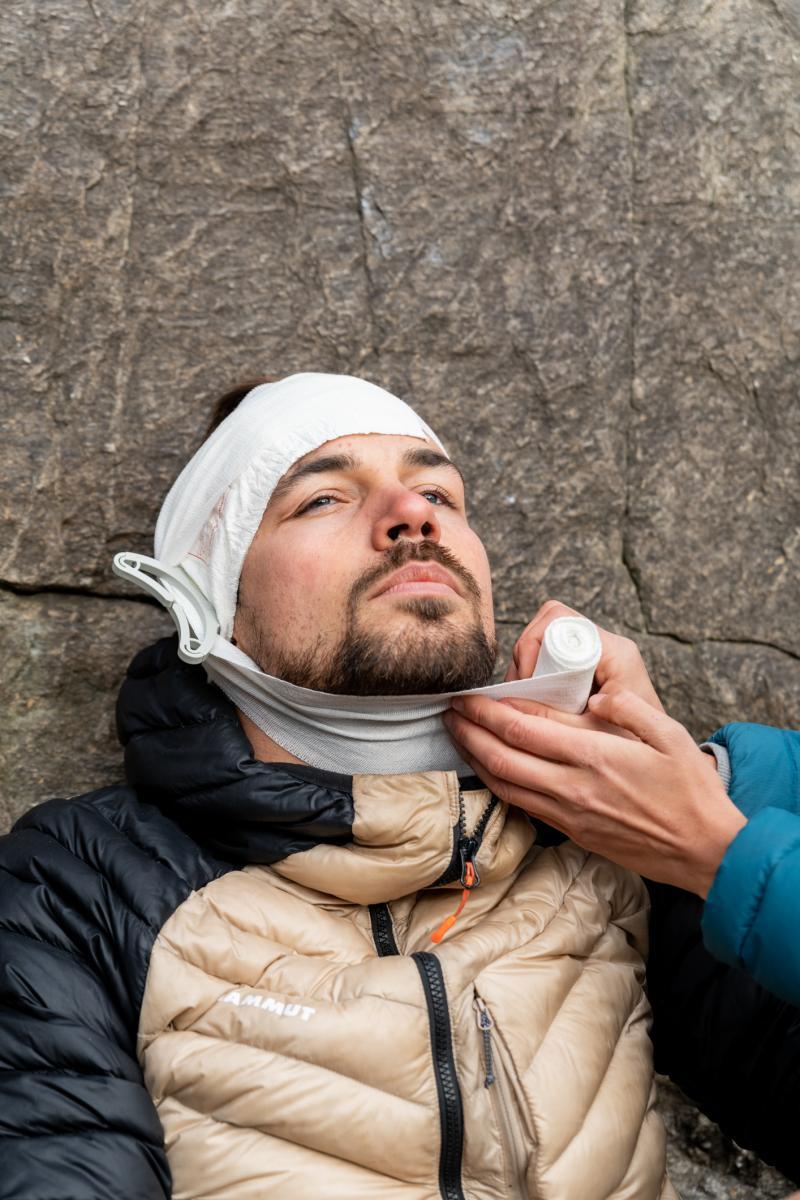
- Once you have reached the plastic pressure pad, use it as a diverter and secure the bandage with a loop around the chin.
- Back at the pressure body, the bandage is deflected again and the bandage is finally wrapped around the head. At the end, it is secured with the plastic clasp.
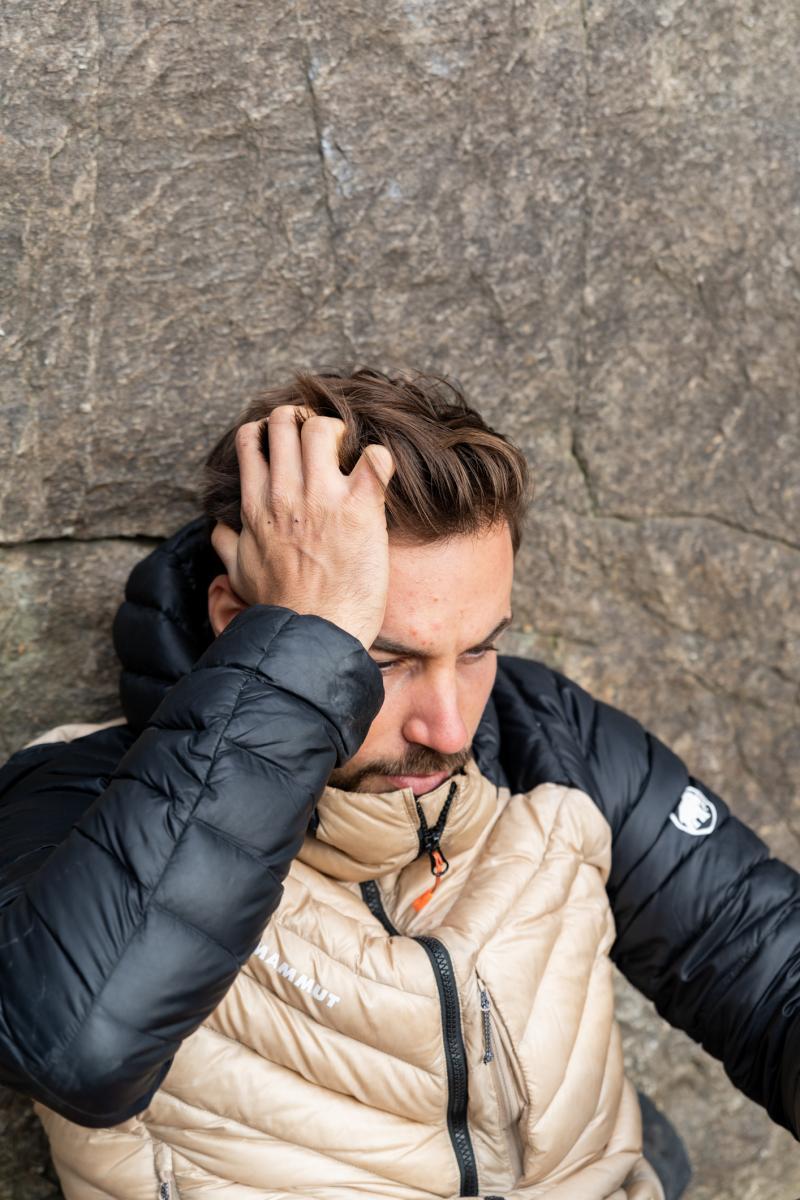

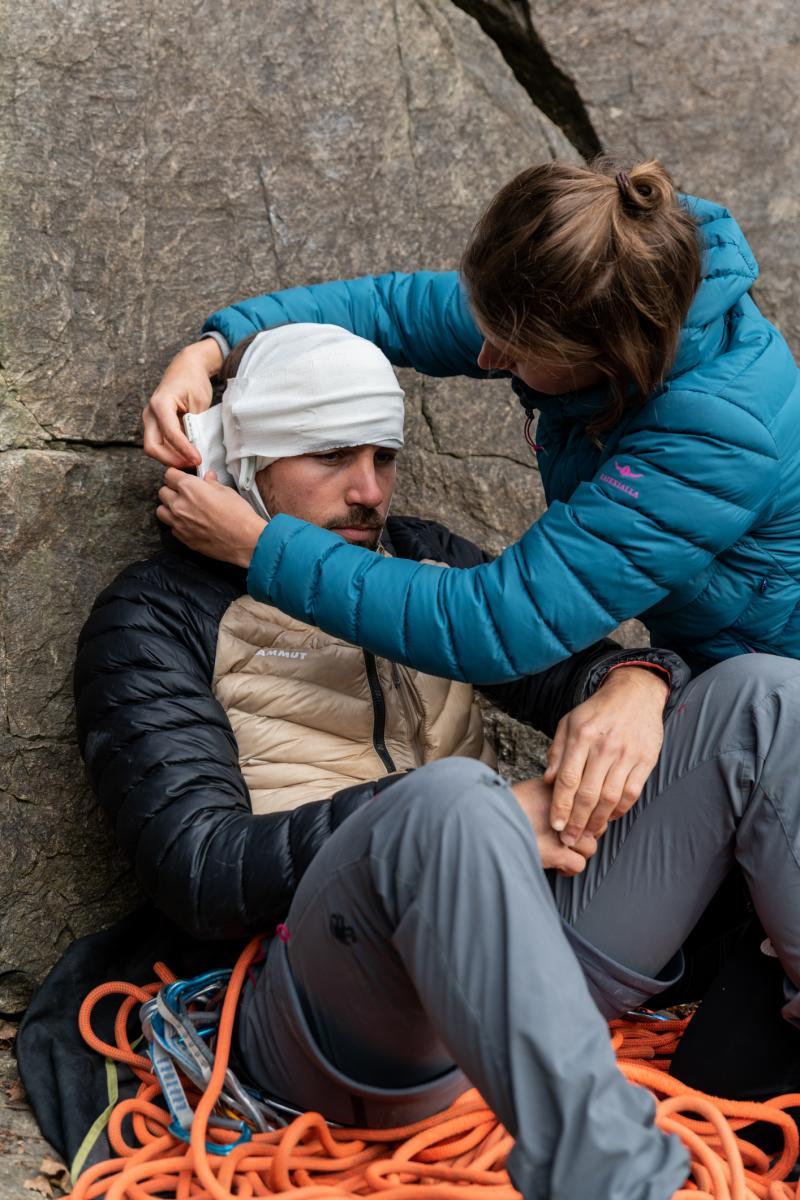
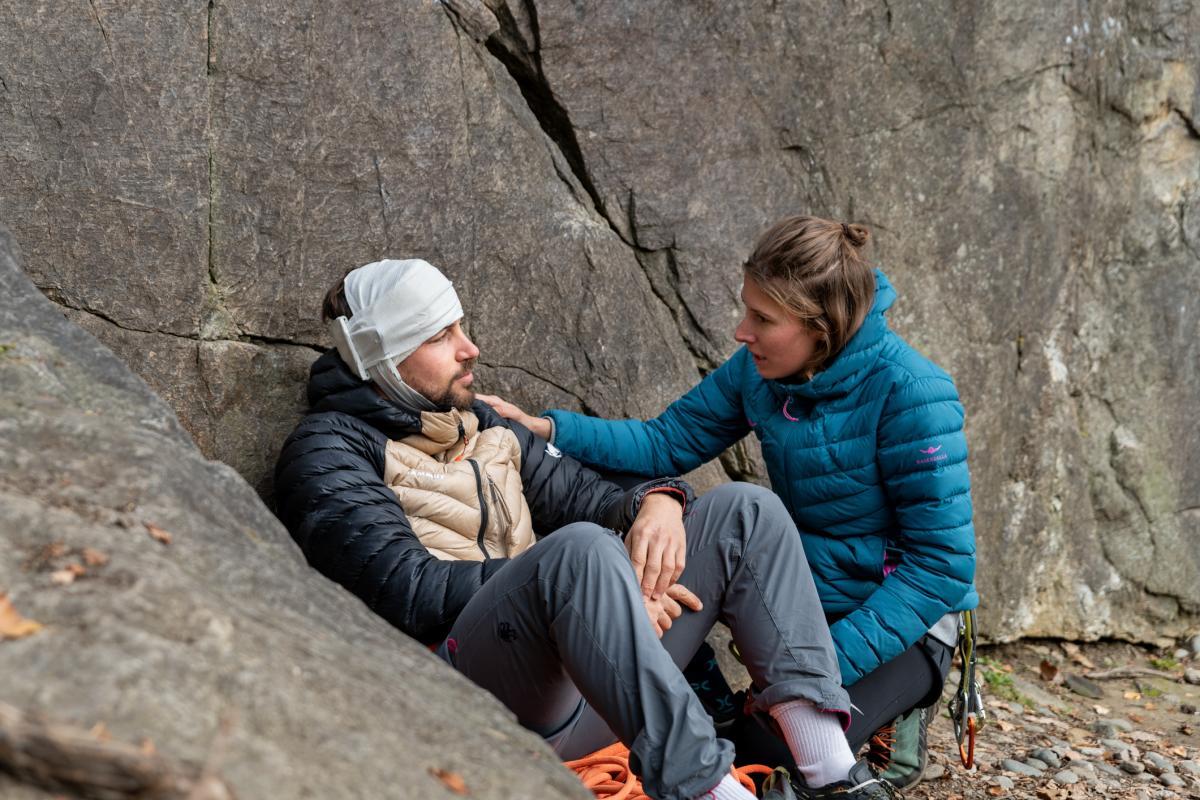
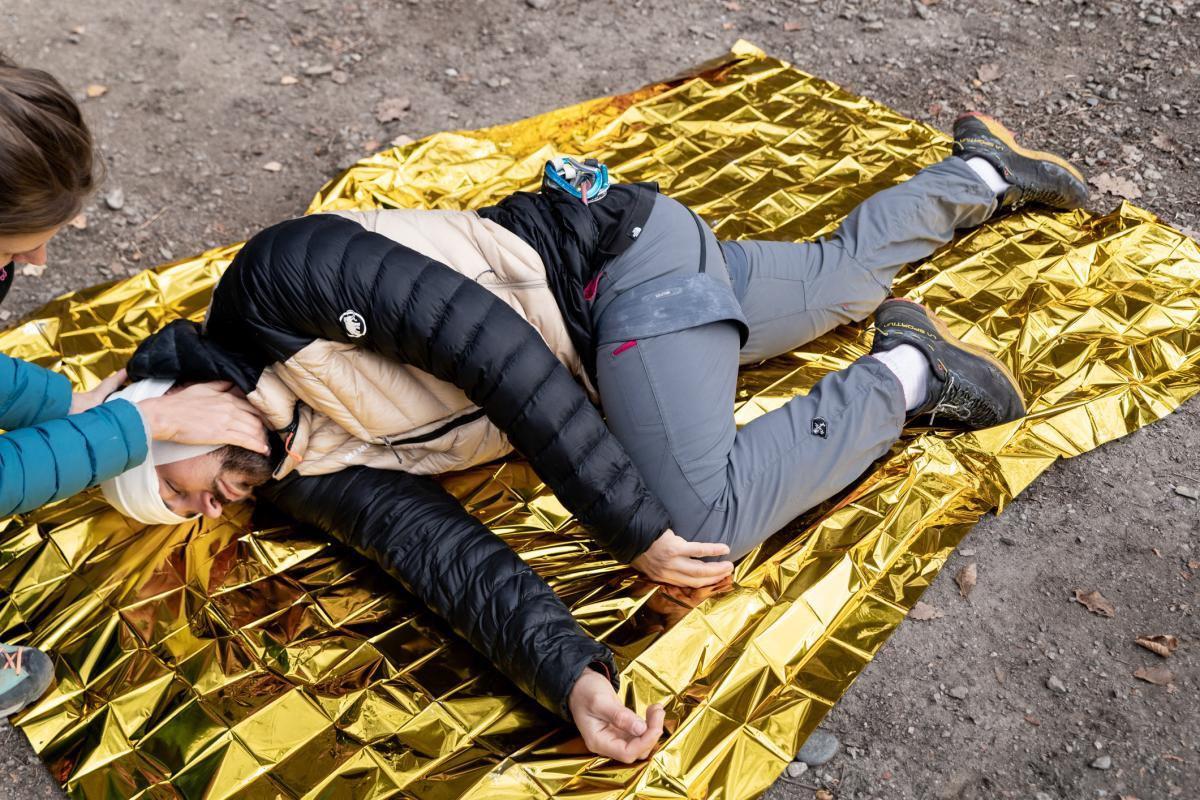
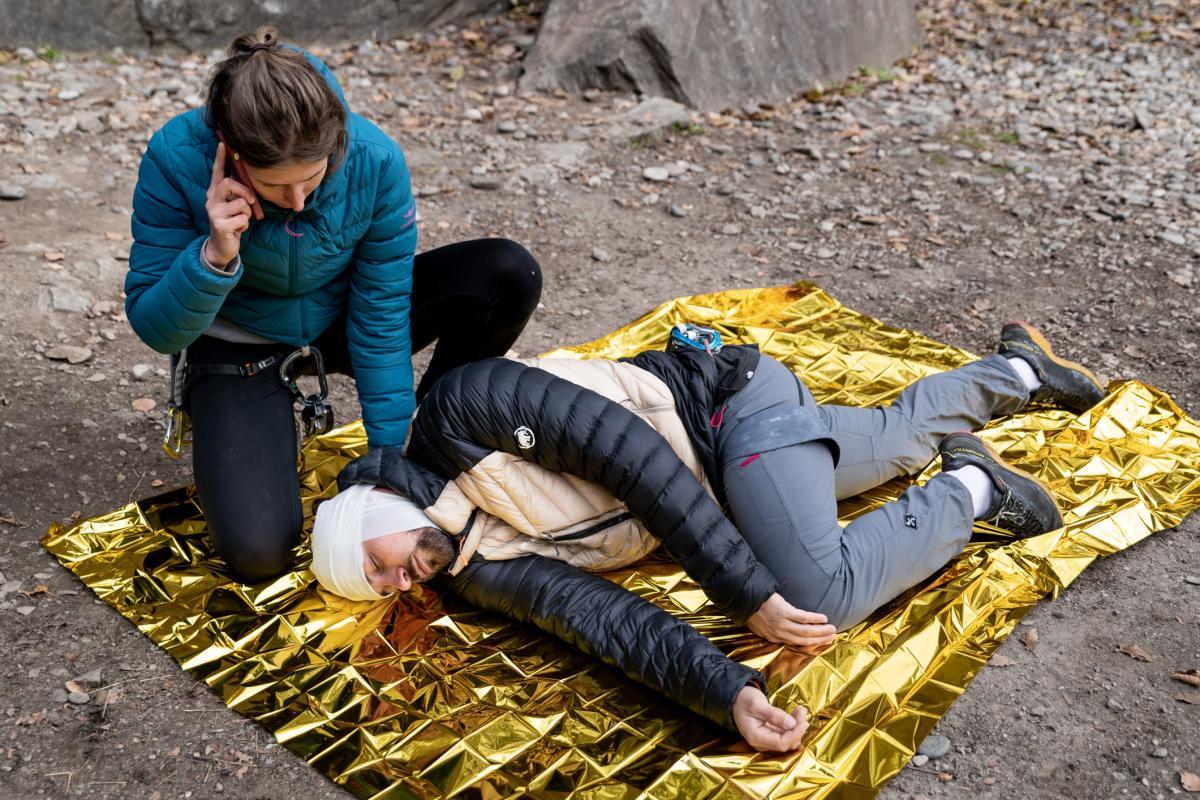
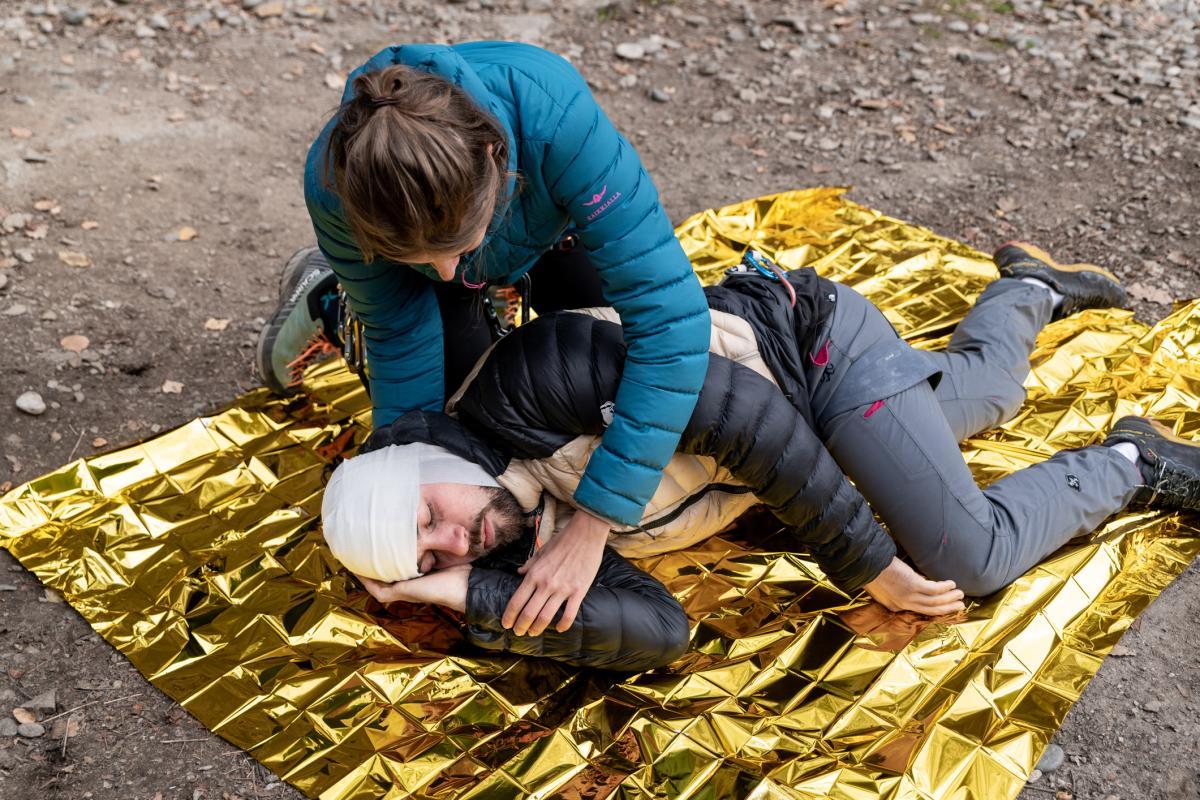
Although the helmet provides essential protection, a severe impact can also result in craniocerebral trauma in addition to an external wound. Typical signs are dizziness, nausea with vomiting and an increasing clouding of consciousness. If these symptoms occur, an emergency call must be made. If the injured person is still conscious, they should be positioned with their upper body elevated. This will reduce the intracranial pressure in the event of bleeding. If the person becomes cloudy or is no longer responsive, they are immediately placed in the recovery position after their breathing has been checked. This keeps the airway clear and prevents any vomit or blood from being swallowed.
- Turn the person onto their back and bend their arm at a 90 degree angle on the side facing them.
- Form a triangle with the knee and arm on the opposite side and turn the person onto their side.
- The head should be overstretched, with the mouth at the lowest point.
- Make sure to maintain warmth, always stay with the person's head and check breathing regularly.
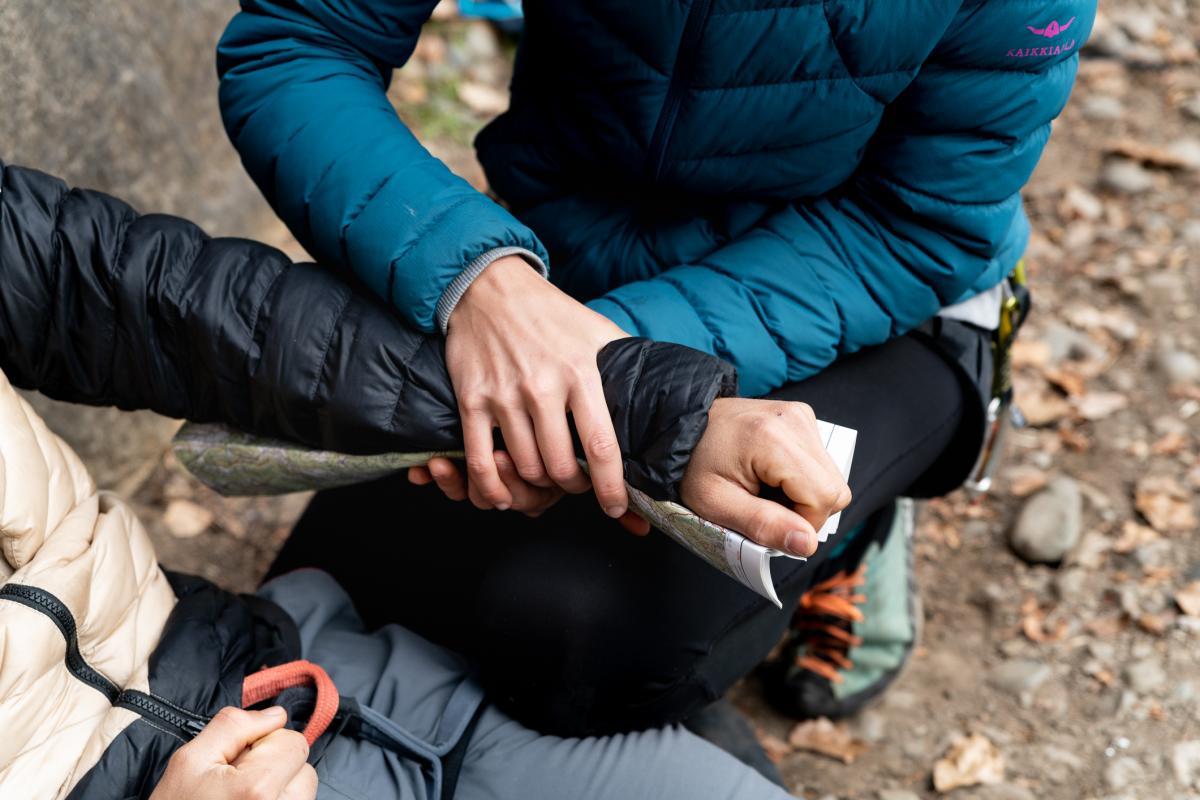
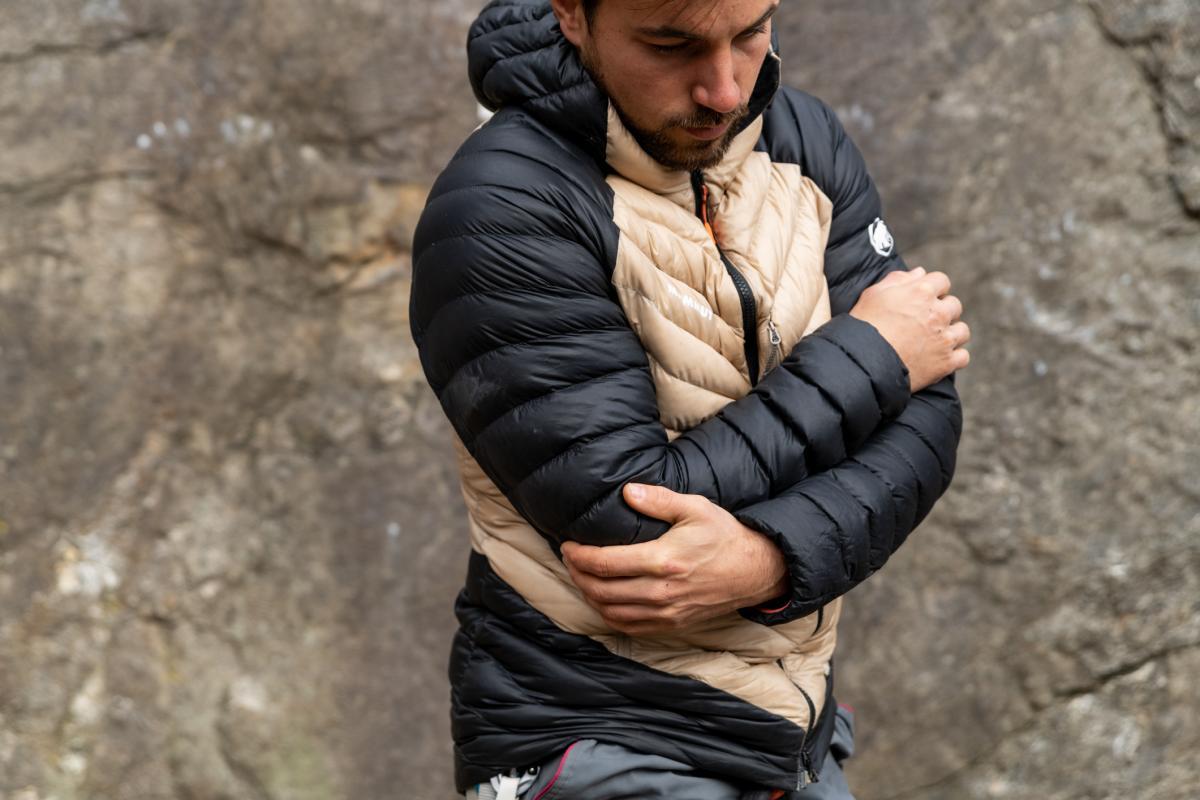
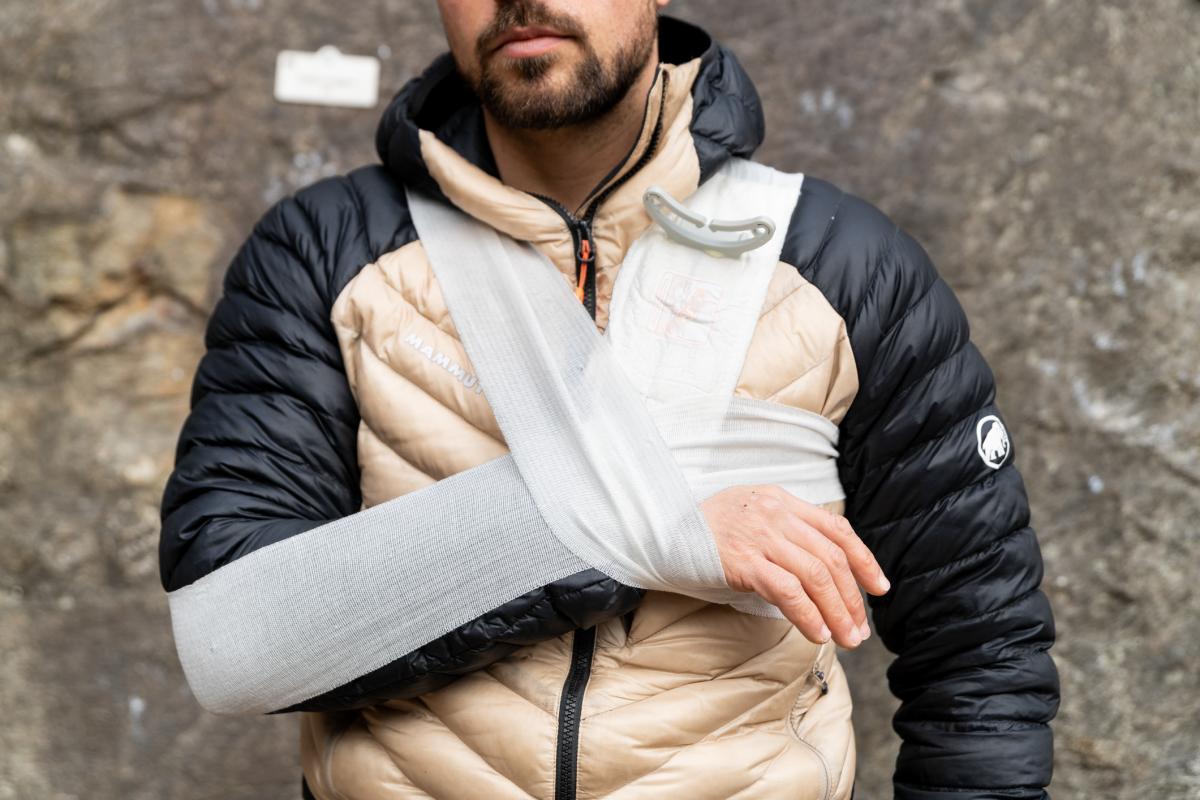
5. shoulder/arm injury
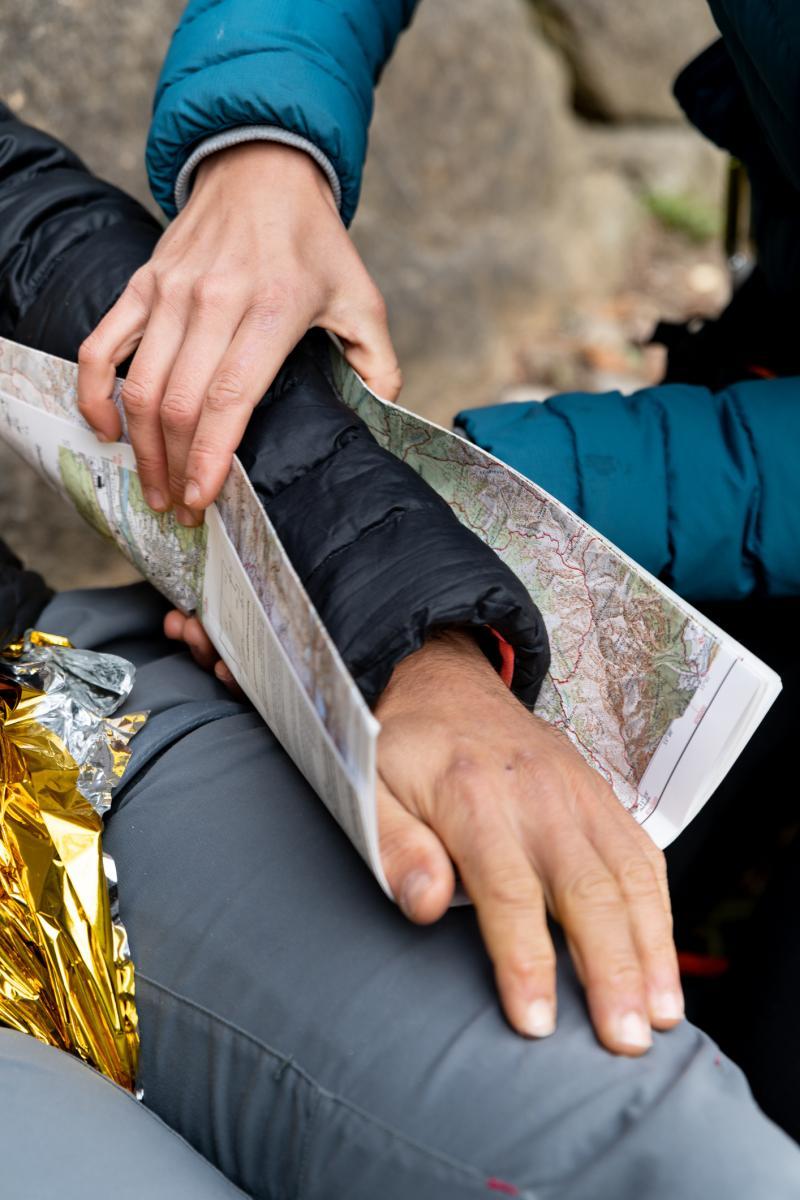
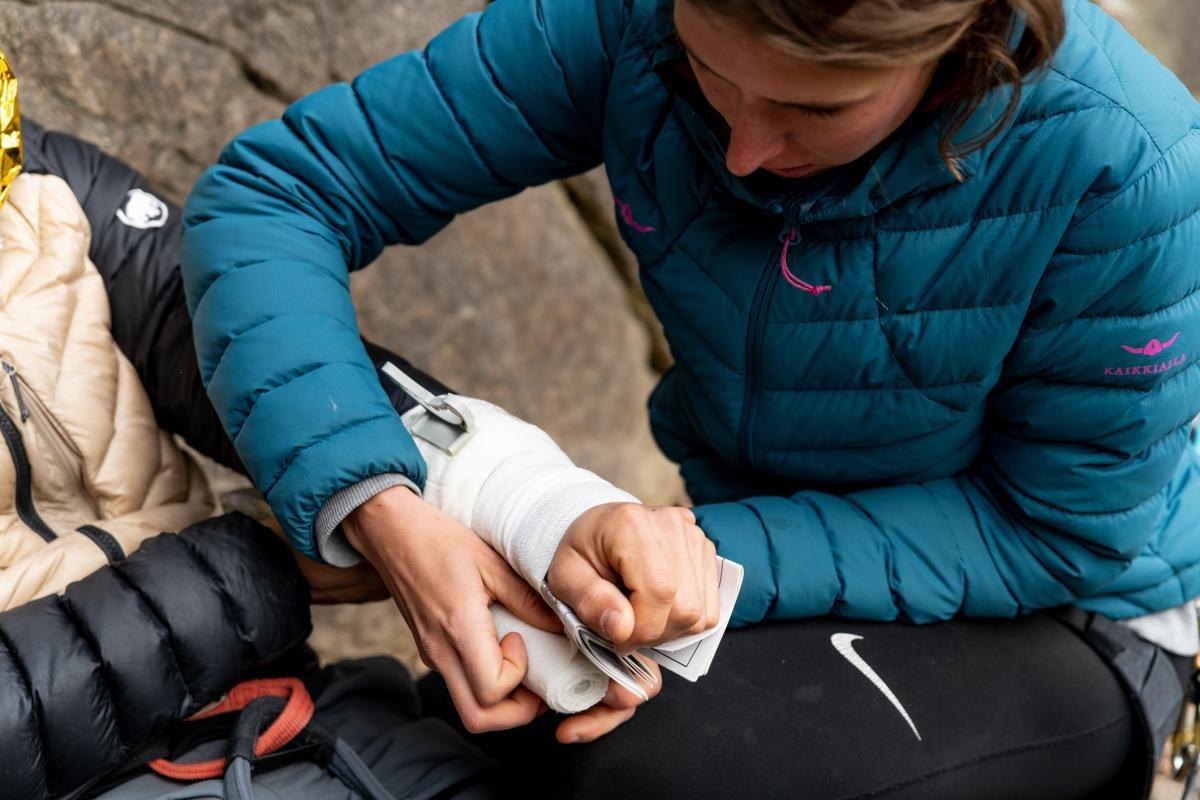
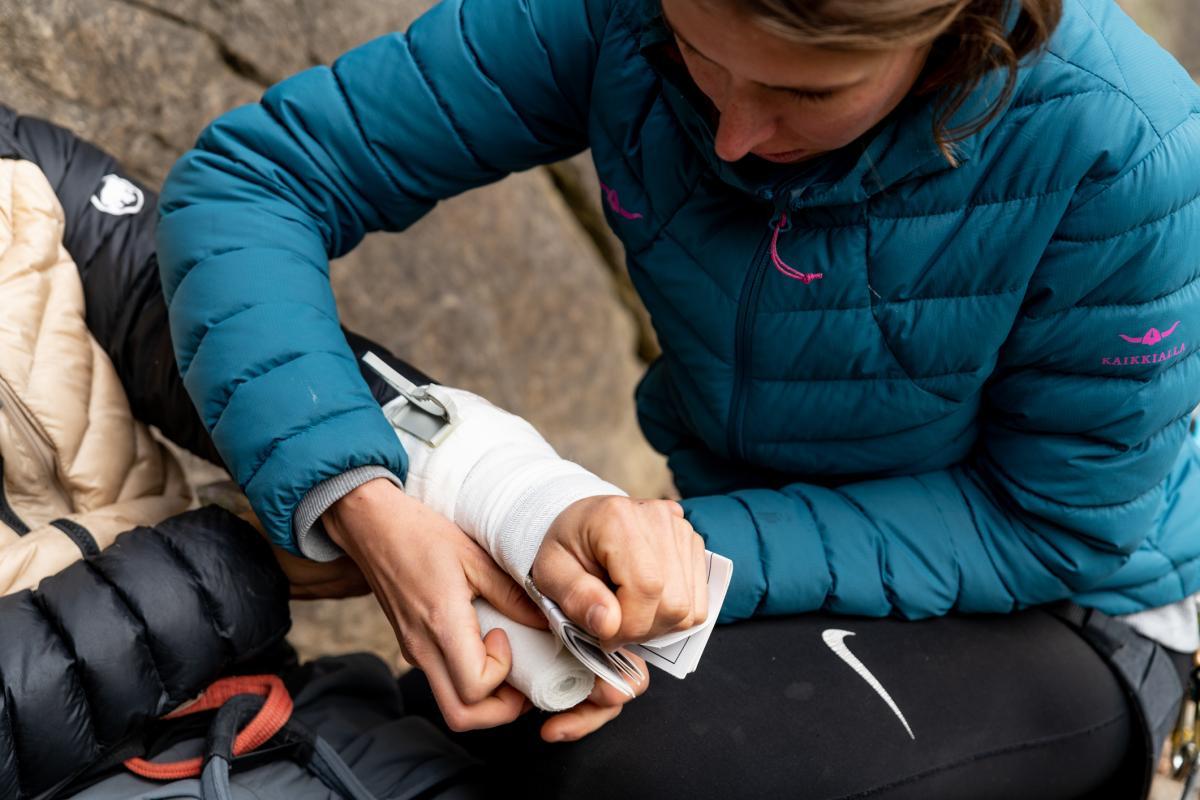
Whether you've slipped on a descent, landed hard while bouldering or hit the wall after falling into a rope - an arm injury can be very painful. A temporary splint can be used to immobilize the arm - creativity is often required here, especially in an alpine setting. For example, a topographical map made of solid material is suitable for immobilizing the wrist.
- Shape the map into a hollow and carefully place the injured arm in it.
- Secure the map loosely to the arm with a gauze bandage or the emergency bandage
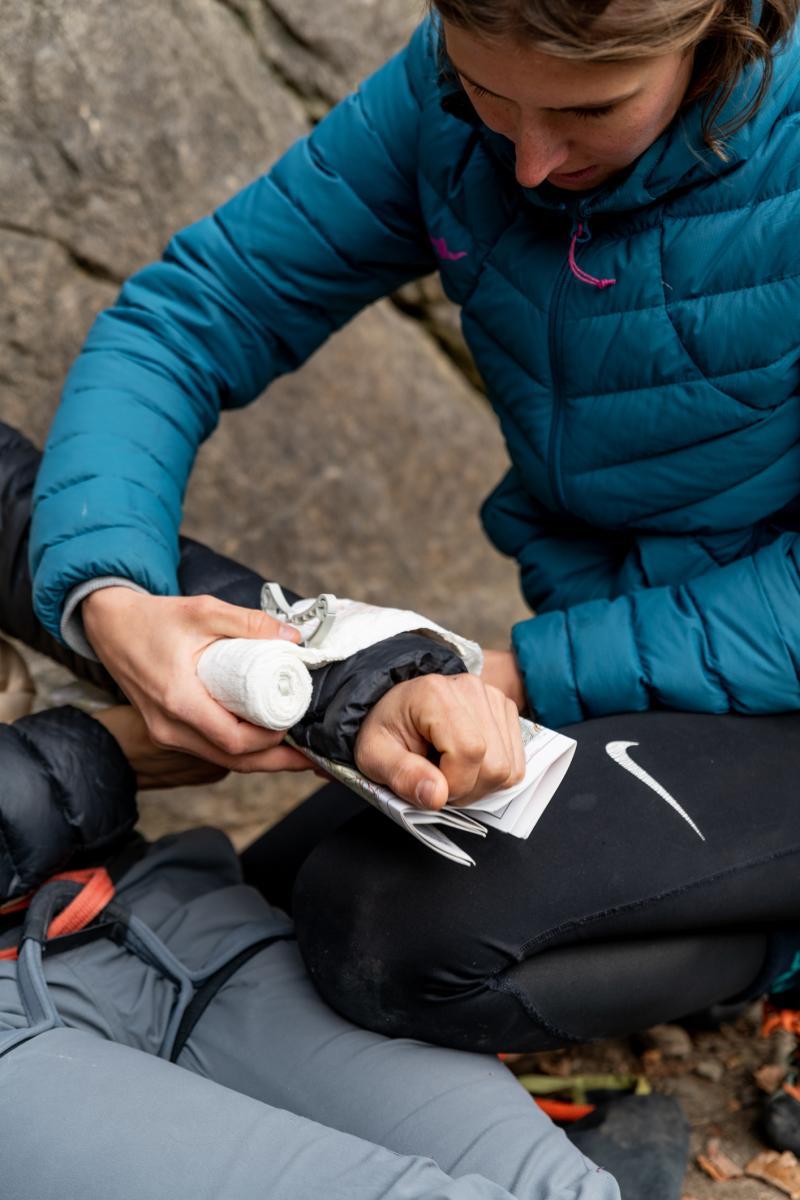
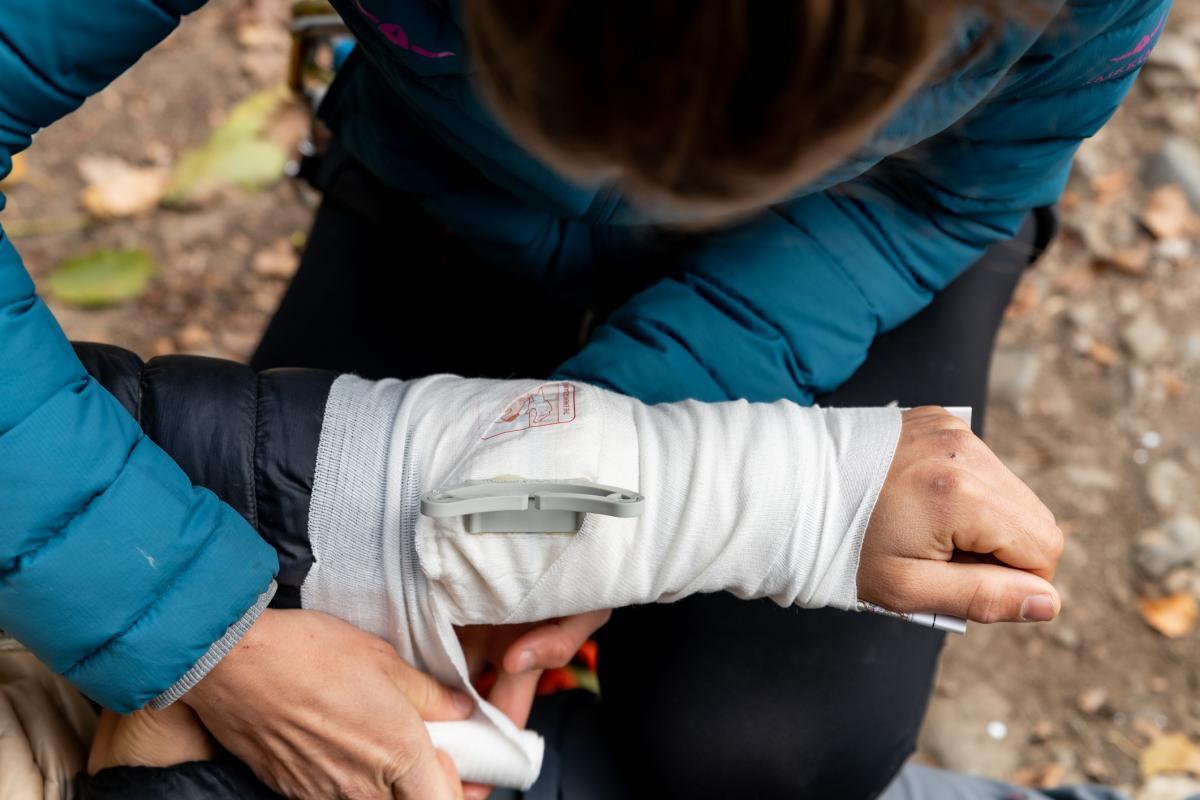
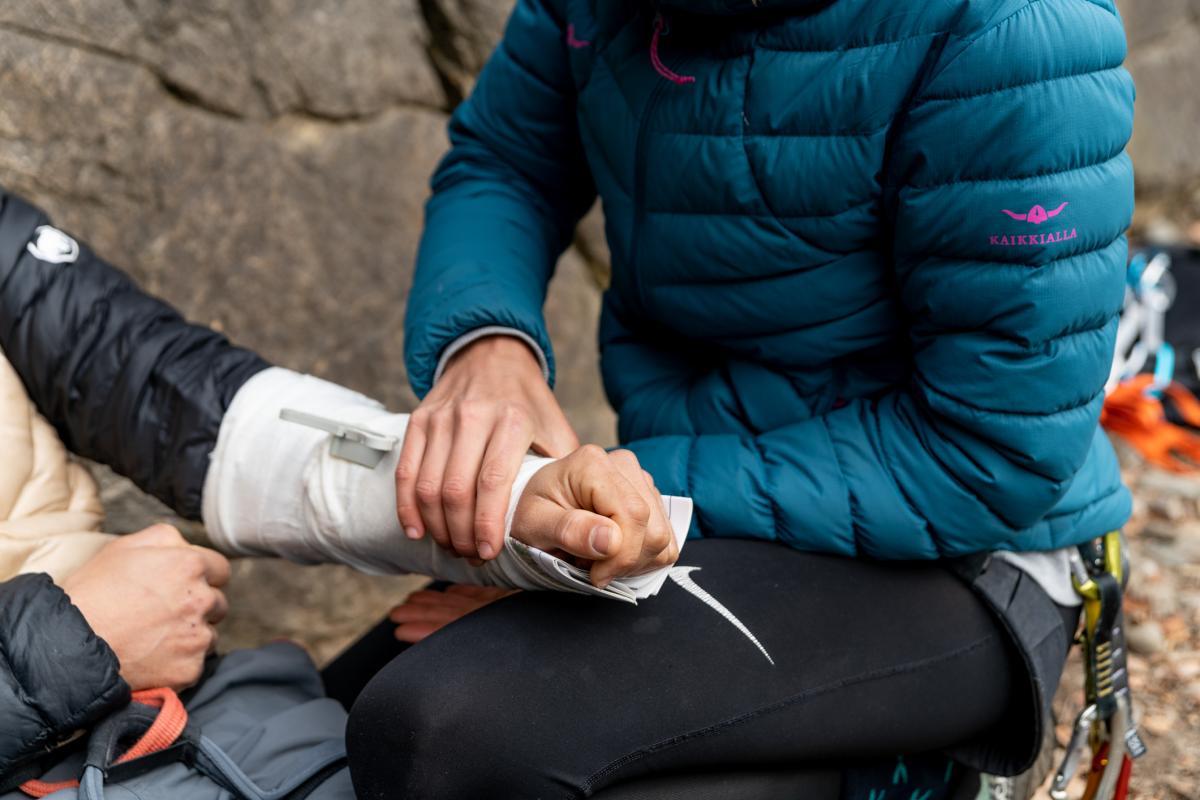
If there is a wound above the suspected fracture or if the bone even pierces through the skin, this must be covered with a sterile wound dressing.
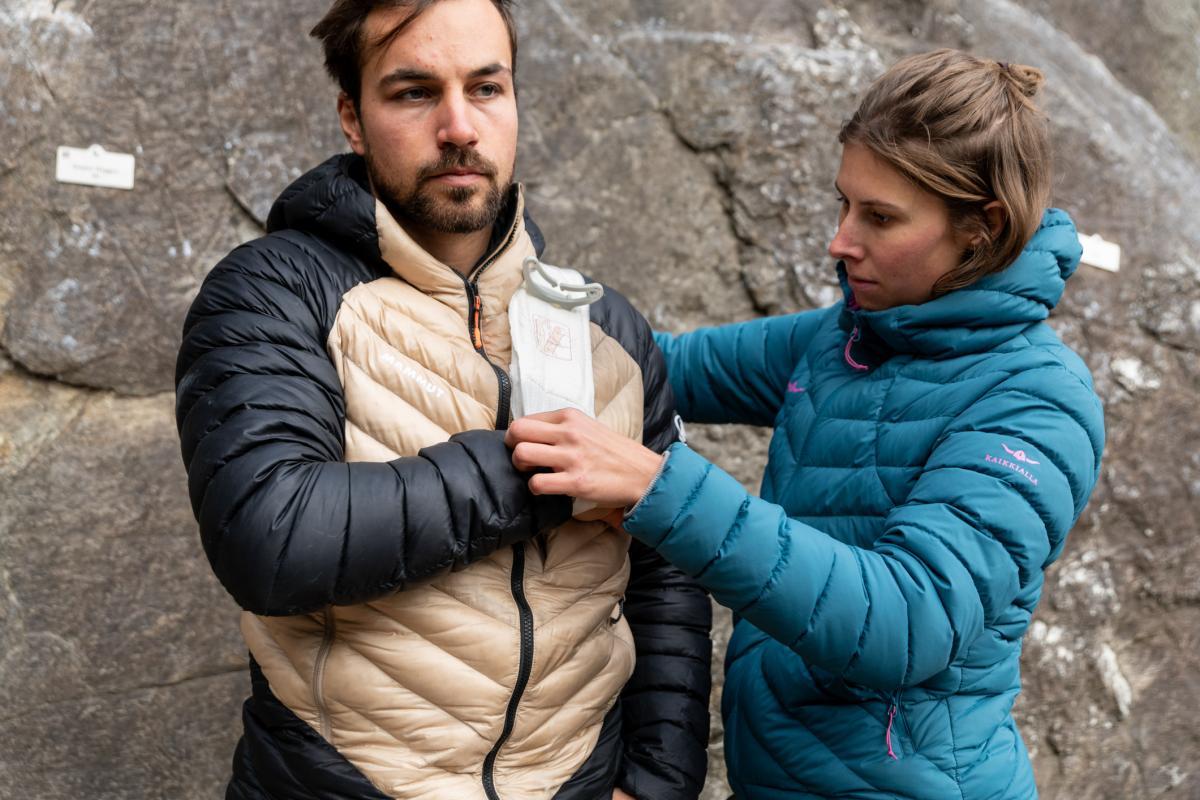
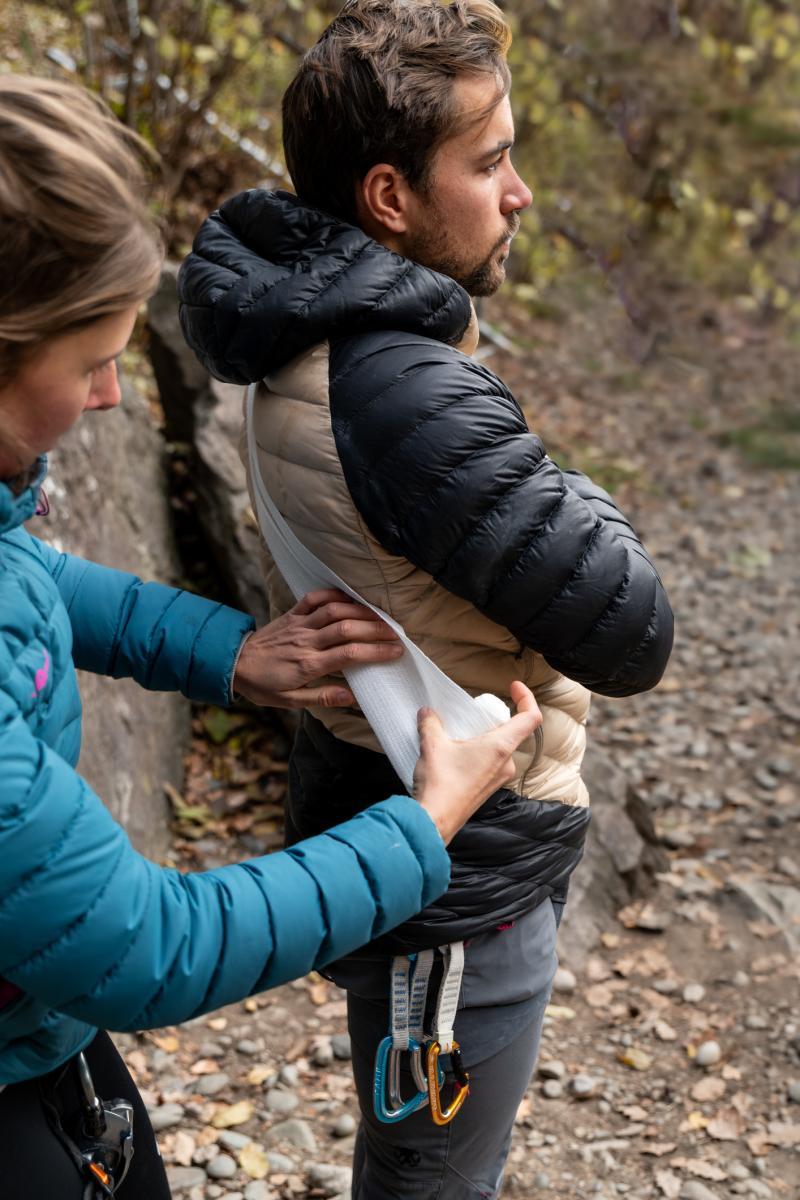
In the case of arm or shoulder injuries, the affected person often adopts a protective posture of their own accord. With the emergency bandage, a stable arm sling can be tied to relieve the shoulder or arm and support the person in the recovery position.
- Place the injured arm through the loop in front of the wound dressing.
- Pull the bandage over the uninjured shoulder and guide it back along the back to the injured arm.
- Wrap the injured arm around the elbow and pull the bandage under the uninjured shoulder
- Pull the bandage over the injured shoulder and thread it back over the chest through the uninjured armpit. Wrap the bandage tightly around the injured arm.
- At the end, secure the bandage with the plastic clasp.

6. cervical spine / spinal column injury
The (cervical) spine can be injured in the event of a fall onto the head or back, e.g. when bouldering. Signs of unstable spinal injuries include pain along the spine, loss of motor skills and numbness or tingling in the arms or legs. In this case, the person should be moved as little as possible and an emergency call should be made immediately.
If a cervical spine injury is suspected, the person's head can be stabilized with the hands. While waiting for professional rescue, the person should be protected from cooling if possible. The person can be covered with jackets and the rescue blanket to protect the spine.
7. ankle injury, transport with rescue blanket
In the case of ankle or knee injuries, it is often no longer possible to descend. A longer descent over difficult terrain is usually no longer advisable and professional help should be requested. Over shorter distances (e.g. from the climbing garden to the car), however, the person can be transported on the back of a helper with the aid of the extremely strong rescue blanket.
- Using a weaver's knot, two rescue blankets are knotted together to form rings of the same size.
- The injured person climbs through a ring with one leg and is shouldered by the helper like a rucksack.
Caution: This method of transportation is not recommended if there is a large difference in weight or size. It is also not suitable for longer transportation routes in difficult terrain. In addition, the rescue blanket can tear if it comes into contact with sharp edges (stones, branches, etc.).
To prevent severe swelling and alleviate the pain a little, a temporary cool pack can be made using a disposable glove. Simply fill the glove with snow or cold water and tie a knot.
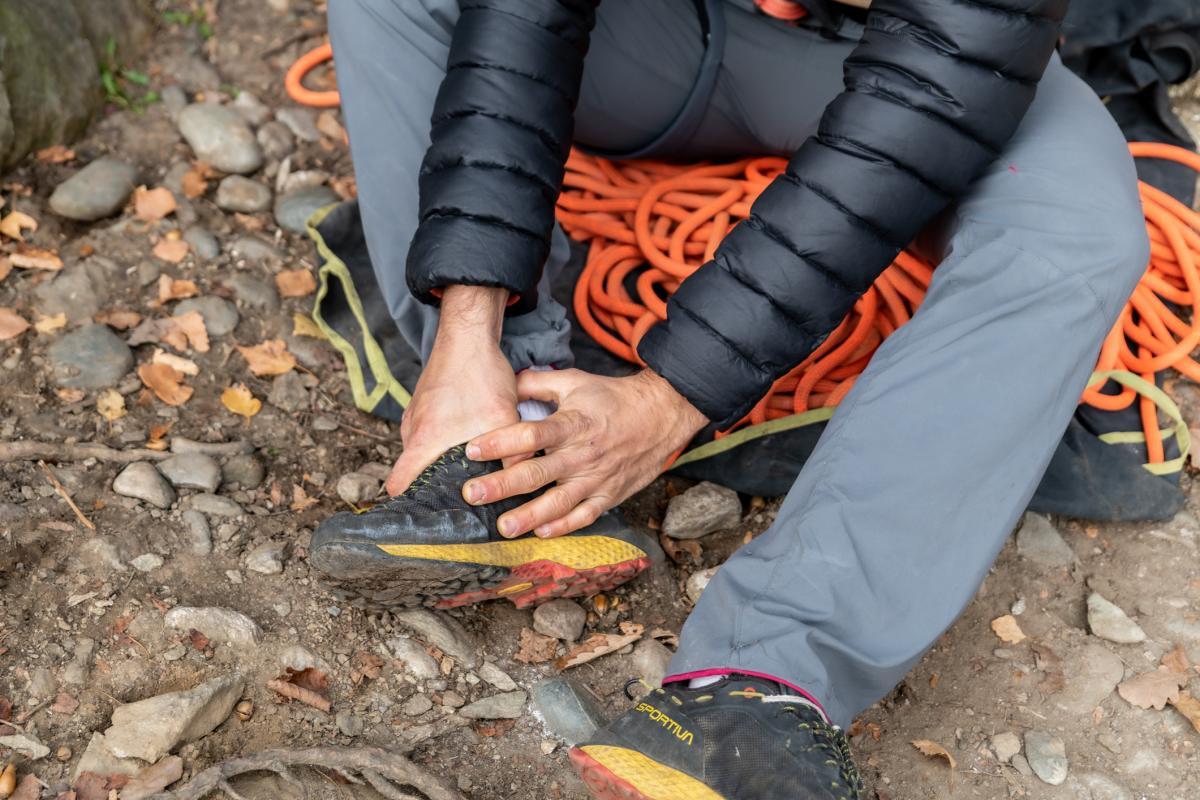
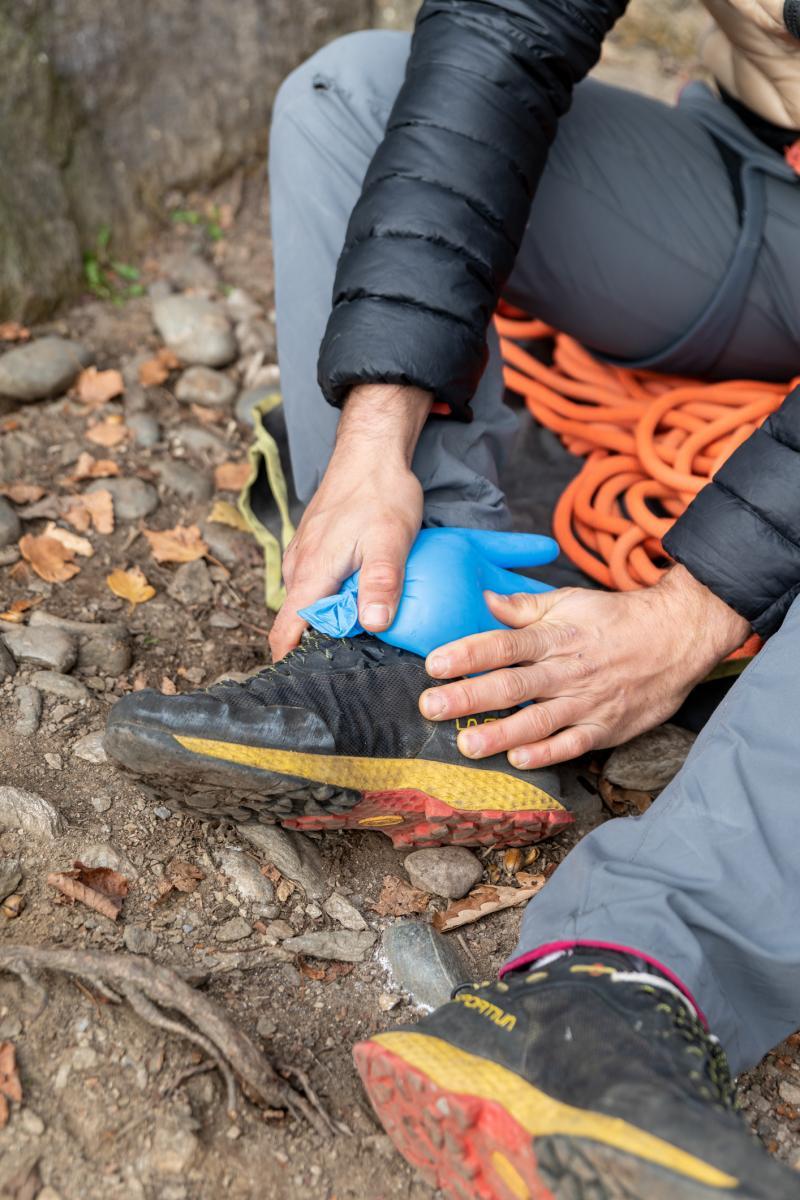
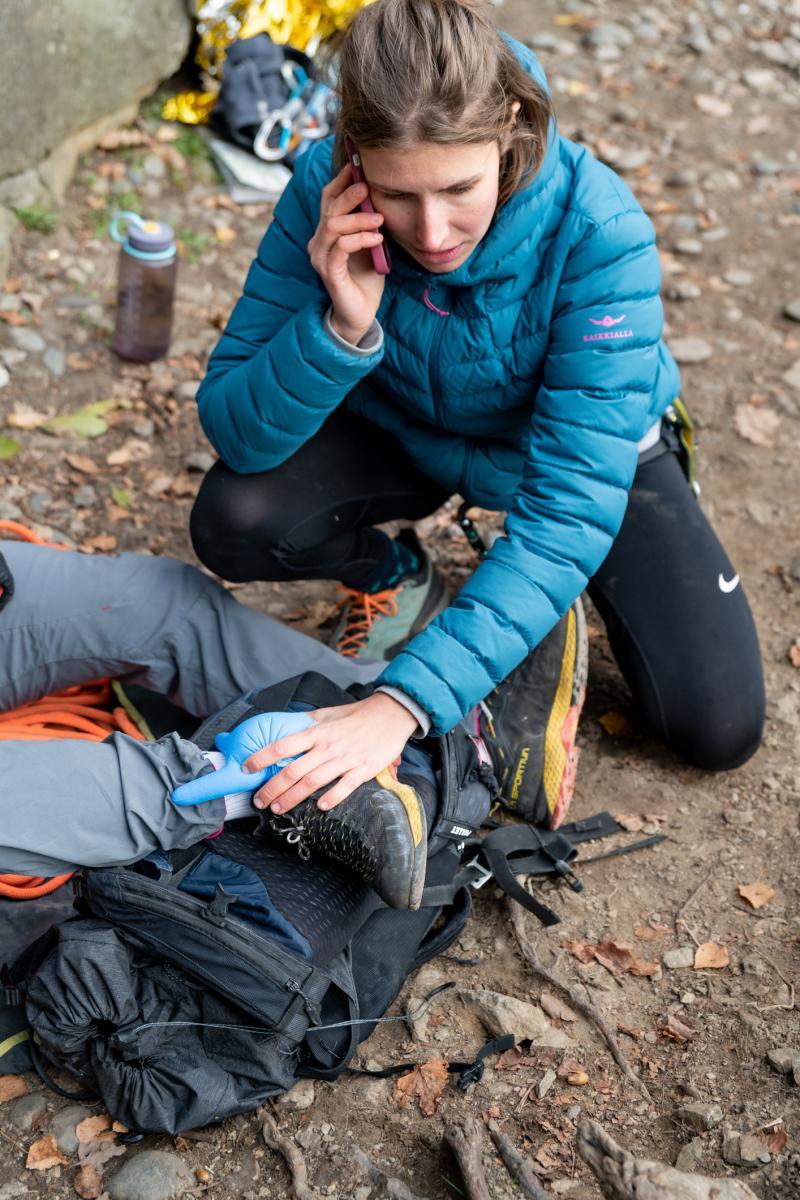
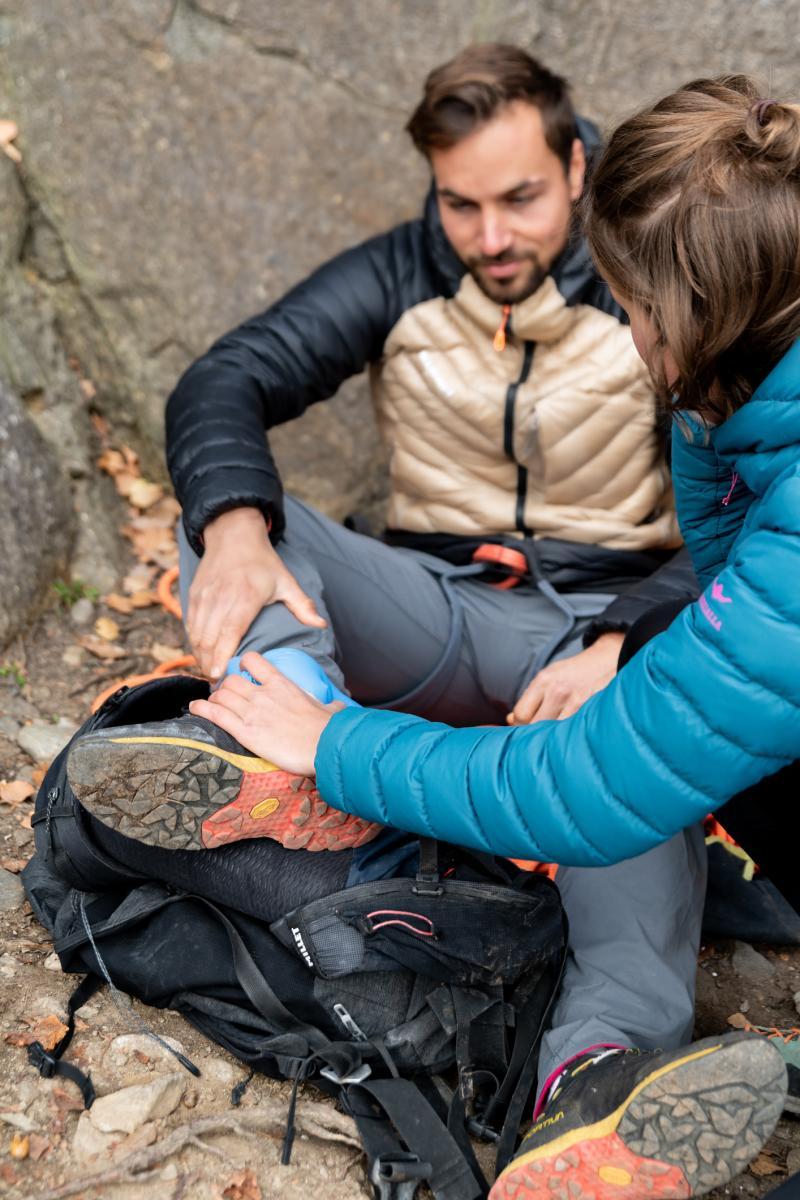
The injured foot should also be elevated.
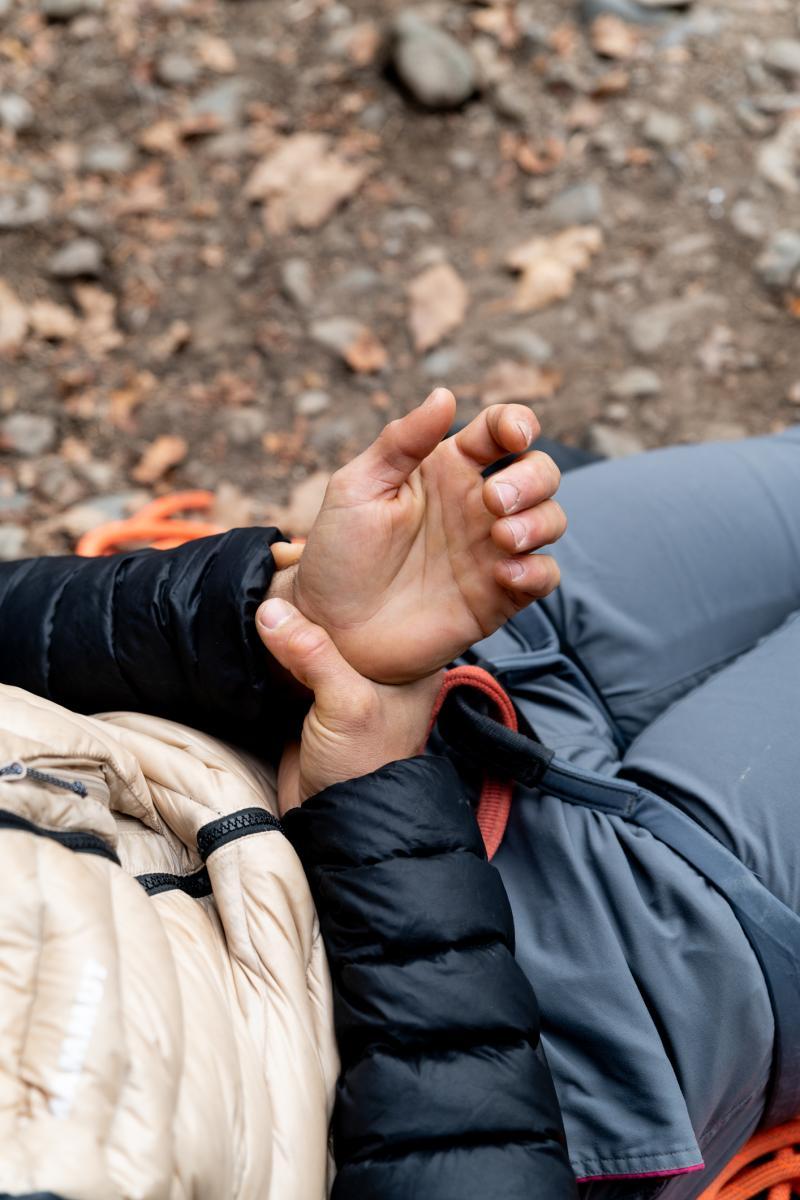
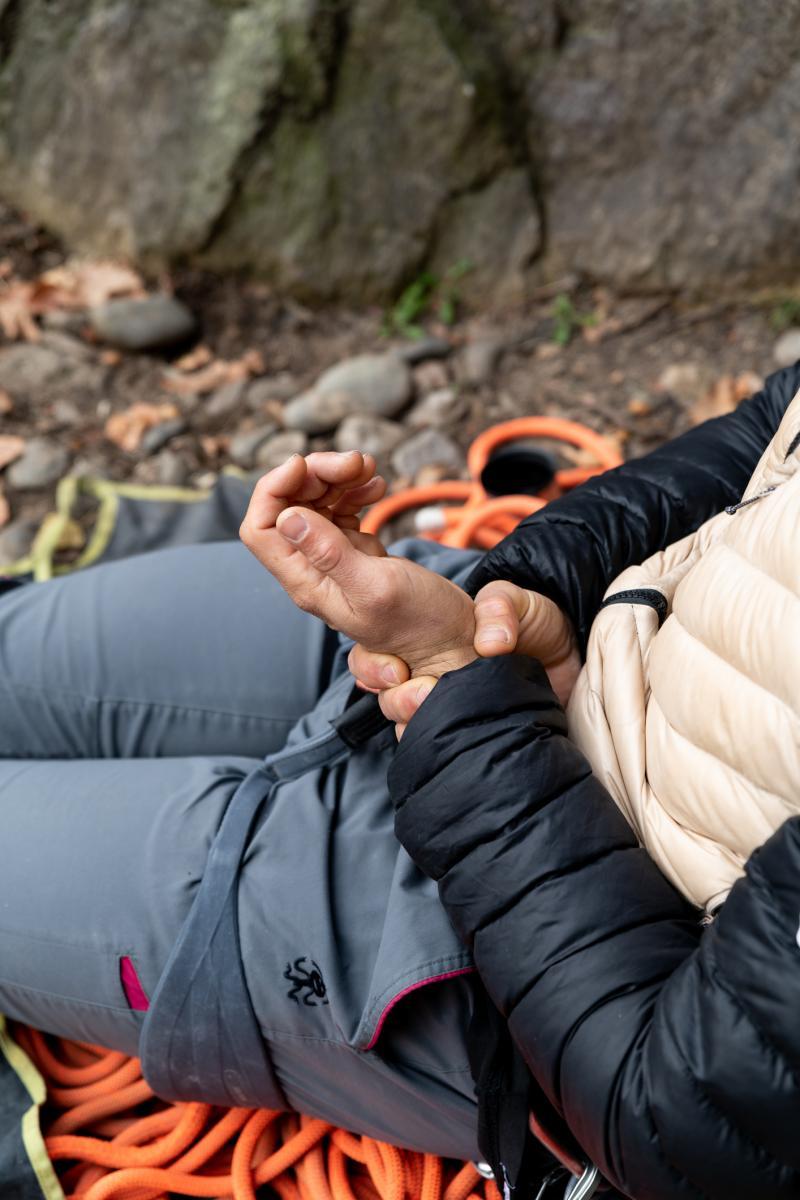
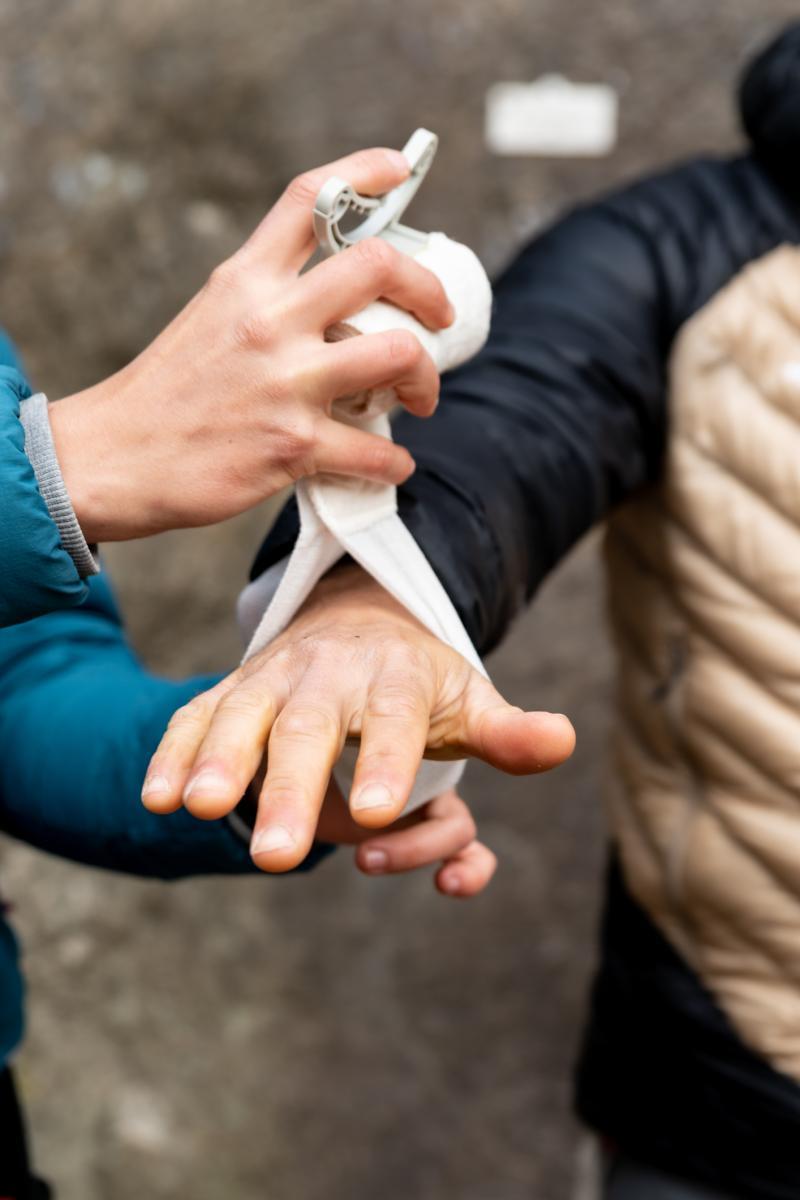
8. finger injury
Around 65% of climbing injuries affect the hand or fingers. The ring ligament injury in particular is feared by all climbers. The buddy taping technique can be used to quickly provide temporary relief for an injured finger:
- Wrap Leukotape around the injured finger once slightly above the base joint
- Tape the adjacent finger to the injured finger for splinting and support
- Wrap the tape around the supporting finger above the middle joint and tape it to the injured finger again
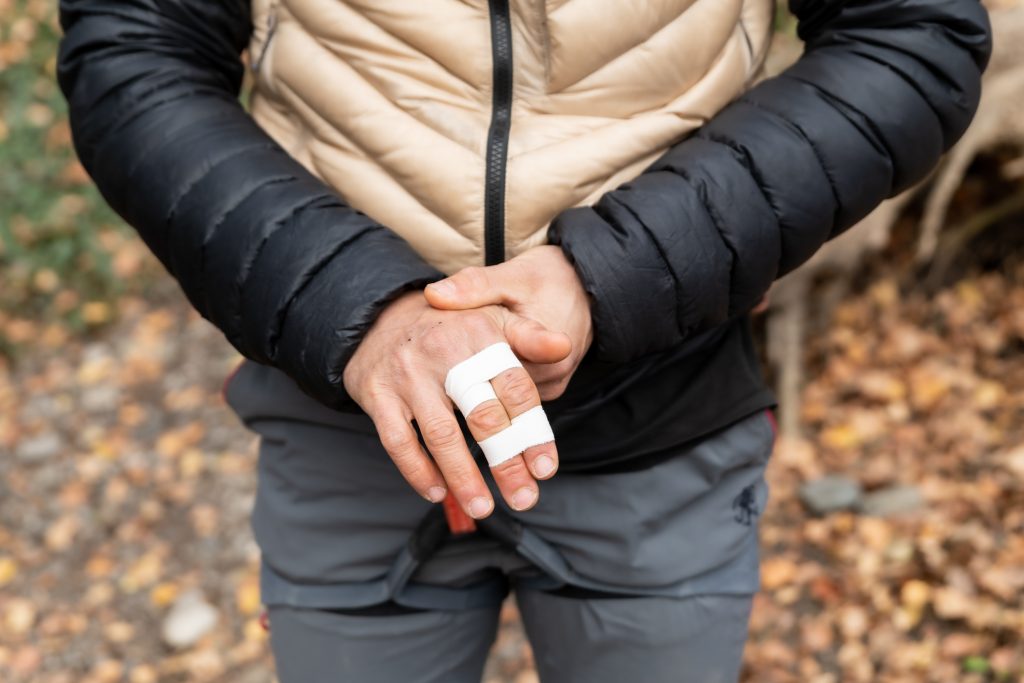
It is important not to apply the tape too tightly so as not to impair blood circulation. Cooling and elevating the finger can prevent swelling.
___________________
Text: Lara Novak, Rosa Schmidl. Photos: Lara Novak